
How to Install Baseboards in 2026: Measure, Cut, Cope, and Finish
Install baseboards with a practical plan for material acclimation, stud layout, inside and outside corners, scarf joints, fastening, caulk, and paint.
Affiliate disclosure: We may earn a commission on purchases made through links in this article, at no extra cost to you. Learn more.
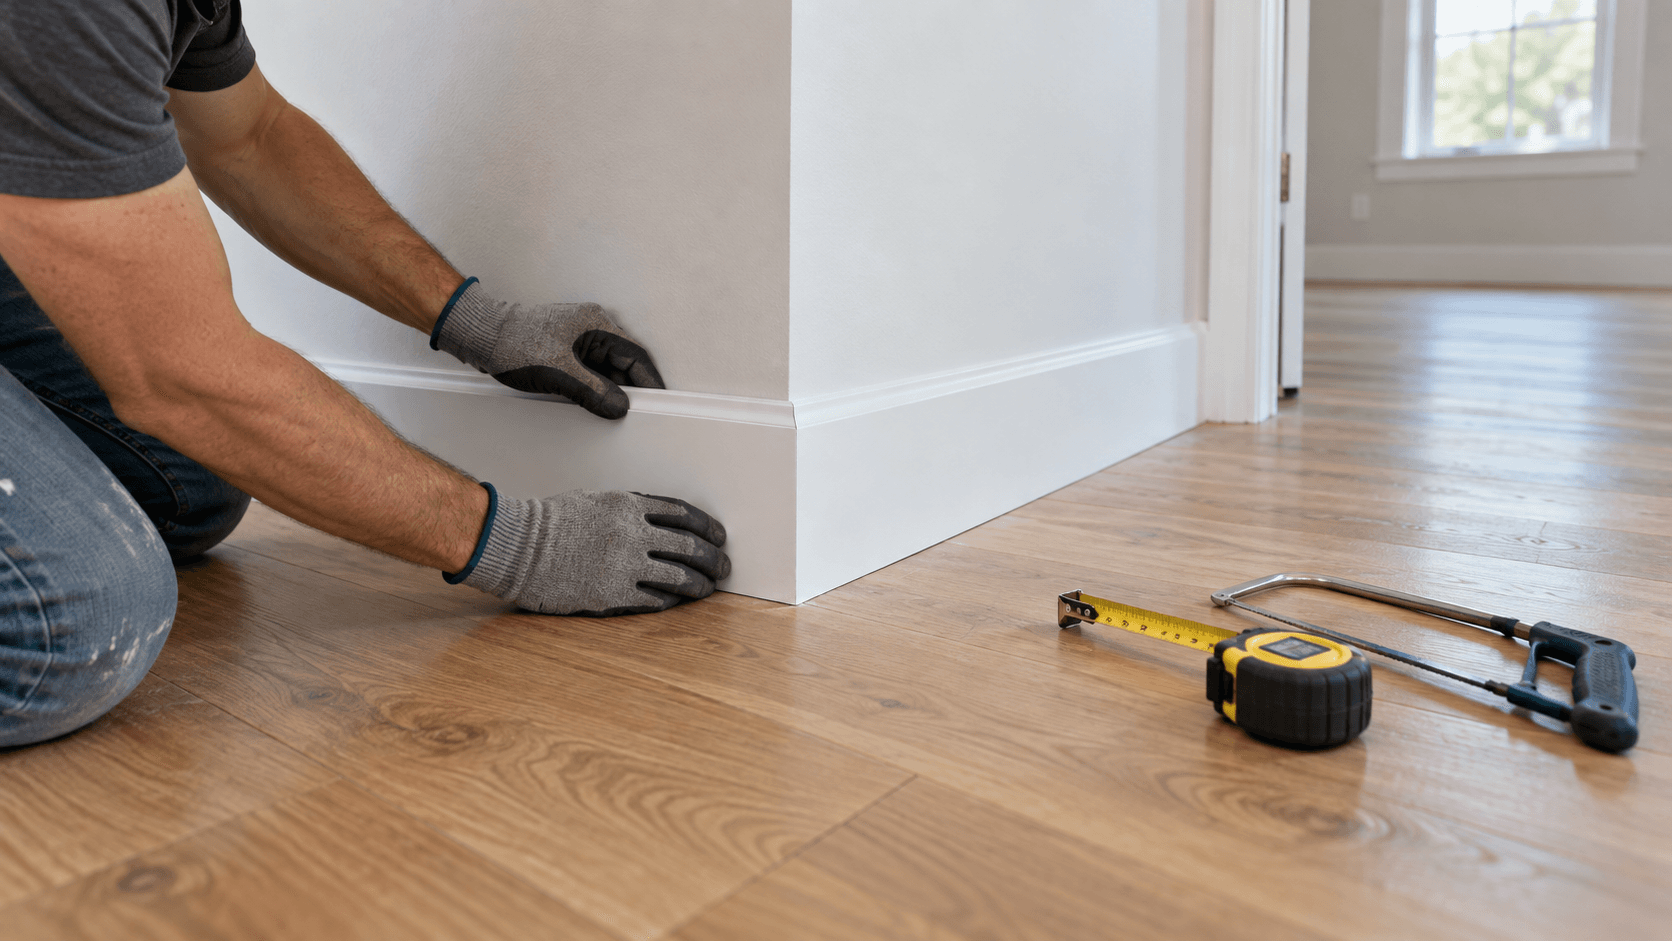
Baseboard installation looks simple until an out-of-square corner, wavy floor, or long wall exposes every measuring error. A durable result comes from planning the joints, identifying safe fastening locations, and matching the installation method to the moulding material and floor beneath it.
This guide covers ordinary interior painted baseboard. Stained hardwood, flexible trim, polyurethane moulding, masonry walls, rated assemblies, and unusual substrates can require different adhesives, fasteners, or finishing methods.
Plan before buying
Measure each wall at the floor line and sketch the room. Mark door casings, cabinet ends, vents, transitions, outside corners, and walls longer than available stock. Add a reasonable cutting allowance based on the profile and number of corners rather than buying the exact perimeter.
Inspect the product instructions. Solid wood, MDF, finger-jointed wood, PVC, and polyurethane respond differently to humidity, impact, adhesive, and paint. Bring material into the room for the manufacturer's required acclimation period and reject pieces that are swollen, damaged, or too bowed for the run.
Remove old trim without damaging the wall
Score the paint or caulk line along the top edge with a sharp utility knife. Protect the wall with a wide putty knife, then work a small pry bar gradually along the length instead of pulling one end outward. Remove or drive back exposed nails before handling the old board.
Stop if removal reveals moisture, mold, insect damage, loose drywall, deteriorated plaster, or unknown wiring. Trim does not correct the underlying condition.
Establish the finished height
Baseboard normally follows the finished floor, but the floor may not be level. Dry-fit a full length and inspect the top edge. On visibly uneven floors, scribe and trim the bottom only when the material and profile permit it. Do not force a rigid board down with nails until it bends or splits.
For a floating laminate or vinyl floor, preserve the specified perimeter movement space. The baseboard covers the gap while fastening to the wall—not through the floor.
Find safe fastening locations
Locate and mark studs above the future trim line. A detector can help, but it does not guarantee that a cavity is clear. Consider outlets, plumbing fixtures, HVAC registers, and other clues to concealed utilities. Choose fastener length so it reaches intended framing without unnecessary penetration.
Where the product calls for adhesive, verify compatibility with the moulding, paint, and wall. Adhesive can reduce gaps on irregular walls but makes later removal more destructive and does not substitute for required mechanical fastening.
Cut the first run
Begin on a long, visible wall. Cut slightly long, test the piece in place, and shorten it gradually. Label the back with wall location and orientation. Keep the finished face supported during cutting and follow the saw and blade instructions.
Straight terminations at door casing receive square cuts. If a baseboard profile meets a different-height casing, use a planned return or transition instead of leaving a raw end.
Cope inside corners
For a traditional coped joint:
- Install the first board with a square end tight to the corner.
- Miter the end of the second board at 45 degrees to reveal the profile.
- Follow that profile with a coping saw, undercutting the back slightly.
- Refine small high spots with a file or abrasive.
- Dry-fit until the face closes without forcing the board.
Coping is not permission to hide a large error with caulk. A thin finishing line is different from a joint with no wood-to-wood contact.
Fit outside corners and long-wall joints
Walls are rarely exactly 90 degrees. Use two scrap pieces to test an outside corner, divide the measured included angle between the cuts, and adjust in small increments. Glue compatible wood outside miters if the moulding instructions permit, then fasten without pushing the joint out of alignment.
Where two boards meet on a long wall, a scarf joint is less conspicuous than a square butt joint. Place the splice over a stud when possible, cut matching opposing bevels, dry-fit, then fasten the overlap securely.
Fasten without crushing the profile
Hold the board against the wall and floor reference. Fasten into known framing or the bottom plate according to the moulding instructions. Keep nails away from thin edges and corner ends that can split. With a powered nailer, confirm pressure, nail length, and firing mode on scrap first; disconnect its air or battery before clearing a jam.
Set nail heads just below the surface without creating deep craters. A nail driven through the face veneer or deeply into MDF is harder to finish invisibly.
Fill, caulk, prime, and paint
Use a filler compatible with the trim finish for nail holes and wood-to-wood joints. Use paintable caulk for small trim-to-wall gaps when the product permits it. Do not smear caulk over poorly fitted corners or into a floating floor's expansion gap.
Let fillers and sealants dry or cure as directed, sand only as needed, remove dust, spot-prime exposed material, and apply the finish coats. Protect the floor and maintain ventilation required by the product labels.
Common mistakes
- Measuring an entire room but not labeling individual pieces.
- Assuming every corner is 90 degrees.
- Cutting both inside pieces at 45 degrees without a test fit.
- Nailing before locating framing and considering utilities.
- Pinning a floating floor with trim or caulk.
- Using wall caulk to disguise a wide or unsupported joint.
Final checklist
Walk the room under daylight and artificial light. Confirm that corners remain closed, splices sit flat, fasteners are filled, door clearances are unchanged, and the flooring can still move as designed. Touch up paint only after sealant and filler reach their stated readiness.
Sources
Frequently Asked Questions
Should baseboards be installed before or after flooring?
Should inside baseboard corners be mitered or coped?
Should the gap below baseboard be caulked?
About the author
Jane DIY
— Senior Reviews EditorJane DIY is the Senior Reviews Editor for DIY Tool Guide. Her byline identifies articles she reviews for clarity, sourcing, and practical usefulness.
More from Home Renovation

How to Install Floating Laminate Flooring in 2026
Plan and install a floating laminate floor with product-specific acclimation, flatness, moisture, underlayment, expansion gaps, layout, and transition details.
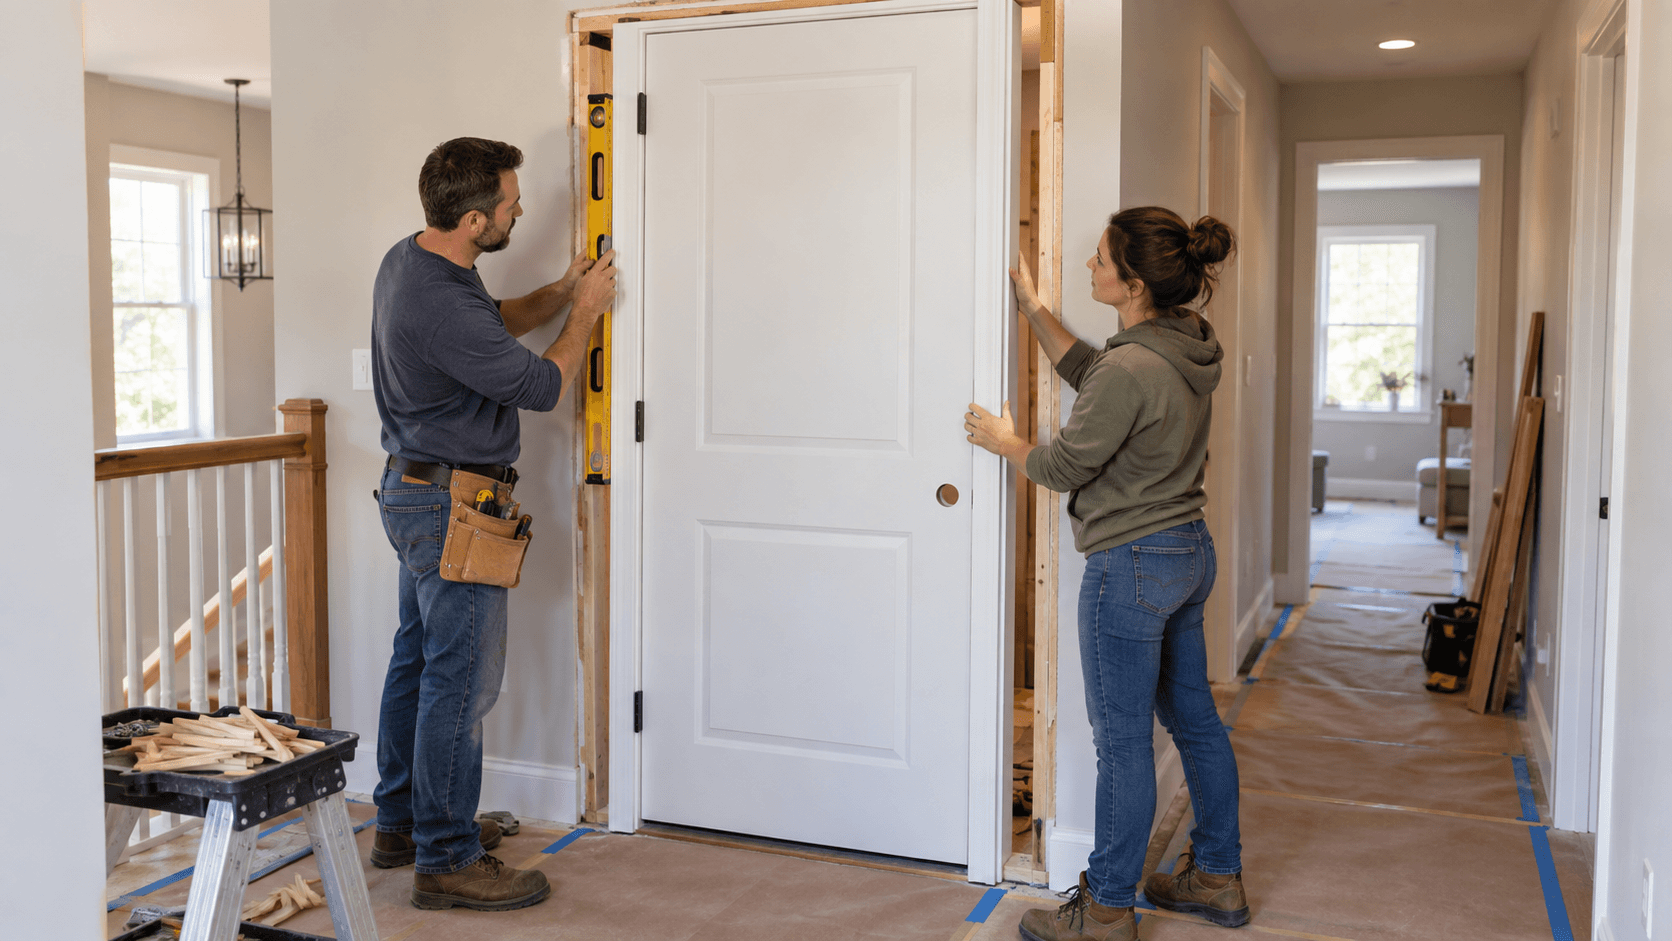
How to Install a Prehung Interior Door in 2026
Install a prehung interior door with a careful plan for measuring, handing, shimming, fastening, consistent reveals, casing, and final adjustment.
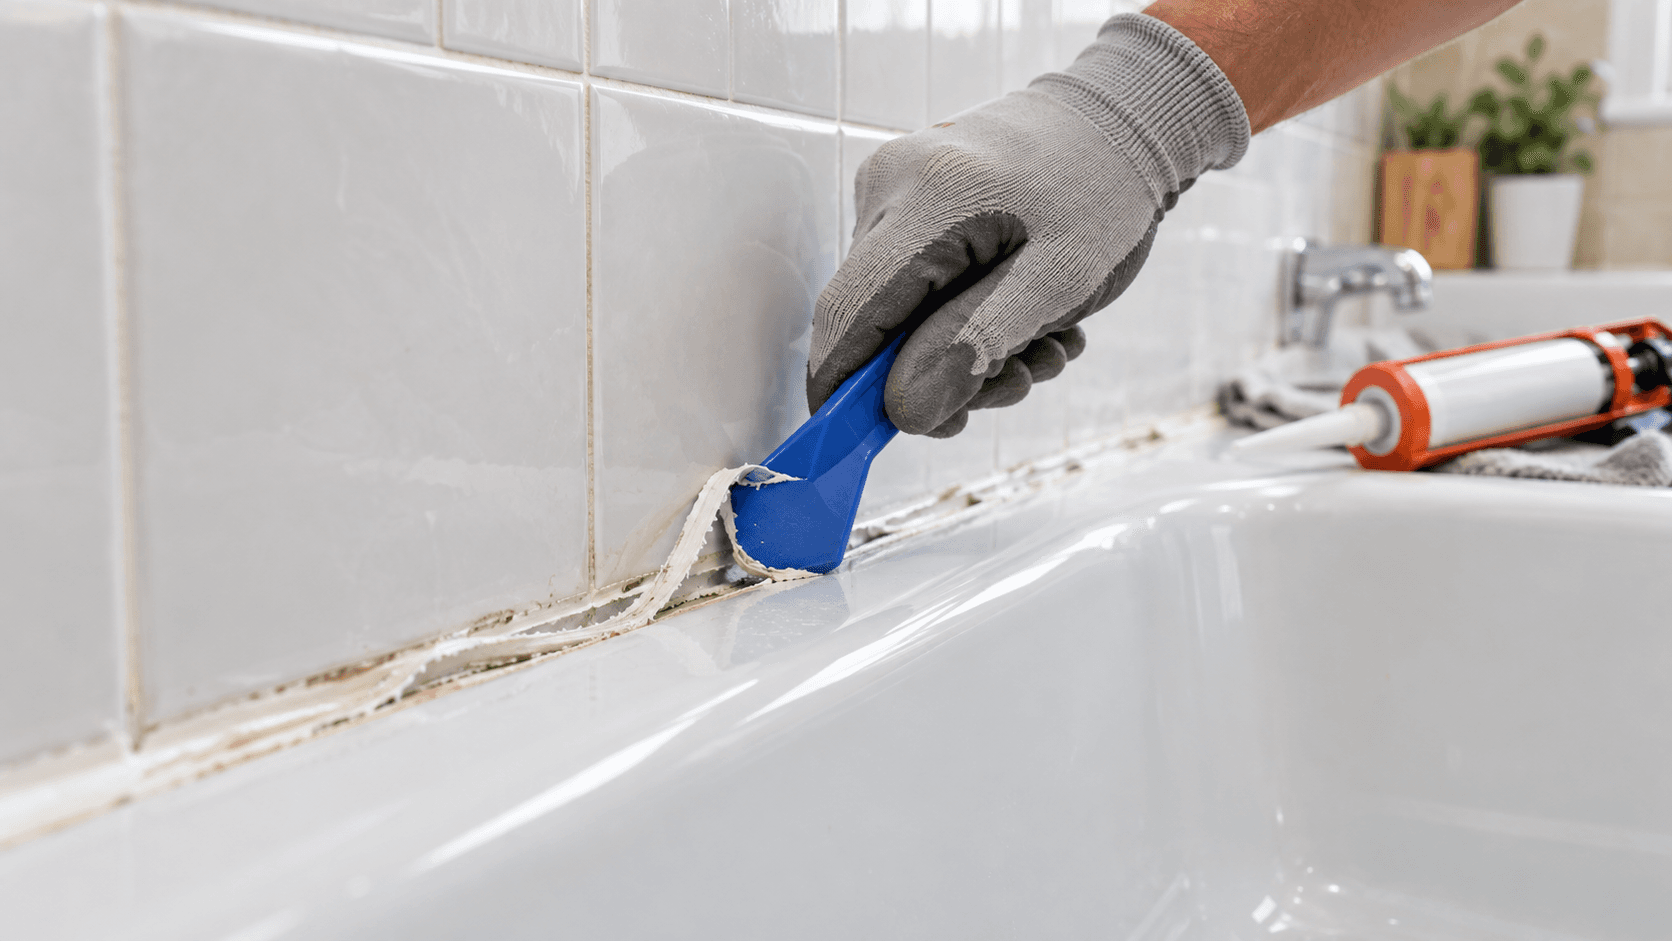
How to Recaulk a Bathtub in 2026: Remove, Prepare, and Seal
Recaulk a bathtub by diagnosing the joint, removing old sealant, cleaning and drying compatible surfaces, applying a controlled bead, and allowing full cure time.