
How to Recaulk a Bathtub in 2026: Remove, Prepare, and Seal
Recaulk a bathtub by diagnosing the joint, removing old sealant, cleaning and drying compatible surfaces, applying a controlled bead, and allowing full cure time.
Affiliate disclosure: We may earn a commission on purchases made through links in this article, at no extra cost to you. Learn more.
A clean caulk line is only the visible part of the bathtub joint. The sealant must bond to compatible, dry surfaces and accommodate the movement between the tub and the surrounding wall. Applying a new bead over old silicone may look better briefly, but it does not restore a dependable seal.
This guide covers a routine maintenance joint at a sound tub and wall surround. If the wall feels soft, tiles move, the tub shifts, water appears below the bathroom, or discoloration returns from behind the joint, stop and investigate the underlying leak or damage before resealing.
Diagnose why the old bead failed
Inspect the entire perimeter before removing anything. A bead that separates in one area may indicate inadequate cleaning, an incompatible product, excessive joint movement, or a loose fixture. Cracked grout, failed corner joints, gaps around plumbing penetrations, and water escaping a shower door can mimic a tub-sealant problem.
Correct loose components and moisture sources first. Sealant is not a structural repair and should not be used to bridge a joint wider or deeper than its product data allows.
Select a compatible sealant
Check the tub and surround materials—such as acrylic, fiberglass, porcelain-coated steel, ceramic tile, glass, or stone—and choose a kitchen-and-bath sealant explicitly approved for both surfaces. Review the label for joint dimensions, ventilation, application temperature, tooling time, cleanup method, and water-ready time.
One-hundred-percent silicone is commonly specified for wet bathroom joints, but the exact product instructions control. Natural stone and some specialty finishes may require a non-staining formula or different preparation.
Remove the old sealant
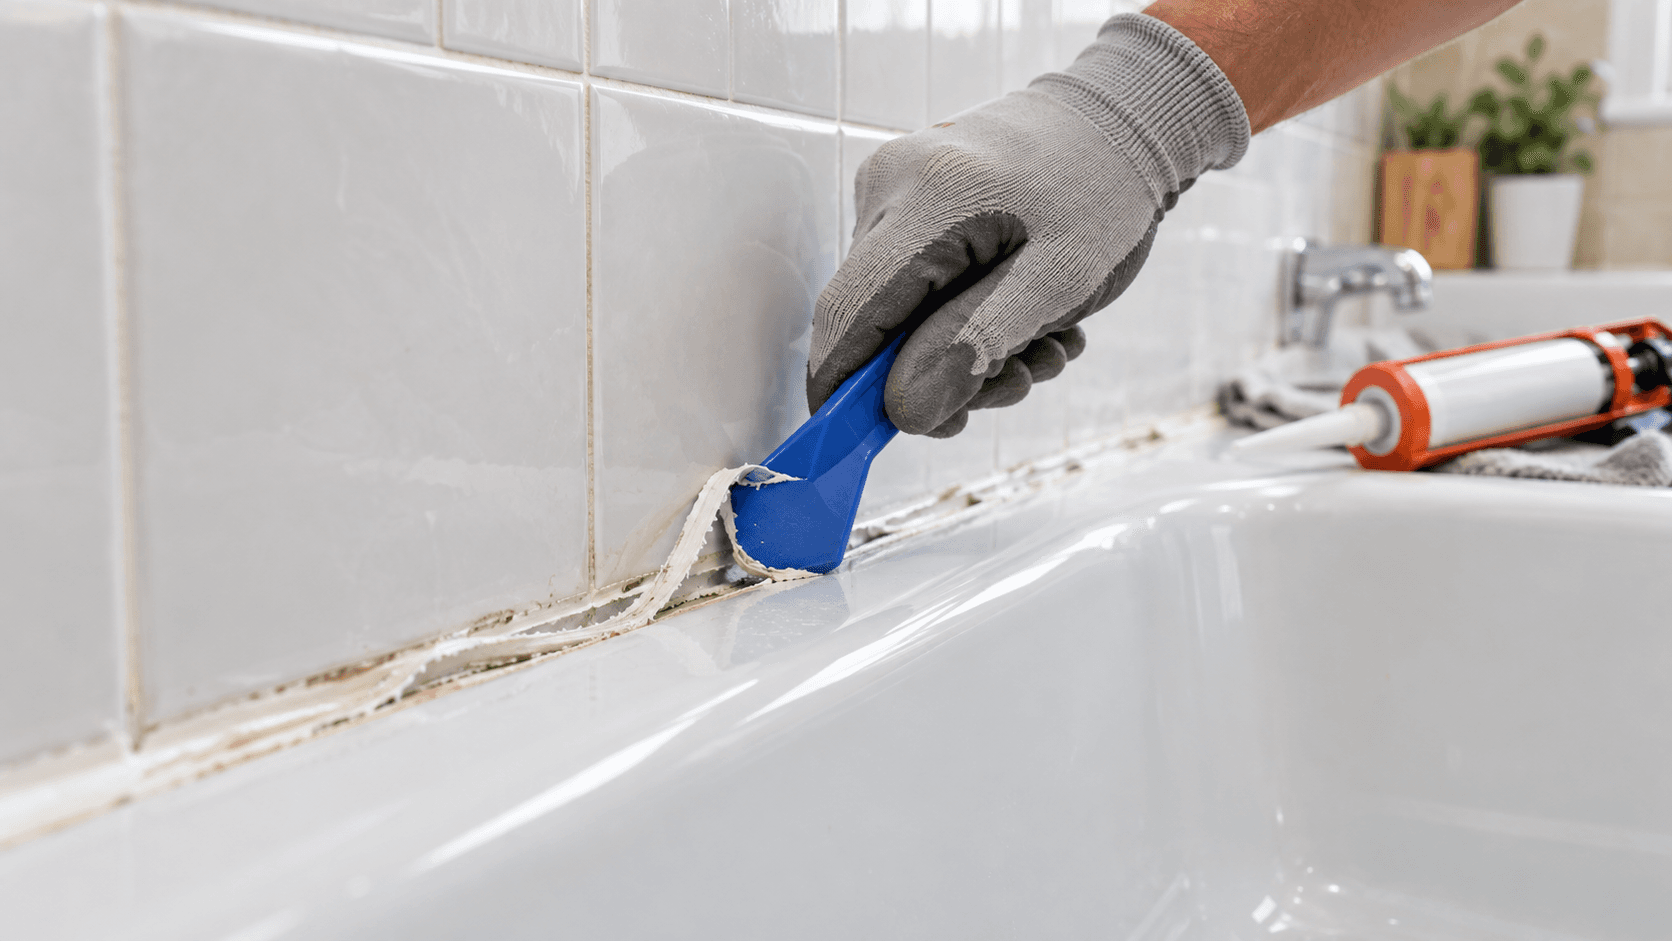
Ventilate the room and protect the tub. Cut along both edges of the bead with a finish-safe tool, keeping the blade angle shallow and away from the waterproofing behind the wall finish. Pull out long sections, then use a plastic scraper or manufacturer-approved remover for residue.
Metal blades can scratch acrylic, fiberglass, enamel, tile, or coated trim. Test tools and cleaning products in an inconspicuous area. Do not gouge the joint or damage a membrane hidden behind it.
Clean and dry the joint
Remove soap film, body oils, mildew residue, and cleaner according to the surface and sealant manufacturers' directions. Some silicone guidance uses isopropyl alcohol for final preparation, but it is not suitable for every finish; verify compatibility first and never mix cleaning chemicals.
Wipe with clean, lint-free material and allow the joint to dry completely. Moisture behind the bead can weaken adhesion and trap a continuing problem. If the cavity stays damp, find the source rather than sealing it closed.
Prepare the bead
If the joint depth requires backer rod, use the type and size specified by the sealant manufacturer without puncturing concealed waterproofing. Backer material helps control sealant depth and avoids an unfavorable three-sided bond.
Mask both sides with painter's tape if you want a crisp edge. Cut the nozzle smaller than the desired finished bead, puncture the inner seal as directed, and load the cartridge into a caulk gun. Practice on scrap if controlling flow is unfamiliar.
Apply and tool the sealant
Hold the nozzle so sealant is pushed into the joint, then move at a steady pace without leaving voids. Apply only as much as can be tooled within the product's working time. Tool the bead with an approved tool to create continuous contact with both surfaces; avoid repeatedly wiping it with an unapproved liquid that could affect adhesion.
Remove masking tape before the bead skins over, pulling it away from the fresh joint. Repair any break immediately within the tooling window rather than adding a second cosmetic layer after curing begins.
Let it cure undisturbed
Keep the joint dry and protect it from cleaning, splashing, dust, and movement for the full label-specified period. “Fast water-ready” and “full cure” can mean different things, so use the requirement relevant to putting the tub back in service.
Maintain the temperature and ventilation specified on the label. Do not accelerate curing with direct high heat.
Inspect the finished joint
After the stated cure time, look for gaps, thin spots, loss of contact, or trapped moisture before using the tub. A sound bead should connect continuously to both surfaces without acting as a thick patch over damaged material.
During routine cleaning, use products compatible with the sealant and surrounding finish. Replace the bead when it separates or cracks; recurring failure warrants investigation of movement or water intrusion.
Common mistakes
- Applying new silicone over an old bead or invisible residue.
- Sealing damp surfaces or active moisture damage.
- Using a product that is not compatible with the tub or wall finish.
- Cutting the nozzle too large and creating an oversized, hard-to-tool bead.
- Damaging a soft tub finish with a metal scraper.
- Using an arbitrary 24-hour rule instead of the actual product label.
- Treating sealant as a repair for a loose tub, damaged wall, or plumbing leak.
Sources
Frequently Asked Questions
Can new silicone be applied over old bathtub caulk?
How long after caulking can the bathtub be used?
Should a bathtub be filled with water before caulking?
About the author
Jane DIY
— Senior Reviews EditorJane DIY is the Senior Reviews Editor for DIY Tool Guide. Her byline identifies articles she reviews for clarity, sourcing, and practical usefulness.
More from Home Renovation
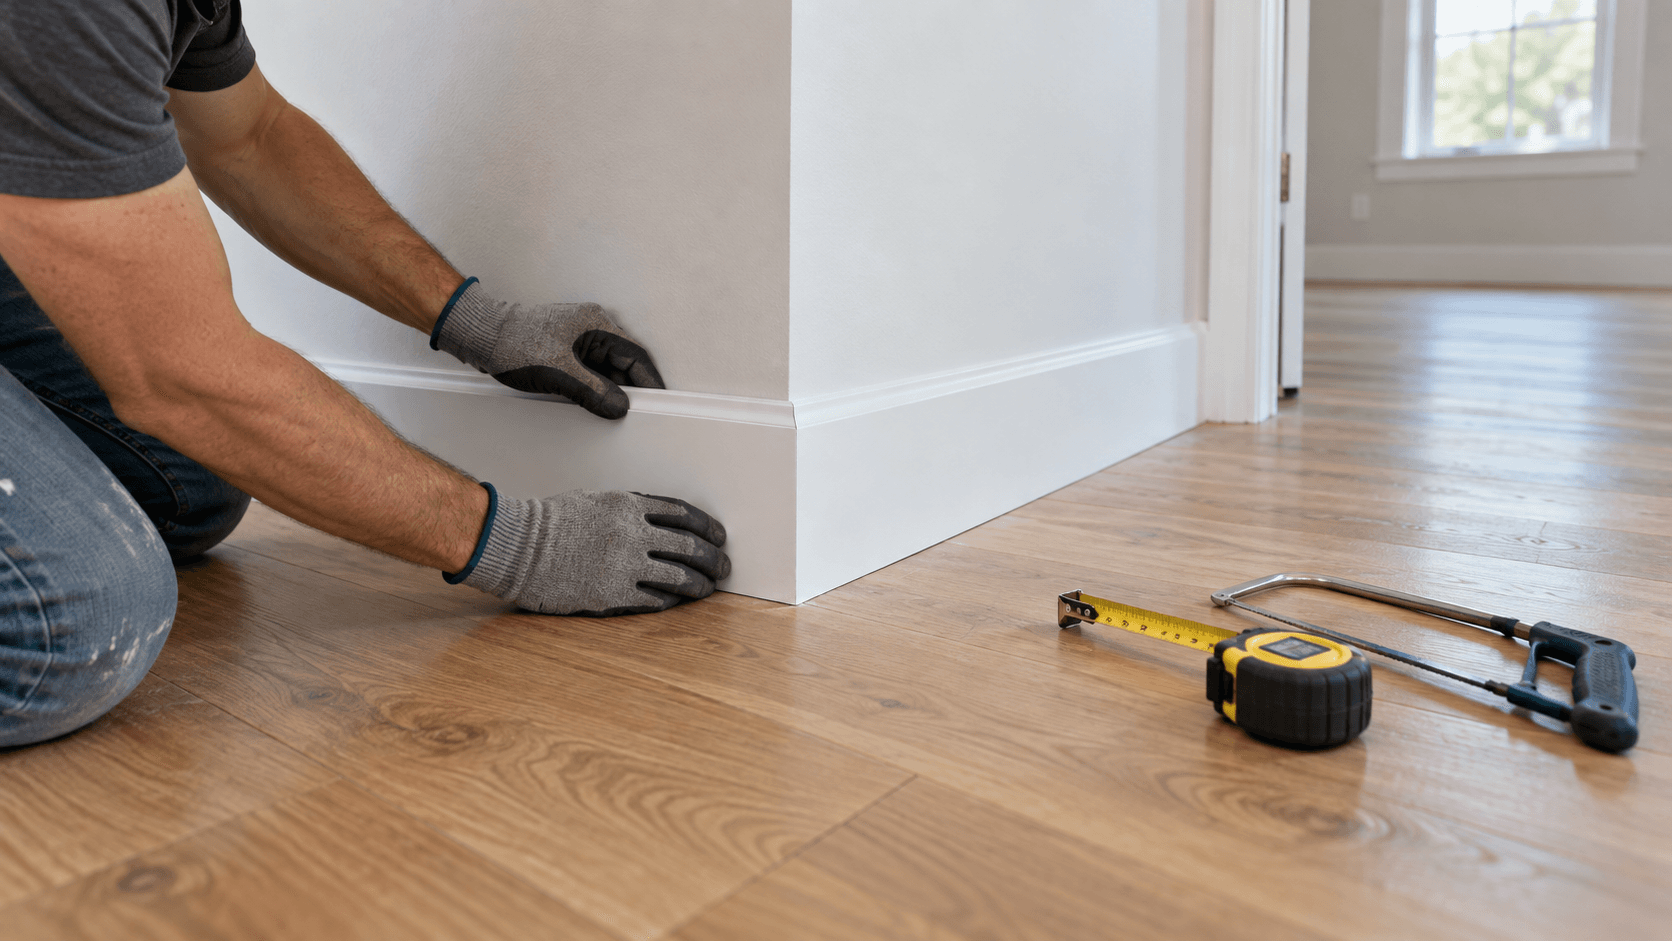
How to Install Baseboards in 2026: Measure, Cut, Cope, and Finish
Install baseboards with a practical plan for material acclimation, stud layout, inside and outside corners, scarf joints, fastening, caulk, and paint.

How to Install Floating Laminate Flooring in 2026
Plan and install a floating laminate floor with product-specific acclimation, flatness, moisture, underlayment, expansion gaps, layout, and transition details.
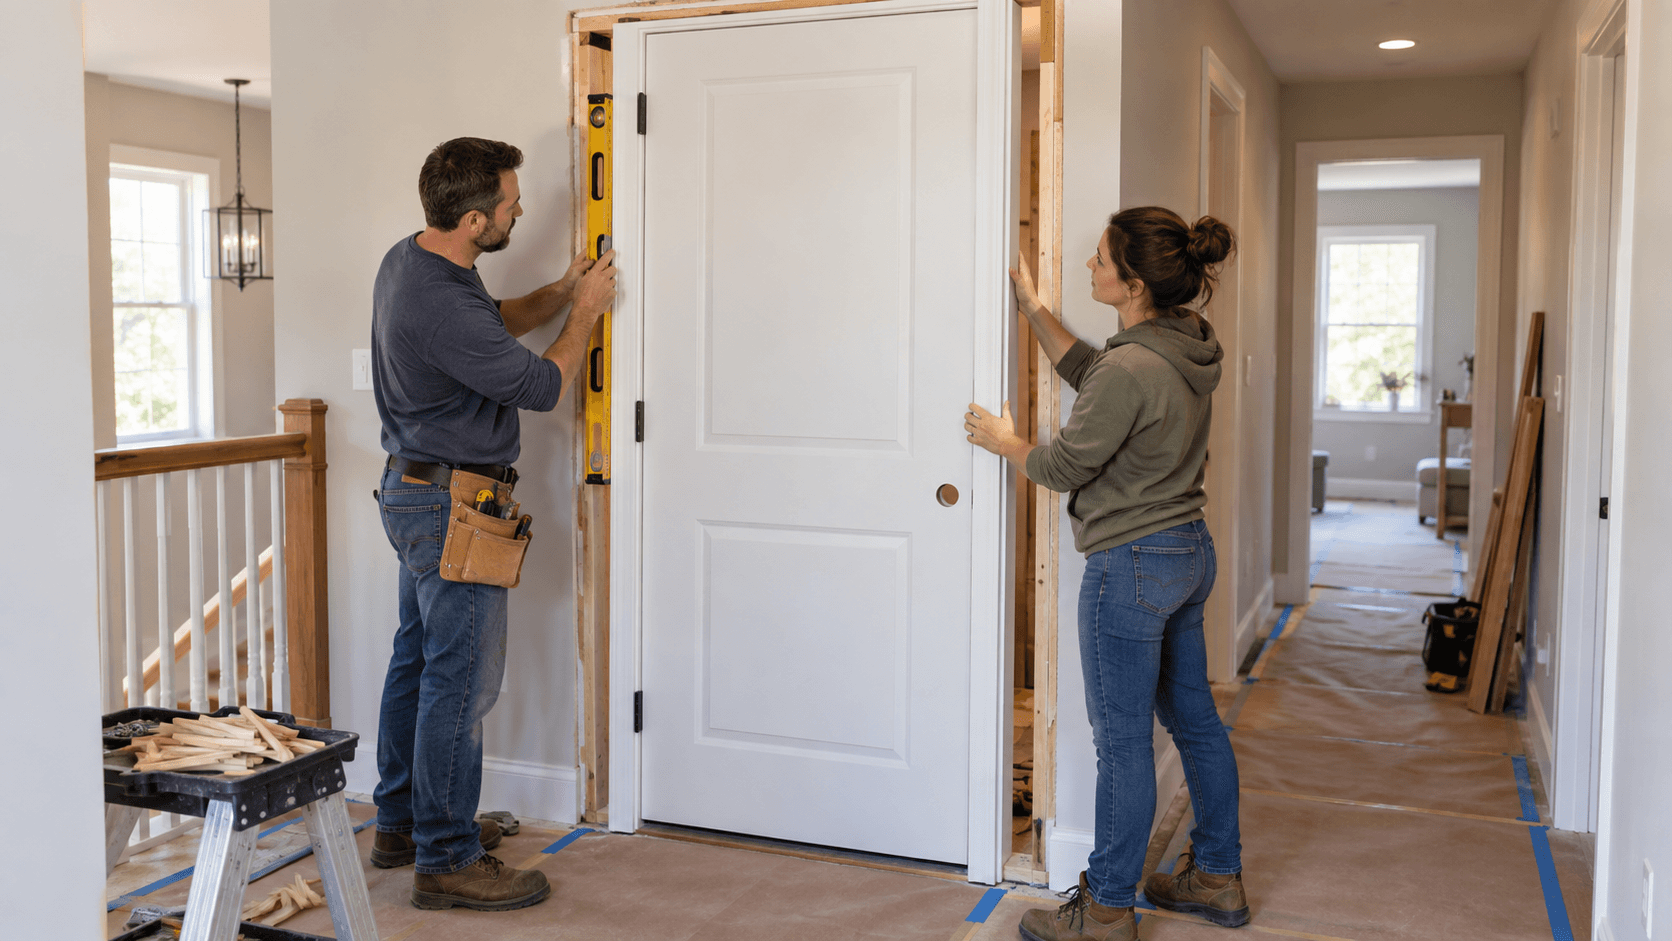
How to Install a Prehung Interior Door in 2026
Install a prehung interior door with a careful plan for measuring, handing, shimming, fastening, consistent reveals, casing, and final adjustment.