
How to Tile a Kitchen Backsplash in 2026
Install a kitchen backsplash with proper substrate preparation, layout, electrical safety, mortar coverage, movement joints, grout, and sealant.
Affiliate disclosure: We may earn a commission on purchases made through links in this article, at no extra cost to you. Learn more.
A backsplash is a small tile field with a large number of decisions: outlet cuts, cabinet lines, focal points, changes of plane, and materials that may require different mortars or grout. The best starting point is a complete compatible system, not a generic bucket labeled “tile adhesive.”
Define the installation
Identify the tile material, dimensions, backing, joint width, substrate, and areas exposed to heat or water. Glass, natural stone, ceramic, porcelain, and metal mosaics can require different setting colors, trowels, cutters, and sealers.
Check the tile and setting-material data sheets. MAPEI, for example, specifies white mortar for some glass backsplash systems to avoid discoloration. A premixed adhesive may be approved for certain small wall tile but unsuitable for a larger, moisture-sensitive, translucent, or heat-adjacent application.
Make the electrical area safe
Switch off the relevant circuit and verify de-energization with an appropriate tester before removing receptacle or switch cover plates. Do not rely on the switch position or a panel label alone.
Tile adds wall thickness. Electrical boxes and device mounting must remain compliant and secure; improvised stacks of loose spacers or buried box edges are not a universal solution. Consult a qualified electrician when box extension, damaged wiring, aluminum conductors, GFCI protection, or local requirements are uncertain.
Prepare the wall
Remove grease, soap film, loose paint, wallpaper, failing compound, and protrusions. The surface must meet the setting-material requirements for soundness, cleanliness, flatness, and porosity.
Repair damage and let patching products dry or cure. Do not tile over an active leak, damp wall, mold condition, or movement crack without correcting the cause. Protect countertops, cabinets, appliances, and floors before mixing or cutting.
Dry-layout the pattern
Mark a level reference instead of trusting the countertop or upper cabinets. Measure the focal area—often behind the range or sink—and shift the layout to avoid conspicuous slivers.
Lay several tiles with spacers on the counter to measure the actual module. Account for grout joints, trim profiles, outlet covers, cabinet ends, windows, and the flexible joint above the countertop. A ledger board can support the first course when the counter is not level, but fastener holes must be planned and repaired.
Select and mix the setting material
Use the mortar, mastic, or mat explicitly approved for the tile and substrate. Follow water ratio, mixing speed, slake time, remixing, pot life, temperature, and open-time instructions. Never add water after a cement mortar begins to stiffen unless the data sheet permits it.
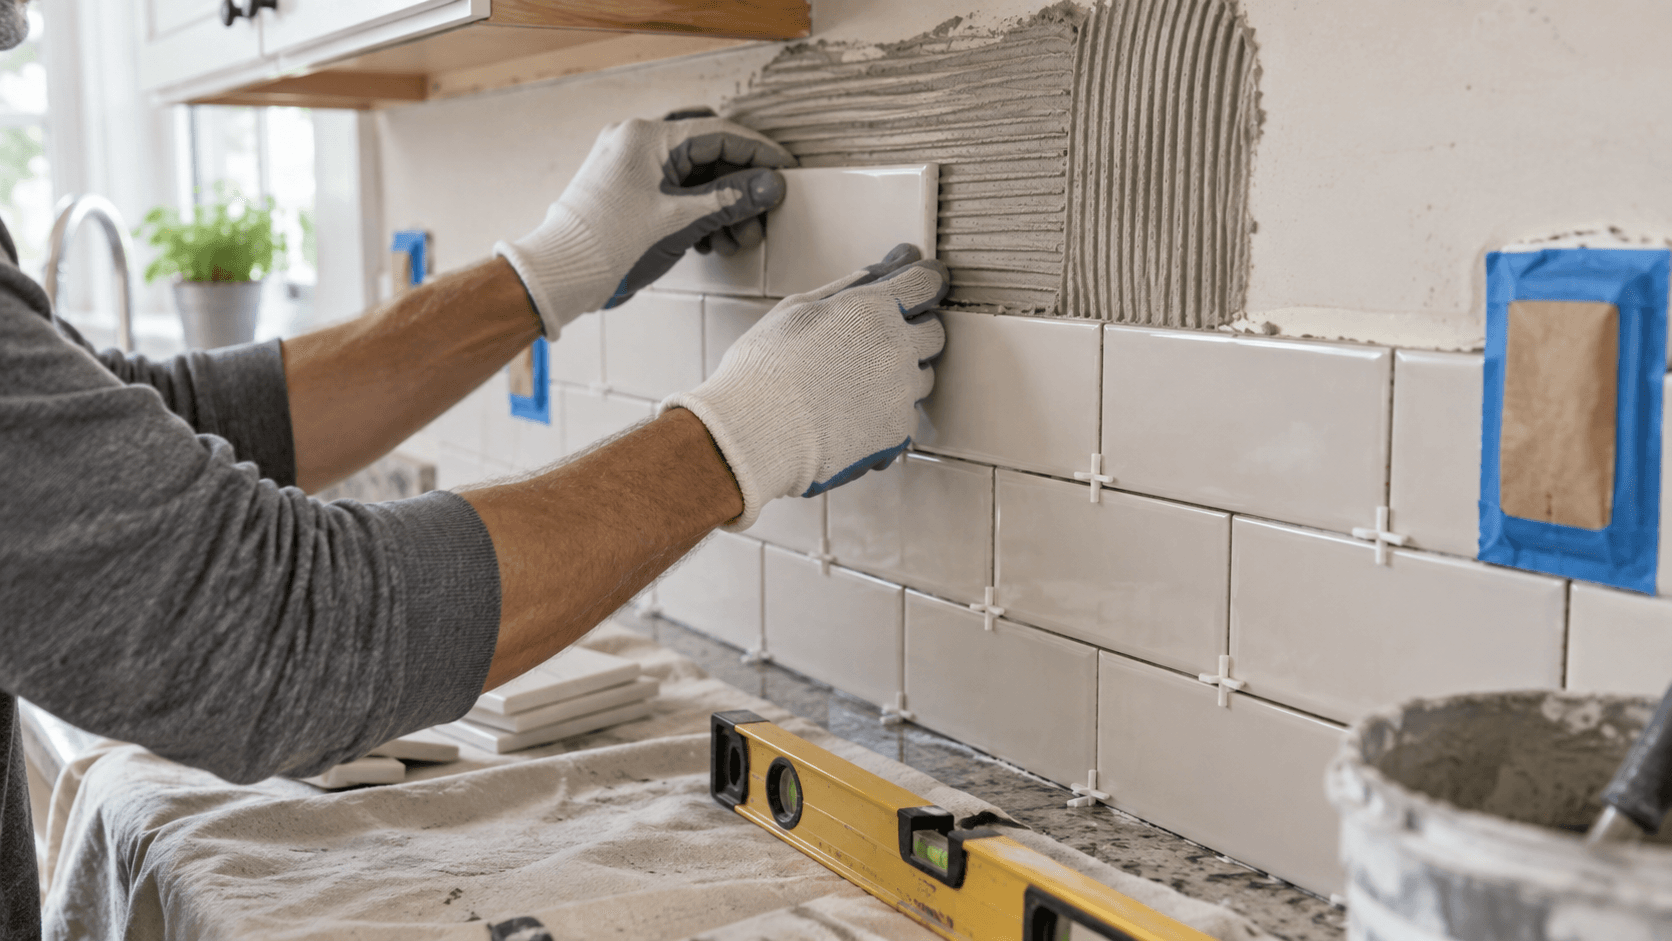
Use the recommended notch and hold the trowel consistently. Comb ridges in one direction. Press and move tiles perpendicular to the ridges to collapse them, then lift sample tiles periodically to check transfer. MAPEI's current reference guidance calls for at least 80% mortar coverage in interior dry applications and 95% in wet or exterior settings.
Set the tile
Work in areas small enough to remain within open time. Keep joints free of excess setting material for grout depth. Use spacers vertically against tile faces rather than burying them flat at intersections.
Make outlet and edge cuts with a tool rated for the tile. Wear the required eye, hearing, respiratory, and hand protection. Silica-containing tile and mortar require dust control; prefer wet cutting or appropriate extraction when the tool and material instructions call for it.
At corners, countertop transitions, and other changes of plane, preserve the movement joint rather than packing it with mortar.
Let the installation set
Do not grout early because the tile feels firm. Observe the setting material's specified wait time and environmental conditions. Slow-drying adhesive behind impervious tile can require more time.
Grout correctly
Choose grout compatible with tile material, joint width, and service conditions. Test scratch-sensitive tile first. Mix exact proportions and use a clean rubber float to fill joints fully, drawing diagonally across them.
Use the minimum cleanup water required by the product. Excess water can weaken or discolor cement grout. Change rinse water as needed and remove haze within the stated window without washing joints hollow.
After grout reaches its stated readiness, fill movement joints with a compatible elastomeric sealant. MAPEI notes that movement joints are filled with flexible sealant rather than hard grout.
Reinstall devices and finish
Only restore power after boxes, extensions, devices, plates, and grounding are secure and dry. Cover plates should sit flat without relying on them to pull a loose device forward.
Follow grout and sealant cure times before cleaning or exposing the backsplash to water. Seal only products that call for it; some ready-to-use or epoxy grouts do not use the same sealing process as traditional cement grout.
Sources
Frequently Asked Questions
Can tile be installed directly over painted drywall?
Should the countertop-to-backsplash joint be grouted?
When can a backsplash be grouted?
About the author
Jane DIY
— Senior Reviews EditorJane DIY is the Senior Reviews Editor for DIY Tool Guide. Her byline identifies articles she reviews for clarity, sourcing, and practical usefulness.
More from Home Renovation

How to Install Baseboards in 2026: Measure, Cut, Cope, and Finish
Install baseboards with a practical plan for material acclimation, stud layout, inside and outside corners, scarf joints, fastening, caulk, and paint.

How to Install Floating Laminate Flooring in 2026
Plan and install a floating laminate floor with product-specific acclimation, flatness, moisture, underlayment, expansion gaps, layout, and transition details.

How to Install a Prehung Interior Door in 2026
Install a prehung interior door with a careful plan for measuring, handing, shimming, fastening, consistent reveals, casing, and final adjustment.