
How to Clean and Stain a Wood Deck in 2026
Clean and stain a sound wood deck with careful inspection, coating-compatible preparation, controlled application, weather planning, and full drying time.
Affiliate disclosure: We may earn a commission on purchases made through links in this article, at no extra cost to you. Learn more.
Deck stain protects only the wood surface it can bond to. Dirt, loose old coating, moisture, failing boards, and incompatible chemistry can undermine the job long before the color fades.
This guide covers a structurally sound exterior wood deck. Composite decking, concrete, rooftop decks, fire-rated assemblies, and severely deteriorated structures need different methods. If the ledger, posts, beams, joists, guards, stairs, or connections appear unsafe, restrict access and obtain qualified structural help.
Inspect before cleaning
Remove furniture and plan how occupants will avoid the work area. Check boards for rot, deep splitting, protruding fasteners, severe cupping, insect damage, and softness around connections. Inspect guards and stair components by sight without using a destructive load test.
Replace or repair defective material with compatible lumber and fasteners before coating. New treated wood may need a manufacturer-specified conditioning period. Do not coat over wet preservative, mill glaze, or unidentified contamination.
Identify the existing finish
Determine whether the deck has bare weathered wood, a penetrating stain, a film-forming coating, or a solid-color finish. The next product must be compatible with what remains after preparation.
Choose a complete preparation and finish system whose label supports the wood type and existing condition. Do not mix chlorine bleach, ammonia, acids, cleaners, or strippers. Protect skin, eyes, nearby plants, siding, metal, and runoff routes according to every label and local requirement.
Choose a weather window
Review the coating's acceptable air and surface temperatures, rain-free interval, direct-sun limitations, drying time, and recoating window. Account for evening dew and shaded boards, not just the daytime forecast.
Plan an exit path before application. Staining from the doorway outward can leave the worker trapped at the far rail.
Clean without damaging the wood
Sweep leaves and grit from boards and gaps. Wet or protect adjacent surfaces when instructed. Apply the approved cleaner at its stated dilution and dwell time, keeping it from drying on the surface. Scrub in the grain direction with a suitable stiff-bristle brush, then rinse thoroughly.
Behr's deck-staining workflow, for example, uses its compatible wood cleaner, a 15-minute wait, scrubbing with the grain, and a thorough rinse. Those steps belong to that product system; another label may differ.
If pressure washing is permitted, test an inconspicuous area and use the lowest effective setting with a suitable fan tip, distance, and continuous motion. Stop if the surface begins to fuzz or erode.
Let the deck dry and prepare the surface
Allow the wood to dry fully to the coating manufacturer's standard. A fixed calendar interval is not proof of dryness. Rain, humidity, shade, board thickness, and trapped water between boards can extend the wait.
When the instructions require sanding, use the specified abrasive range in the grain direction. Feather sound coating edges and remove raised fibers without thinning corners aggressively. Control dust, protect yourself from old-coating hazards, and vacuum or sweep as directed.
Test a small area for appearance and absorption. If water beads or the test coat cannot penetrate as expected, preparation is incomplete or the selected product may be incompatible.
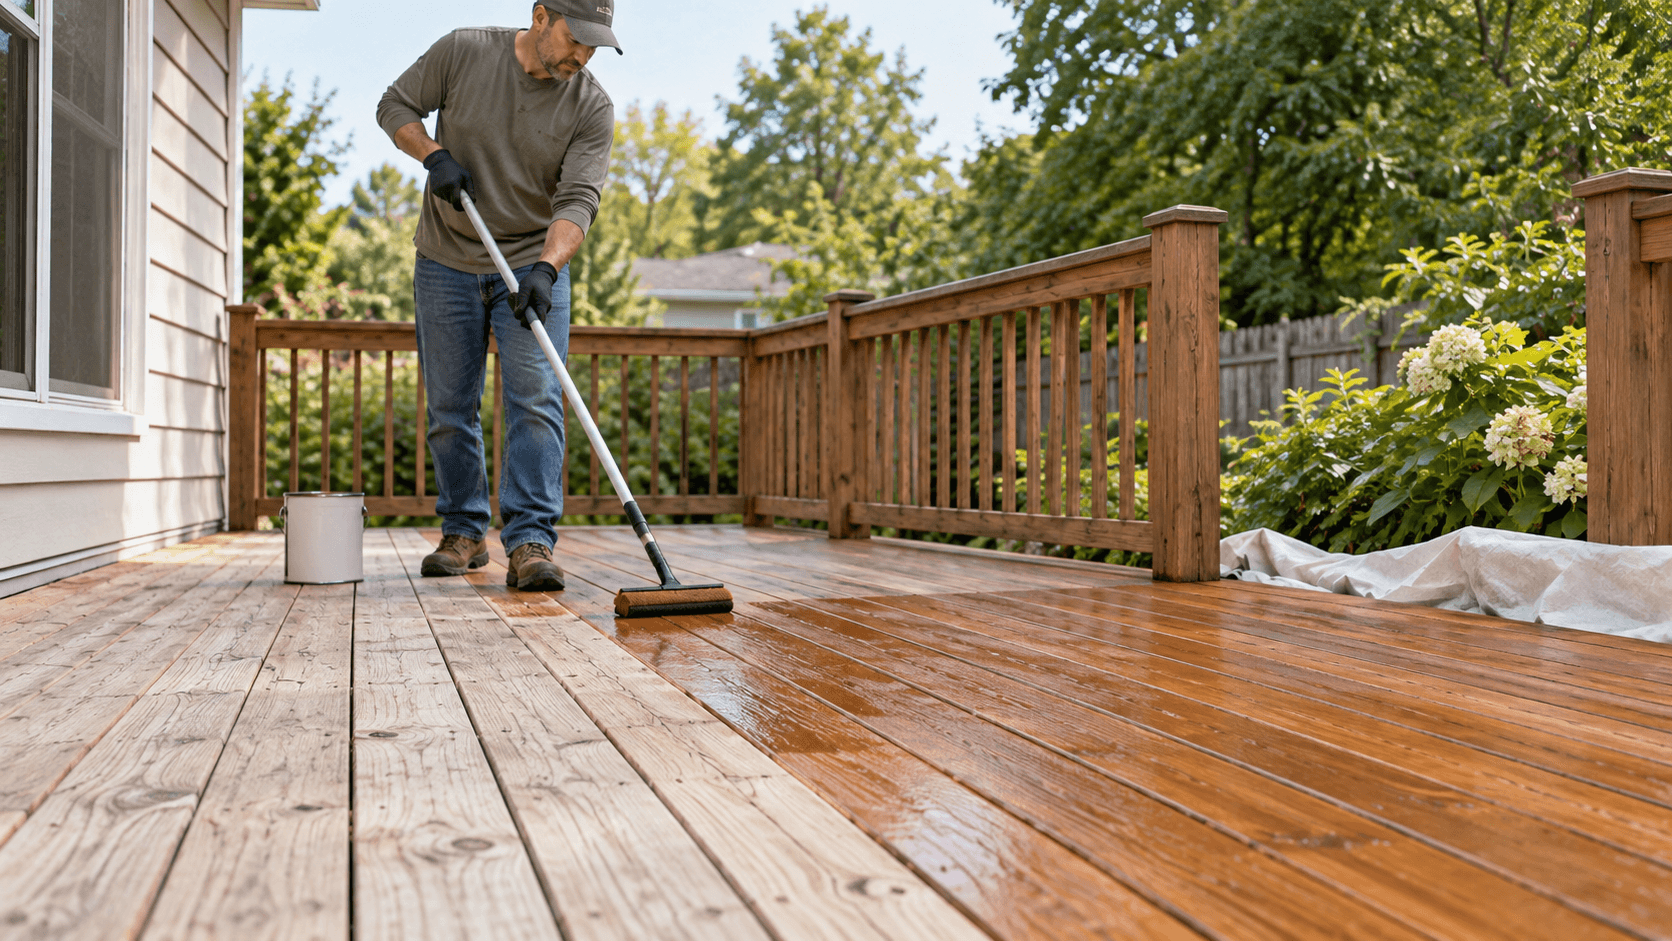
Apply the stain evenly
Stir rather than shake when directed. Mix boxed containers together if the manufacturer recommends it for color consistency. Cut in edges and detailed areas, then coat complete board lengths or a small number of boards at a time to maintain a wet edge.
Use the specified brush, pad, roller, or sprayer and stay within the published spread rate. Back-brush when required. Pay attention to exposed board ends, but do not let stain pool in gaps, low spots, or around fasteners.
Apply only the number of coats the label calls for, within its recoat window. More product is not necessarily more protection; Behr specifically warns that excess stain can create a tacky surface and interfere with absorption.
Cure and return the deck to service
Block access for the stated foot-traffic and furniture-return times. Cool temperatures and high humidity may slow drying. Do not cover uncured coating with rugs, planters, or furniture.
Inspect after cure for missed board ends, puddled areas, or adhesion problems. Follow the manufacturer's maintenance-cleaning guidance and recoat indicators rather than waiting for widespread peeling.
Common mistakes
- Coating an unsafe or rotten deck because the color looks tired.
- Mixing cleaning chemicals or ignoring runoff controls.
- Using excessive pressure that scars soft wood grain.
- Staining wood that is still damp.
- Applying in direct hot sun or before rain contrary to the label.
- Overapplying stain and leaving puddles between boards.
Sources
Frequently Asked Questions
Can you stain a deck immediately after washing it?
Should a pressure washer be used on a wood deck?
How many coats of deck stain are needed?
About the author
Jane DIY
— Senior Reviews EditorJane DIY is the Senior Reviews Editor for DIY Tool Guide. Her byline identifies articles she reviews for clarity, sourcing, and practical usefulness.
More from Outdoor & Garden

How to Install Garden Drip Irrigation in 2026
Plan and install a faucet-fed garden drip system with compatible backflow protection, filtration, pressure regulation, tubing, emitters, flushing, testing, and seasonal care.
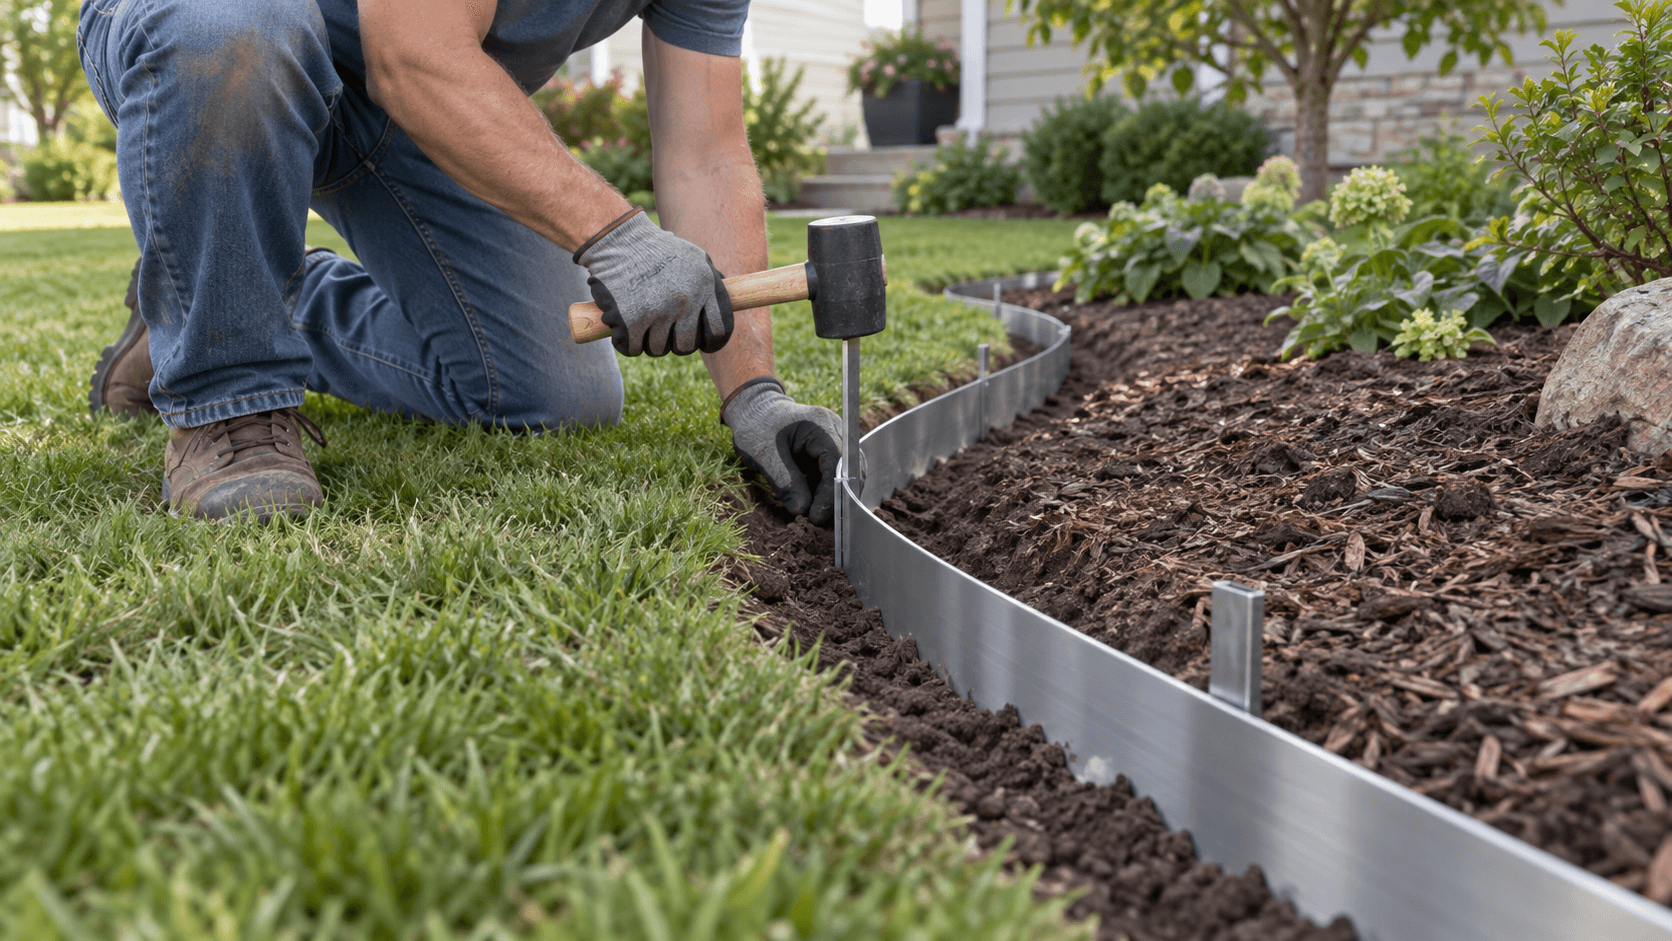
How to Install Landscape Edging in 2026
Install landscape edging with a planned line, product-specific trench, secure connections, correct staking, finished grade, and safer transitions.
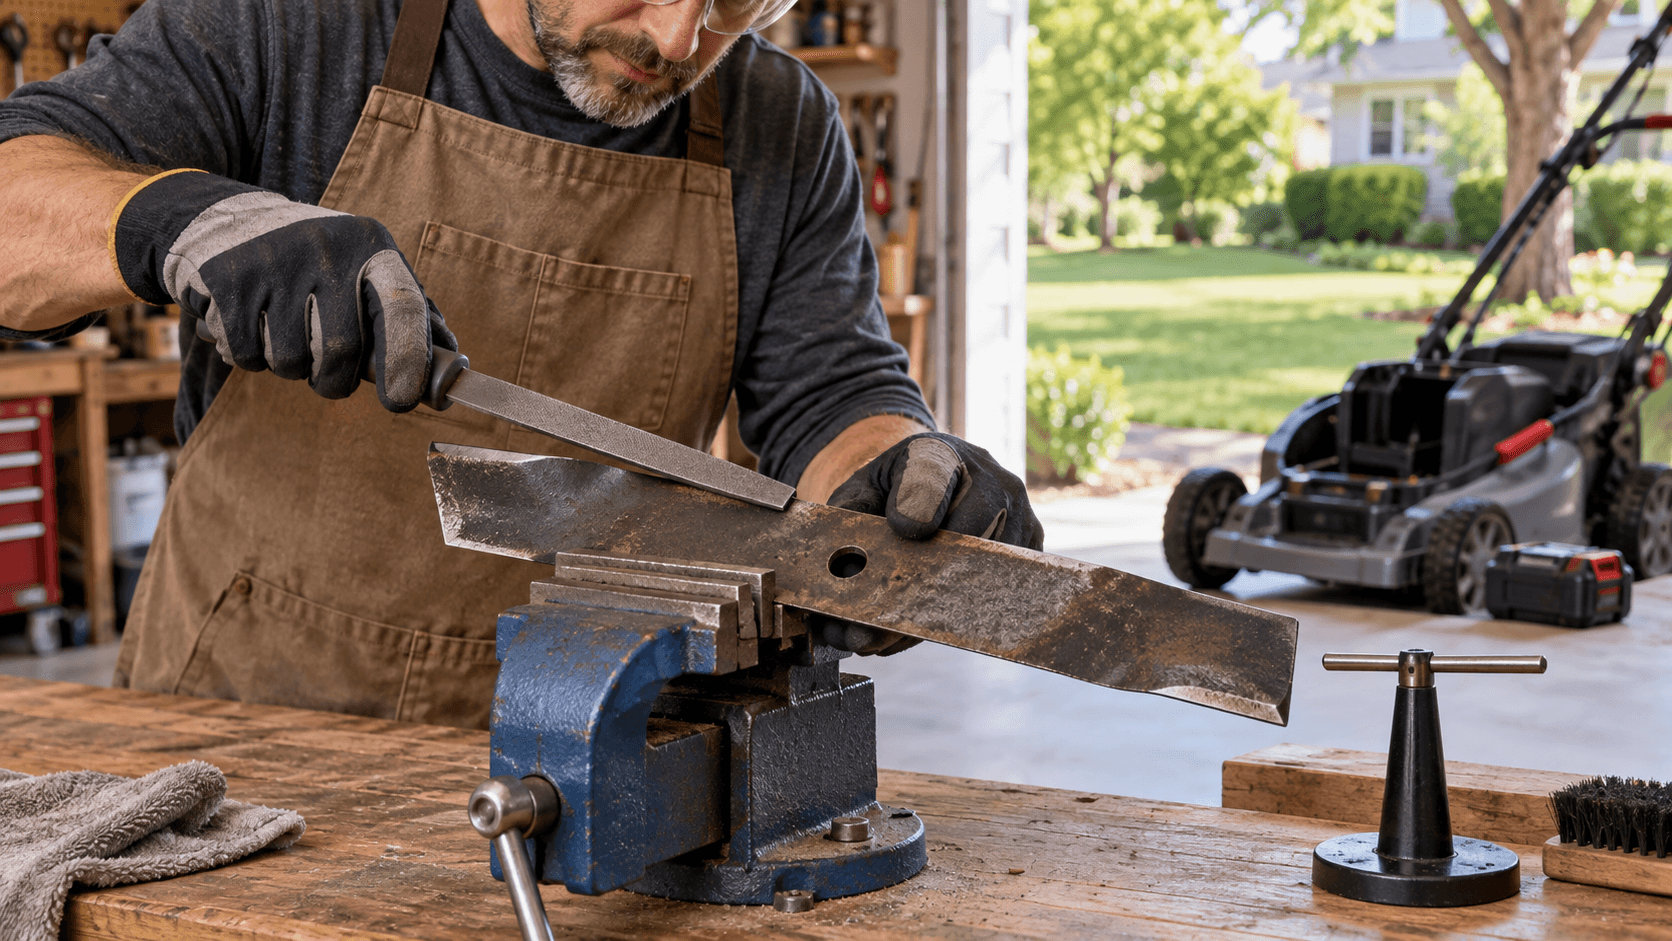
How to Sharpen a Lawn Mower Blade Safely in 2026
Sharpen a removable lawn mower blade safely by isolating power, recording orientation, inspecting for damage, preserving the original bevel, balancing, and torquing it correctly.