
How to Install Garden Drip Irrigation in 2026
Plan and install a faucet-fed garden drip system with compatible backflow protection, filtration, pressure regulation, tubing, emitters, flushing, testing, and seasonal care.
Affiliate disclosure: We may earn a commission on purchases made through links in this article, at no extra cost to you. Learn more.
Drip irrigation can place water near plant roots with less overspray, but it is not efficient merely because the tubing is black. Poor pressure control, mismatched emitters, clogged passages, leaks, and a fixed timer can waste water or leave plants dry.
This guide covers a small faucet-fed landscape or vegetable-garden system. Connections to buried irrigation, a potable plumbing system, a well pump, rainwater storage, or fertilizer injection can trigger additional design, backflow, water-quality, and code requirements.
Map plants and the water source
Sketch beds, containers, shrubs, small trees, slopes, walkways, and the faucet. Group plants by water needs where practical. A mature shrub, a seedling row, and a small pot should not automatically share the same emitter and runtime.
Confirm that the faucet is functional and accessible. Check local requirements for backflow prevention and watering restrictions. Measure available flow using an approved method and compare it with the system's minimum pressure and maximum flow limits.
Choose a compatible system
Keep tubing, fittings, regulators, and emitters within one documented sizing system. Nominal half-inch tubing from different brands can have different actual dimensions.
A typical faucet assembly may include a timer, code-compliant backflow device, filter, pressure regulator, and tubing adapter in the order specified by the manufacturer. Rain Bird's current landscape kit, for example, includes a backflow preventer with filter and a 25 psi regulator and lists 15 psi minimum inlet pressure. Those figures describe that kit, not every drip system.
Use point-source drippers for individual plants, dripline for regularly spaced rows when approved, and bubblers or micro-sprays only where their flow and wetting pattern suit the planting. Sprays are more affected by wind and evaporation than true drip emitters.
Lay out the mainline
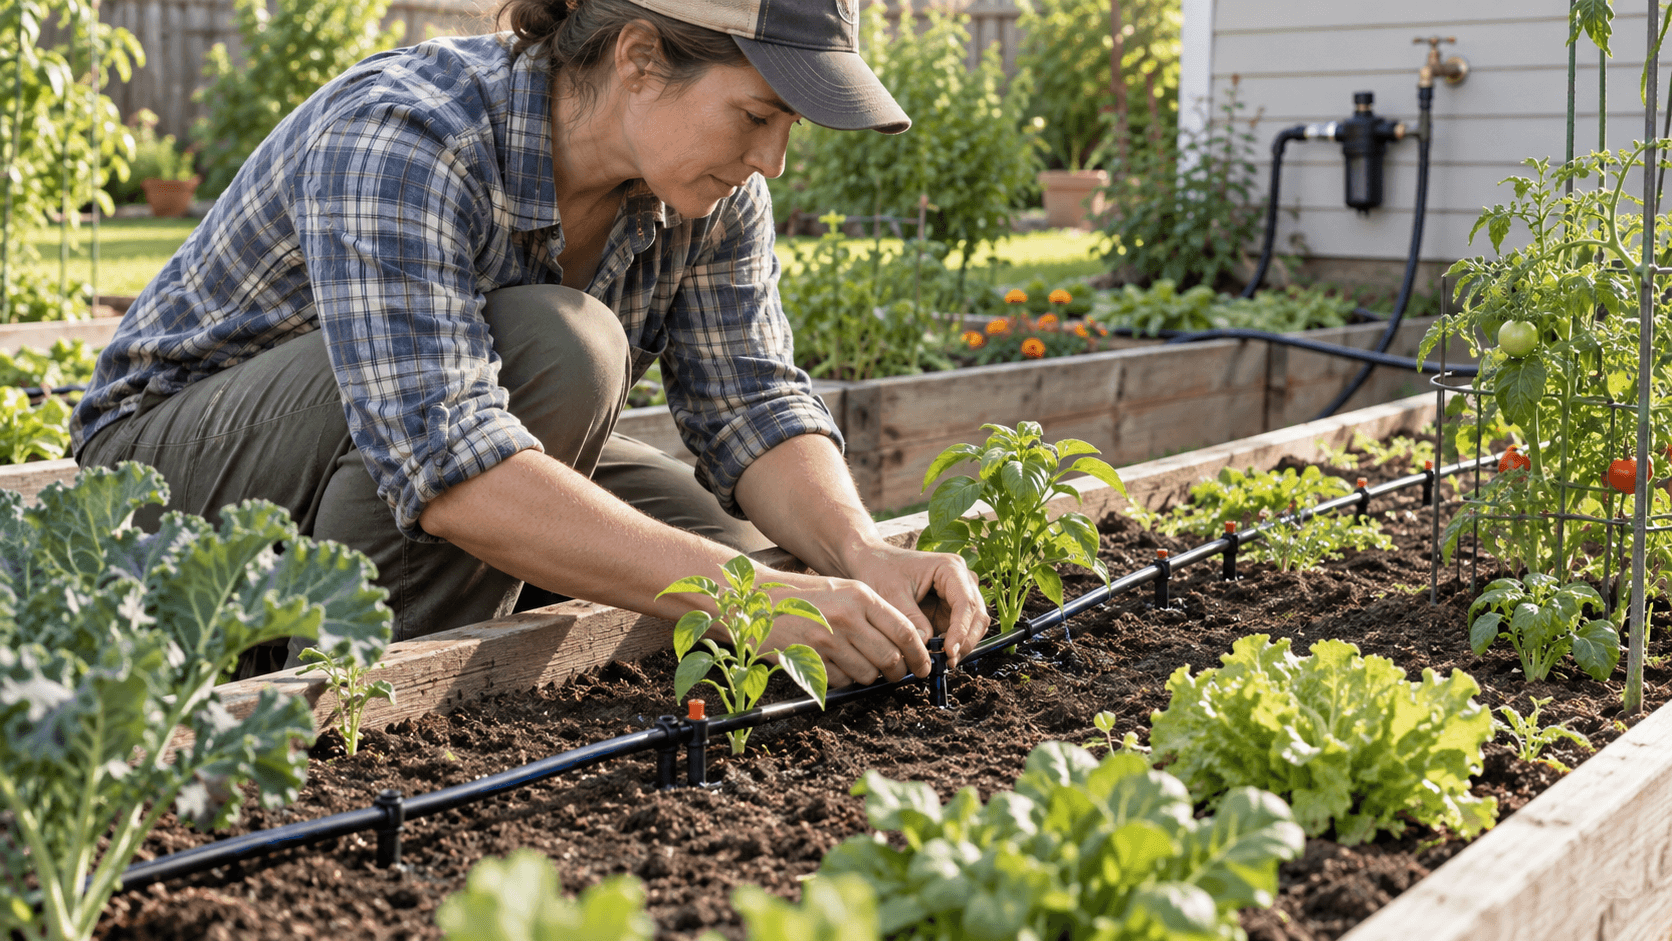
Uncoil tubing in mild sun if the instructions recommend it, keeping it away from hot surfaces and traffic. Route the main distribution line around the bed within the manufacturer's permitted branch distance. Avoid sharp kinks, mower paths, steps, and places where stakes could damage utilities.
Cut tubing square with an appropriate cutter. Push barbed fittings fully home and use clamps only where the system specifies them. Stake broad curves without crushing the tube. Do not stretch tubing tightly; temperature changes require some allowance.
Keep the far end temporarily open for flushing.
Add branch tubing and emitters
Use the manufacturer's punch or insertion tool to avoid ragged holes. Connect small branch tubing to individual plants and place emitters in the direction shown. Rain Bird's kit instructions, for example, identify flow direction and vary emitter placement according to branch distance.
Position outlets where water can infiltrate the active root zone without touching a stem or trunk continuously. Larger plants may need multiple emitters distributed across the root area as they grow. Secure tubing so an outlet cannot flip outside the bed.
Track the total flow of every emitter and device on the zone. Exceeding system capacity causes uneven delivery, especially at the end of long or uphill runs.
Flush before closing the system
Turn on water slowly with the line ends open. Let installation debris leave the tubing, then shut off the supply and fit removable end closures. These should permit future flushing and seasonal drainage when the system requires it.
Pressurize again and inspect every adapter, fitting, punched connection, and end. Repair a mistaken hole with the system's approved plug rather than tape or improvised adhesive.
Observe each emitter. A connection that does not visibly leak can still have poor flow from a kink, reversed device, clog, or inadequate pressure.
Set watering by observation
Place small containers under representative emitters and measure output over a known time if verification is needed. Compare actual delivery across the zone. Then check how deeply water moves into the soil without ponding or running off.
Set an initial schedule based on plant needs, soil texture, weather, mulch, and measured output. Recheck the root zone and adjust. New plants may need a different schedule from established plants, and seasonal rainfall should change timer programming.
Avoid very short cycles that wet only the surface unless that is appropriate for germinating seed. On slopes or slowly absorbing soil, cycle-and-soak operation may reduce runoff.
Maintain and winterize
Inspect emitters and filters regularly. Clean components only by the specified method, flush open ends periodically, and move or add emitters as plants expand. Keep tubing visible enough for inspection or cover it only as the system permits; do not bury components that are not rated for burial.
Before freezing weather, follow the manufacturer's shutdown and drainage procedure. Rain Bird's kit uses removable end closures for flushing and draining. Compressed-air blowout can be hazardous and should not be improvised without system-specific requirements and suitable equipment.
Common mistakes
- Buying emitters before mapping plant groups and available capacity.
- Omitting required backflow protection, filtration, or pressure regulation.
- Mixing fittings that share a nominal size but not actual dimensions.
- Closing the mainline before the first flush.
- Setting one permanent runtime without checking soil moisture.
- Routing exposed tubing through mowing and walking areas.
Sources
Frequently Asked Questions
Does a garden drip system need a pressure regulator?
Does drip irrigation need a backflow preventer and filter?
How long should a drip irrigation system run?
About the author
Jane DIY
— Senior Reviews EditorJane DIY is the Senior Reviews Editor for DIY Tool Guide. Her byline identifies articles she reviews for clarity, sourcing, and practical usefulness.
More from Outdoor & Garden
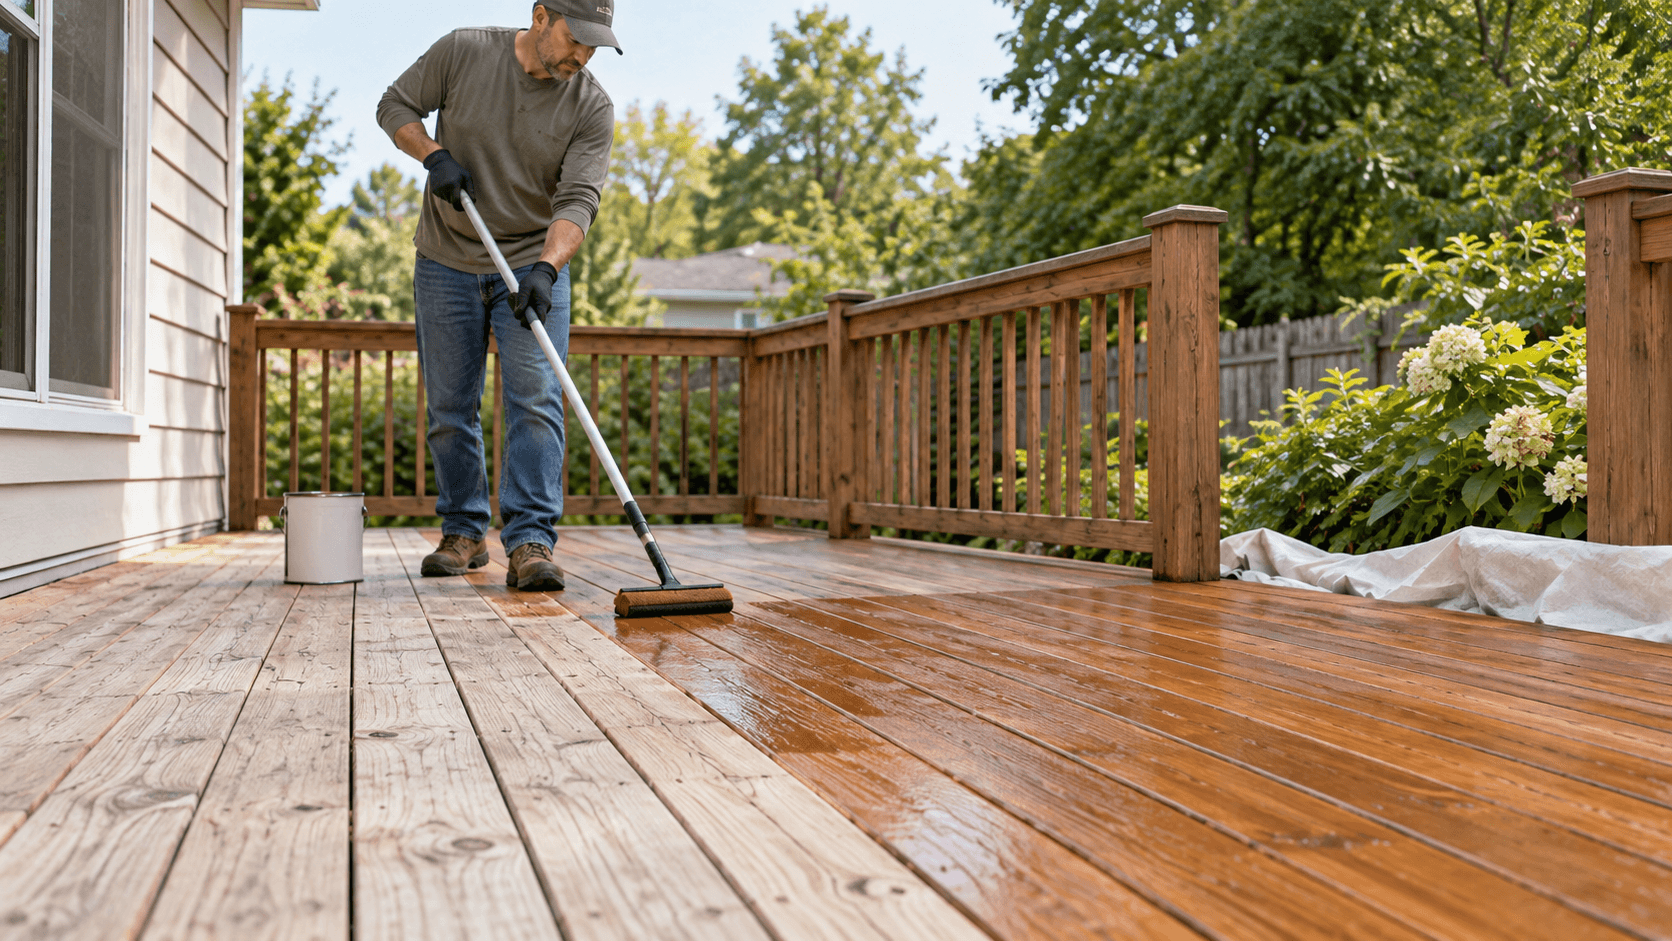
How to Clean and Stain a Wood Deck in 2026
Clean and stain a sound wood deck with careful inspection, coating-compatible preparation, controlled application, weather planning, and full drying time.
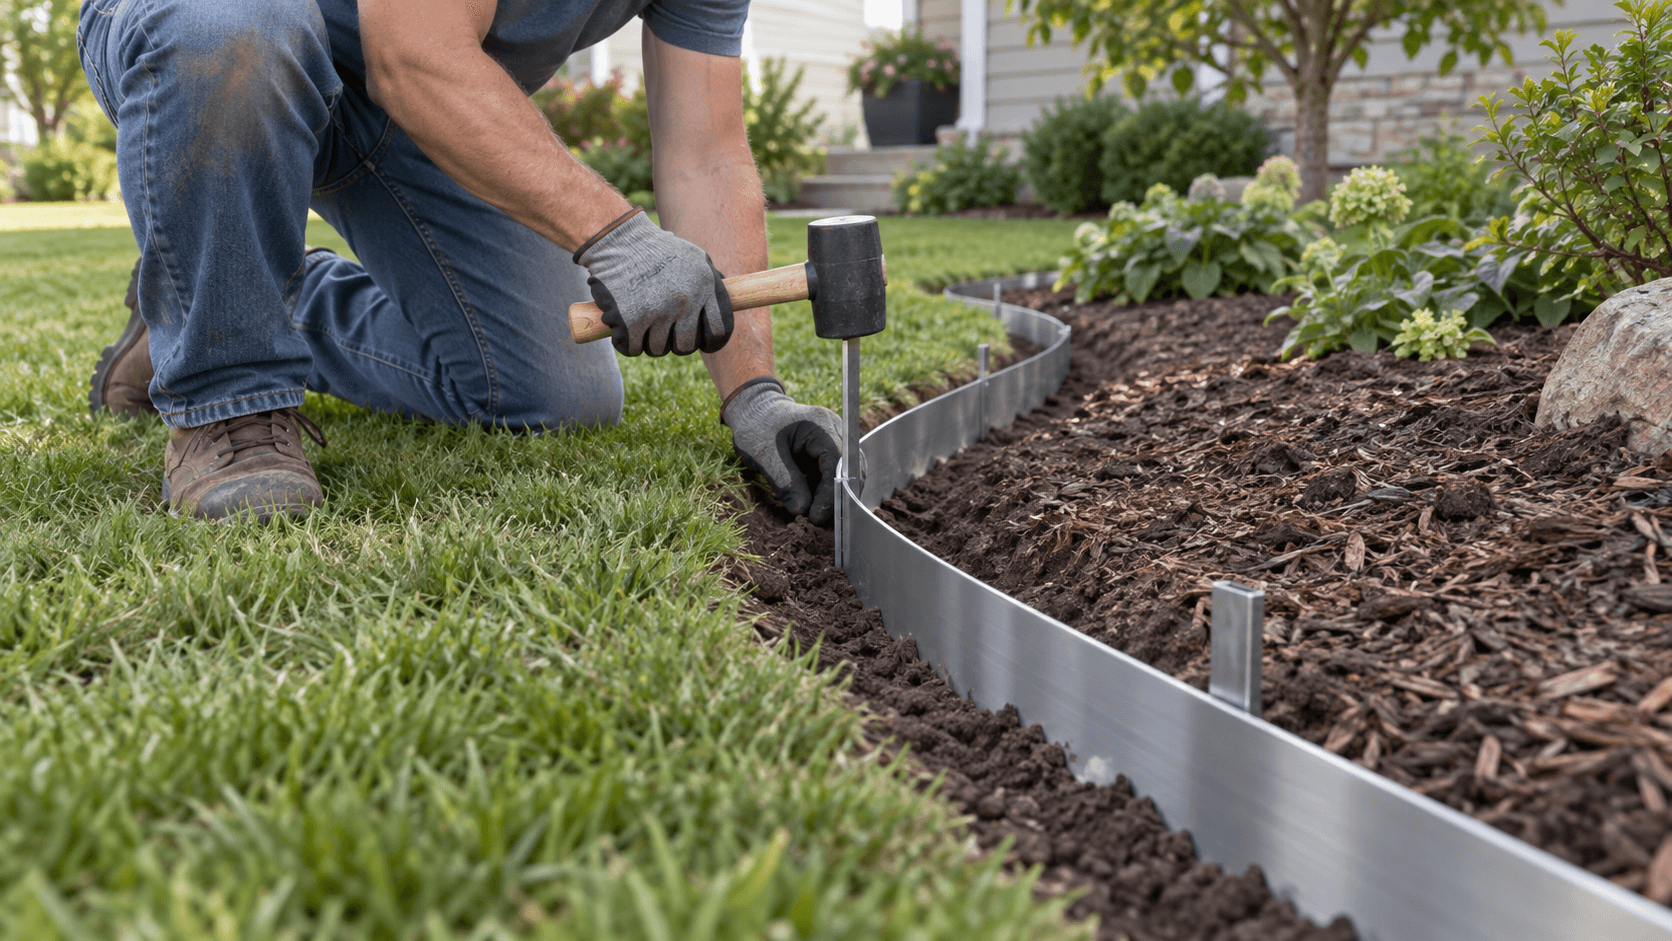
How to Install Landscape Edging in 2026
Install landscape edging with a planned line, product-specific trench, secure connections, correct staking, finished grade, and safer transitions.
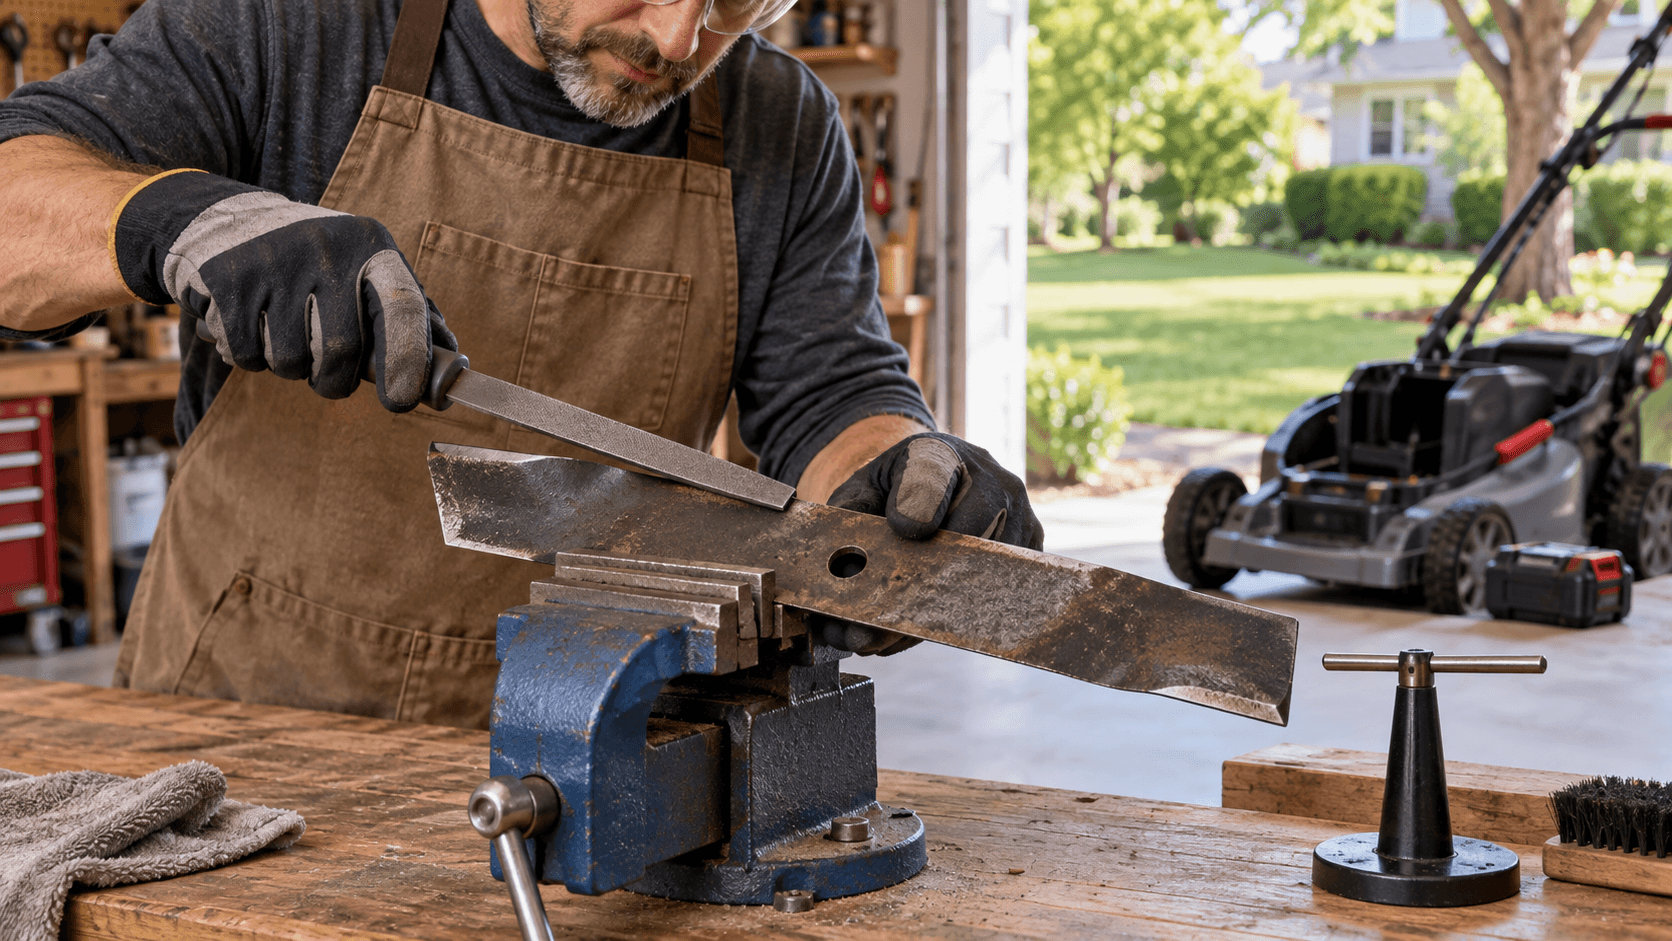
How to Sharpen a Lawn Mower Blade Safely in 2026
Sharpen a removable lawn mower blade safely by isolating power, recording orientation, inspecting for damage, preserving the original bevel, balancing, and torquing it correctly.