
How to Sharpen a Lawn Mower Blade Safely in 2026
Sharpen a removable lawn mower blade safely by isolating power, recording orientation, inspecting for damage, preserving the original bevel, balancing, and torquing it correctly.
Affiliate disclosure: We may earn a commission on purchases made through links in this article, at no extra cost to you. Learn more.
A dull mower blade tears grass instead of cutting it cleanly, but sharpening is not merely a filing task. The blade is a high-speed rotating component, and mistakes in power isolation, inspection, balance, orientation, or bolt torque can create serious hazards.
This guide provides a decision process for a removable rotary walk-behind mower blade. Riding mowers, multi-blade decks, robotic mowers, reel mowers, timed blade systems, and specialty equipment require model-specific procedures. If the manual is missing, obtain it from the manufacturer using the exact model and serial number.
Decide whether to sharpen or replace
Disconnect power exactly as the manual requires and wait for all moving parts to stop. Before removal, inspect the accessible blade area without placing hands beneath an unsupported mower.
Replace rather than sharpen a blade that is bent, cracked, heavily corroded, deeply gouged, severely thinned, or worn around the sail. Toro manuals specifically direct replacement for a bent blade, imbalance, and certain wear or slots near the transition between flat and curved portions.
An impact with a rock, root, or metal object can also damage the spindle, adapter, or deck. Vibration after an impact warrants inspection beyond the cutting edge.
Isolate power and position the mower
Move to a level, ventilated work area away from ignition sources. For a battery mower, remove the battery and any safety key. For a corded mower, unplug it and control the cord. For an engine mower, follow the manual's shutdown, spark-plug, fuel, and tipping instructions.
Never assume “air filter up” or a particular side is correct for every engine. Block or support the machine only as the manufacturer permits; do not depend on a hydraulic or improvised lift.
Wear eye protection and cut-resistant work gloves suitable for handling the blade. Gloves do not make contact with a movable blade safe.
Record blade orientation
Photograph the blade, washers, adapter, and bolt before disassembly. Mark the grass-facing side without obscuring damage. Blade sails and cutting edges must face the direction specified by the manufacturer when reinstalled.
Hold the blade with the manual-approved method—often a wood block or blade-holding tool—then remove the fastener with the correct socket. Do not use a bare hand to resist torque. Keep all hardware in order and inspect it for damage.
Clean and inspect the removed blade
Brush away dry debris so the full profile is visible. Avoid aerosol or solvent use that conflicts with the mower instructions. Lay the blade on a known flat surface if the manual uses that method to identify bending.
Compare both ends and inspect the central mounting area, sail, and transition zones under good light. If replacement criteria are met, stop. Buy a blade explicitly specified for the exact mower; matching only length or center-hole appearance is not enough.
Preserve the original cutting bevel
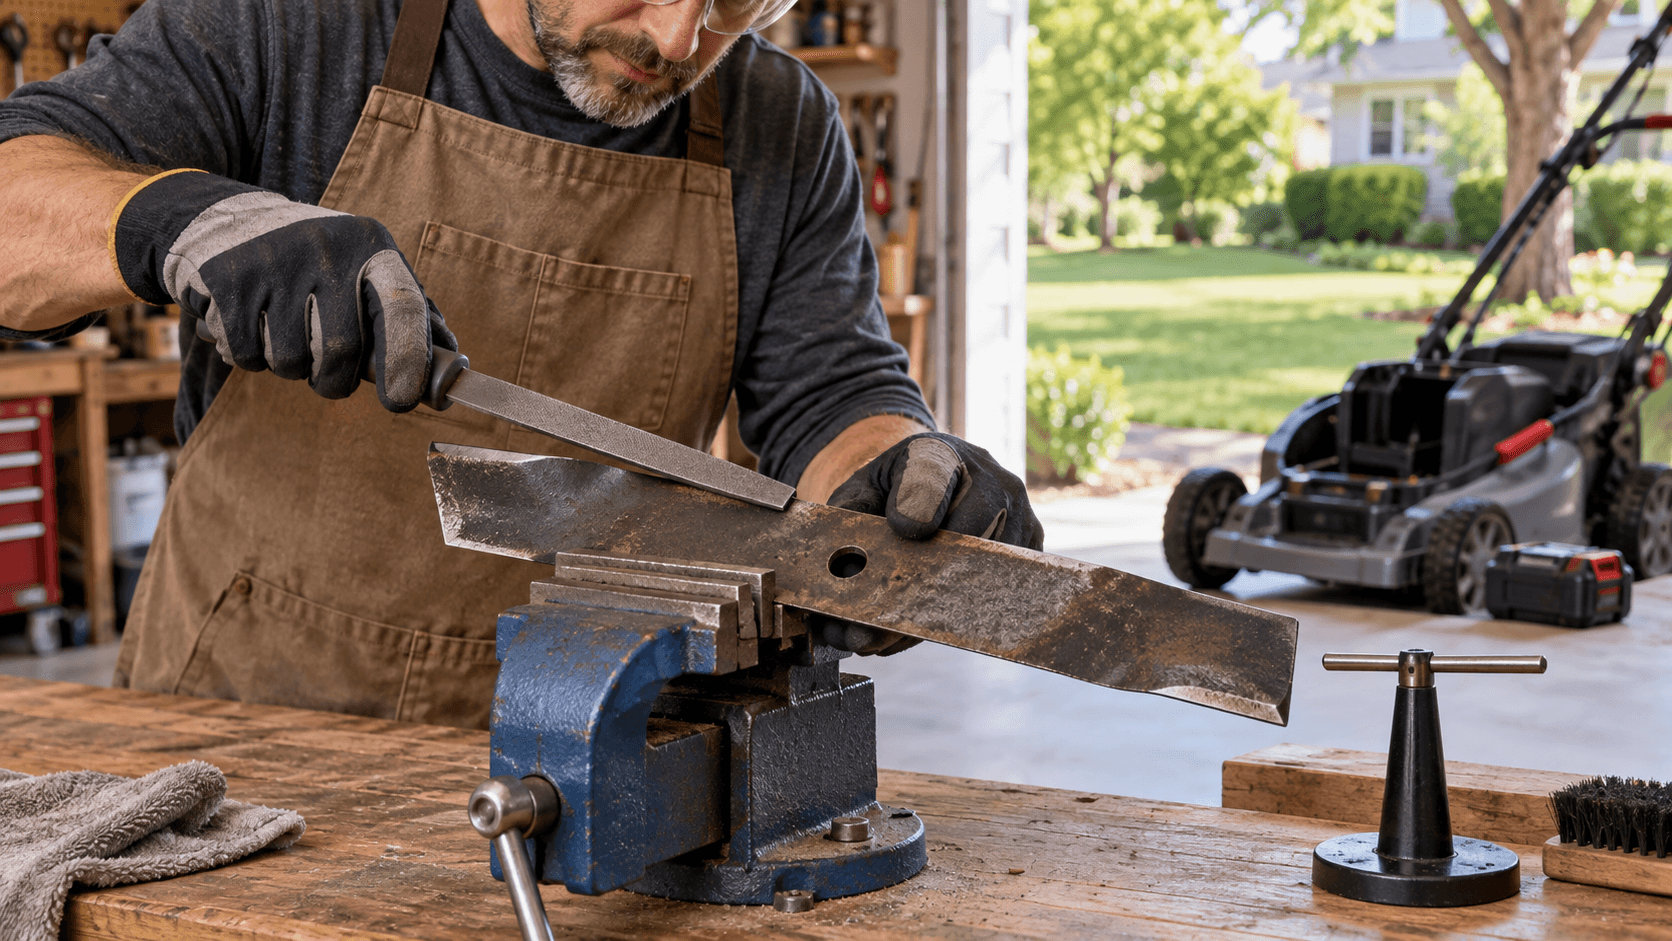
Clamp a serviceable blade securely in a bench vise. Use a hand file or the sharpening method permitted by the manual. Work along the original bevel on each cutting end, pushing the file in a controlled direction and keeping fingers clear.
Remove only enough metal to restore a clean, consistent edge and eliminate ordinary nicks. Do not change the bevel angle, sharpen the sail, or create a razor edge. Remove similar amounts from both ends to preserve balance.
A powered grinder removes material and adds heat quickly. Use one only when the equipment manufacturer permits it and you can control angle, heat, sparks, guards, and work holding. A hand file is slower but easier for many homeowners to control.
Check balance
Place the clean blade on a proper blade balancer as directed. If one end drops, remove a small amount from the cutting area of the heavier end while preserving the original profile, then check again.
Do not drill holes, grind the sail, or keep removing material from a damaged blade just to make it balance. Replace a blade that cannot be balanced within safe wear limits.
Reinstall and torque correctly
Clean the mounting surface and inspect the adapter and hardware. Install the blade in its recorded orientation with every washer, cup, or adapter positioned exactly as shown in the manual.
Start threads by hand to avoid cross-threading. Restrain the blade with the approved method and tighten the fastener with a calibrated torque wrench to the model-specific value. Never copy a torque number from another mower; published specifications vary substantially.
Restore the machine to its operating position before reconnecting power. Rotate the blade by the approved method to check clearance, then make a brief test in a clear area. Stop immediately if there is abnormal vibration, noise, or contact.
Common mistakes
- Working without the exact mower manual.
- Reaching under a mower that is connected to power or inadequately supported.
- Sharpening a bent, cracked, or severely worn blade.
- Losing track of blade and washer orientation.
- Grinding a new angle or a fragile razor edge.
- Skipping balance or guessing the blade-bolt torque.
Sources
Frequently Asked Questions
How sharp should a lawn mower blade be?
Can a mower blade be sharpened without removing it?
When should a mower blade be replaced instead of sharpened?
About the author
Jane DIY
— Senior Reviews EditorJane DIY is the Senior Reviews Editor for DIY Tool Guide. Her byline identifies articles she reviews for clarity, sourcing, and practical usefulness.
More from Outdoor & Garden

How to Clean and Stain a Wood Deck in 2026
Clean and stain a sound wood deck with careful inspection, coating-compatible preparation, controlled application, weather planning, and full drying time.

How to Install Garden Drip Irrigation in 2026
Plan and install a faucet-fed garden drip system with compatible backflow protection, filtration, pressure regulation, tubing, emitters, flushing, testing, and seasonal care.
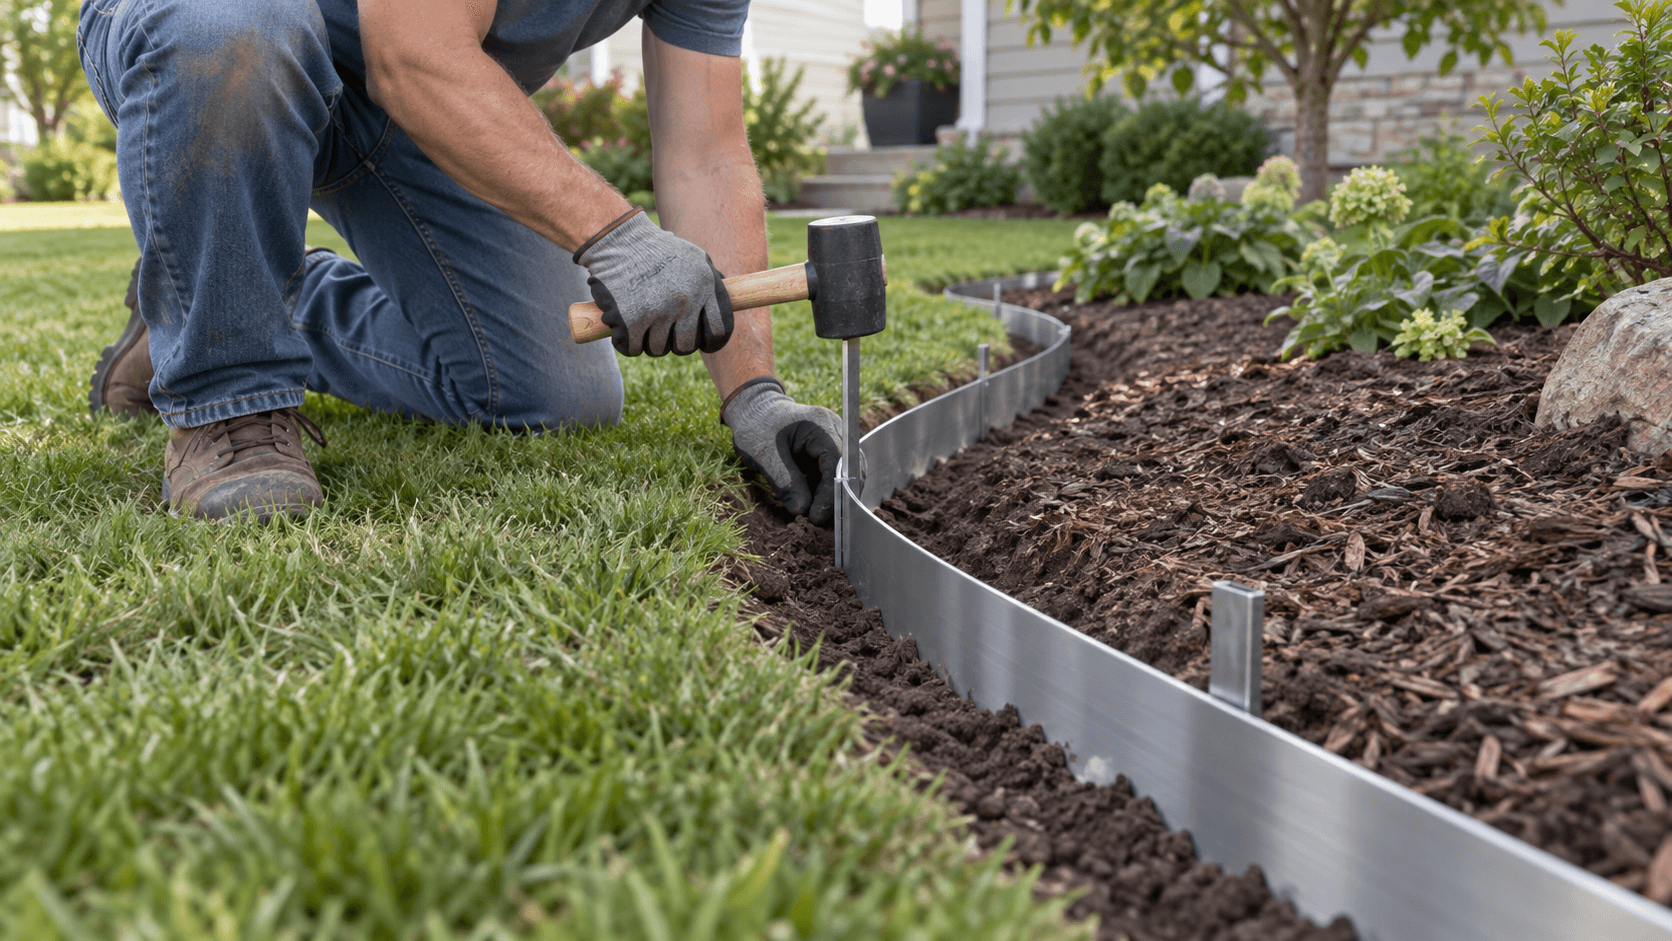
How to Install Landscape Edging in 2026
Install landscape edging with a planned line, product-specific trench, secure connections, correct staking, finished grade, and safer transitions.