
How to Fix Peeling Paint on Interior Walls in 2026
Fix peeling interior wall paint by identifying moisture or adhesion failure, addressing lead risk, removing only failed material, repairing edges, priming, and repainting.
Affiliate disclosure: We may earn a commission on purchases made through links in this article, at no extra cost to you. Learn more.
Peeling paint means one or more layers have lost their bond. Covering the edge may hide it briefly, but the loose layer remains underneath and often carries the new coating away with it.
This guide covers a small interior failure on a dry, structurally sound wall. Active leaks, widespread mold, crumbling plaster, soft drywall, contaminated flood material, or large unknown coatings require a broader repair plan.
Stop and evaluate lead risk
Before scraping, sanding, drilling, or cutting, determine the building age and coating history. EPA says homes built before 1978 are more likely to contain lead-based paint and recommends hiring a lead-safe certified contractor for renovation work.
If the age or paint content is unknown, do not generate ordinary dry dust. Follow current federal, state, tribal, and local requirements; rules for contractors, rental property, childcare facilities, and owner-occupied DIY work can differ.
Identify the cause
Look above, behind, and around the failure. Possible causes include:
- plumbing, roof, window, or exterior-envelope leaks;
- bathroom or kitchen condensation;
- painting over grease, soap, dust, wallpaper adhesive, or glossy finish;
- incompatible primer and topcoat;
- coating drywall compound before adequate drying;
- weak chalky plaster or damaged drywall paper;
- too much film thickness or painting outside product conditions.
Correct moisture and ventilation problems and let the assembly dry. A moisture meter can help compare areas, but its reading must be interpreted for the substrate and instrument.
Test the boundary
Protect the room and isolate the work area using the containment appropriate to the hazard assessment. Probe gently with a hand scraper. Sound paint should resist lifting; failed paint releases easily.
If peeling continues far beyond the visible patch, stop expanding the repair blindly. Widespread layer separation may require systematic coating removal or professional evaluation.
Remove only failed material
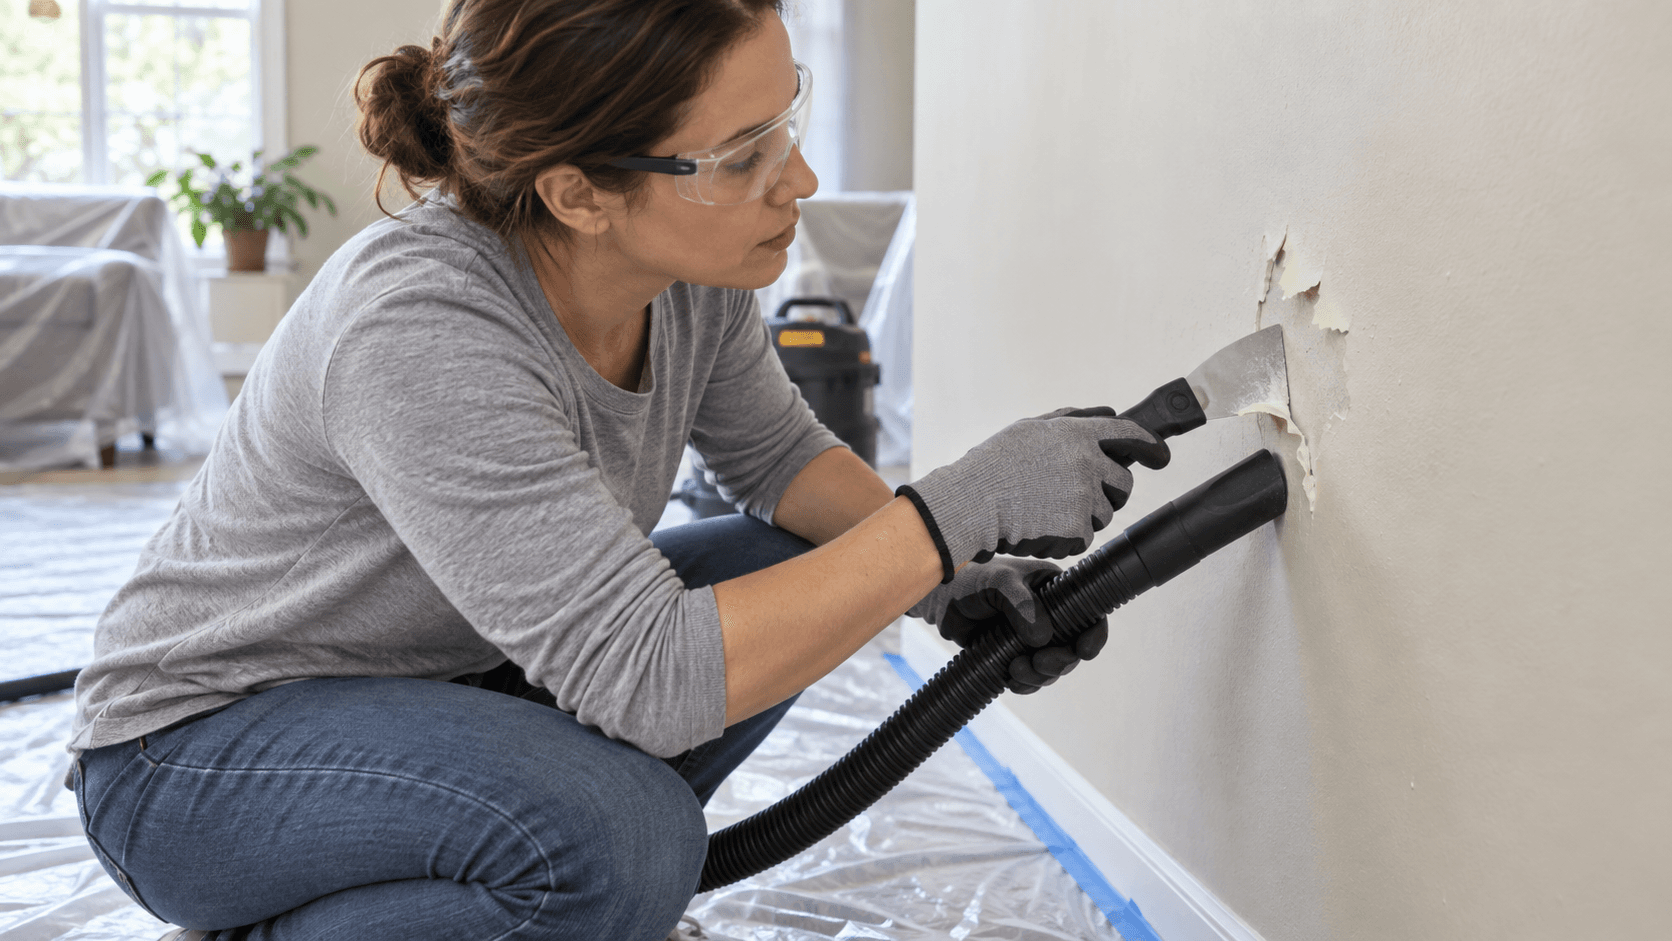
Using the safe method established for the coating, remove loose and curling edges back to firm adhesion. Keep the scraper angle shallow to avoid gouging drywall paper or plaster.
Feather the transition only after confirming the dust-control method. EPA's DIY lead-safe guidance describes containment, dust minimization, HEPA cleanup, wet methods, and controlled waste for possible lead paint; an ordinary shop vacuum is not a substitute for required HEPA controls.
Repair the substrate
Seal torn drywall face paper with a problem-surface sealer specified for that use before applying water-based compound. Patch shallow defects in thin layers and let each layer dry. For plaster, use a compatible repair method rather than covering loose keys or delamination.
Sand repaired areas smooth under side lighting without cutting a depression around them. Remove dust by the approved method and confirm the surface is clean and dry.
Prime a test patch
Choose primer for the actual problem: bonding to a sound glossy edge, sealing drywall paper, blocking a stain, or supporting the selected finish. One generic primer does not perform every role.
Apply a small test patch across repaired and existing surfaces. Let it cure for the stated time, then inspect for lifting, blistering, staining, or edge mapping. If the old layer softens or releases, reassess compatibility instead of adding another coat.
Repaint the repaired area
Feather primer and finish beyond the patch according to product instructions. Larger walls may need a full corner-to-corner finish coat because sheen and texture can make spot repairs visible.
Maintain the stated temperature, humidity, ventilation, and recoat times. A heavy coat can skin over while remaining soft beneath. Avoid washing or rubbing the repair until the coating reaches its return-to-service or cure time.
Monitor after repair
Recheck the area after rain, seasonal temperature changes, showers, or other conditions connected to the original failure. New bubbles, staining, soft substrate, or odor indicate that the underlying issue persists.
Common mistakes
- Painting directly over a loose edge.
- Repairing before stopping a leak or condensation problem.
- Dry sanding unknown old paint.
- Using a non-HEPA household or shop vacuum for hazardous dust.
- Applying joint compound over unsealed torn drywall paper.
- Skipping a compatibility test when the old coating is unknown.
Sources
Frequently Asked Questions
Can peeling paint simply be painted over?
Why does bathroom paint keep peeling?
Is it safe to sand peeling paint in an old house?
About the author
Jane DIY
— Senior Reviews EditorJane DIY is the Senior Reviews Editor for DIY Tool Guide. Her byline identifies articles she reviews for clarity, sourcing, and practical usefulness.
More from Painting & Finishing
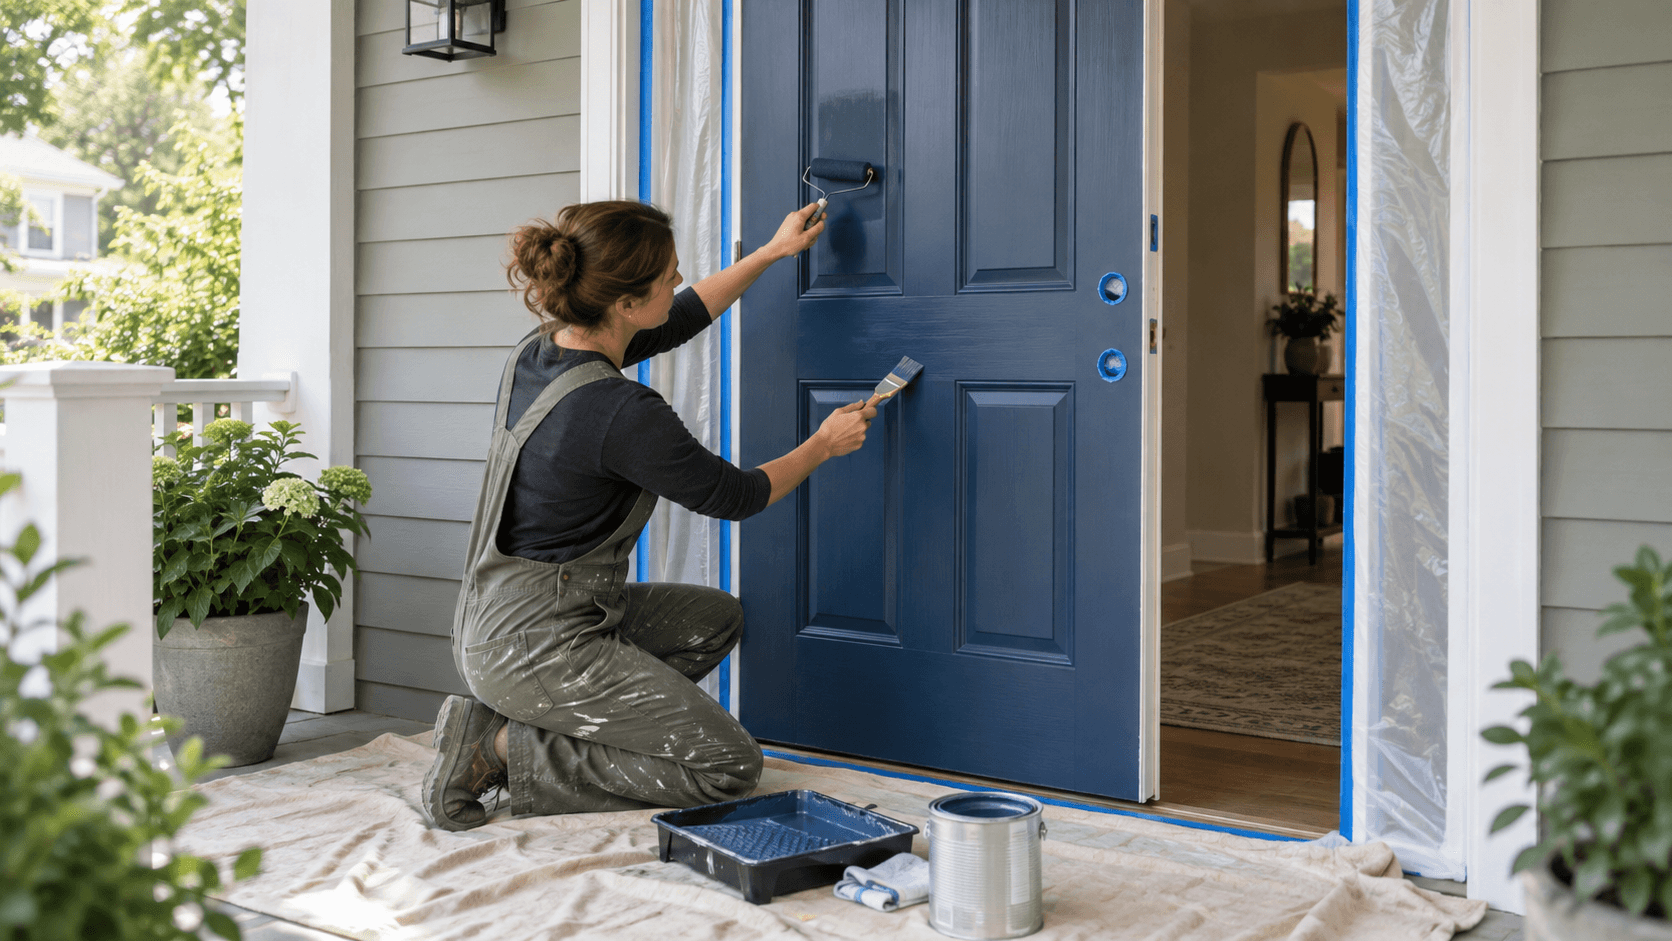
How to Paint a Front Door in 2026
Paint a front door with a substrate-aware plan for weather, hardware removal, cleaning, repairs, sanding, primer, thin finish coats, edges, and curing.
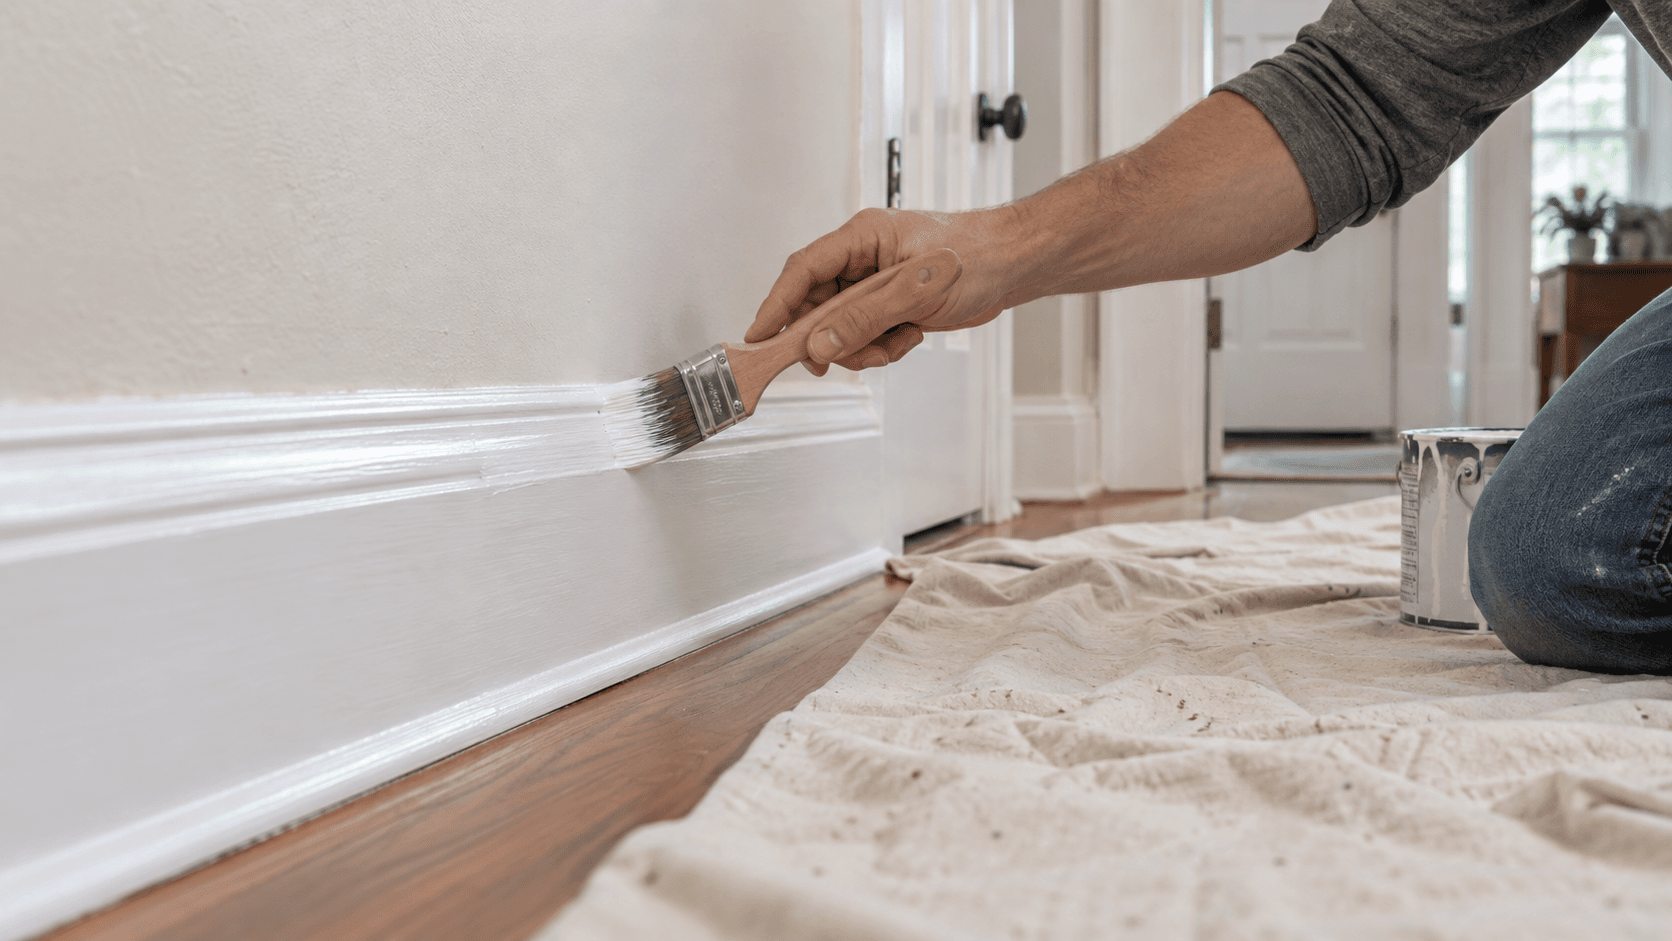
How to Paint Interior Trim and Baseboards in 2026
Paint interior trim and baseboards with careful cleaning, repairs, sanding, caulk decisions, compatible primer, controlled brushwork, and proper cure time.
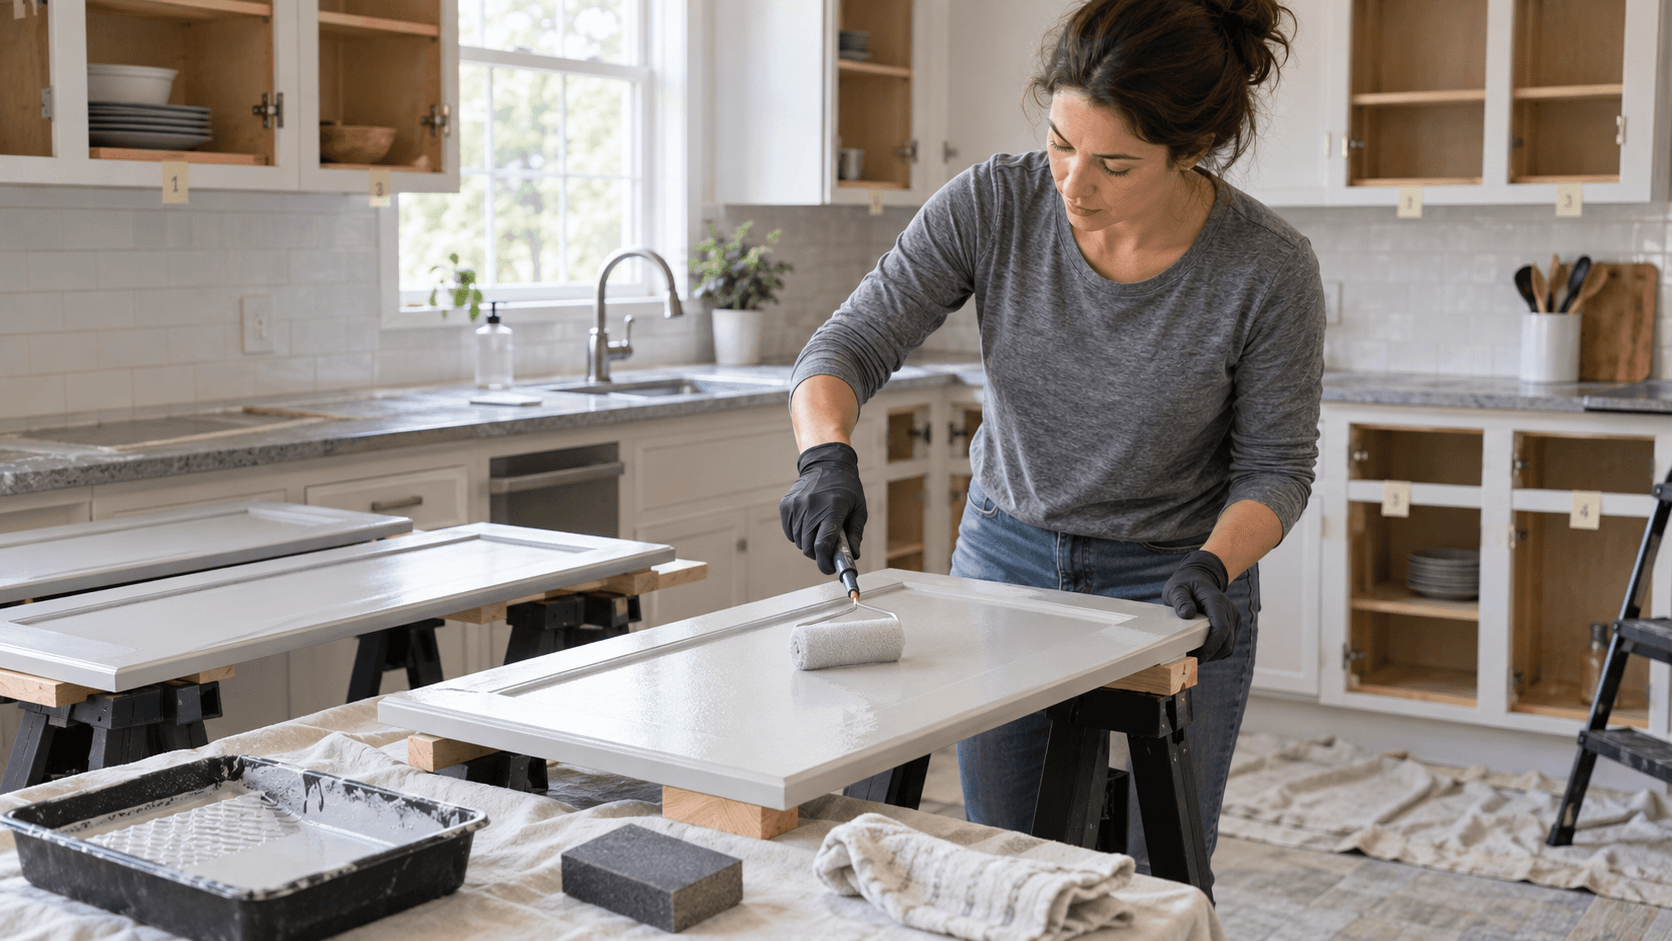
How to Paint Kitchen Cabinets in 2026
Paint kitchen cabinets with a controlled process for labeling, degreasing, repairs, sanding, compatible primer, durable enamel, curing, and reassembly.