
How to Paint a Front Door in 2026
Paint a front door with a substrate-aware plan for weather, hardware removal, cleaning, repairs, sanding, primer, thin finish coats, edges, and curing.
Affiliate disclosure: We may earn a commission on purchases made through links in this article, at no extra cost to you. Learn more.
A front door is exposed to sunlight, temperature swings, rain, hand oils, abrasion, weatherstripping, and repeated impact. The coating must match both the substrate and the door manufacturer's finishing requirements.
This guide addresses a sound exterior door. Rot, rust perforation, delamination, water entry, loose hinges, damaged glass, failed seals, and an out-of-square frame need repair before cosmetic work.
Identify the door and restrictions
Determine whether the slab is wood, steel, fiberglass, or another composite. Find the manufacturer label and review instructions for coatings, primer, warranty, edge sealing, and acceptable colors. Dark paint can raise surface temperature in direct sun and may be restricted for some doors or storm-door combinations.
Test the existing finish and new system in an inconspicuous location. Do not assume a coating that works on wood will bond to factory-finished fiberglass or galvanized steel.
Plan weather, access, and security
Choose a dry period within the coating's air and surface temperature limits. Account for direct sun, overnight dew, windblown debris, and the time before the door can close against weatherstripping.
Decide whether to paint in place or remove the slab. Removal improves access but creates a heavy lifting, security, and weather-protection problem. Use enough help and stable padded supports; never balance a heavy door on improvised objects.
Remove or protect hardware
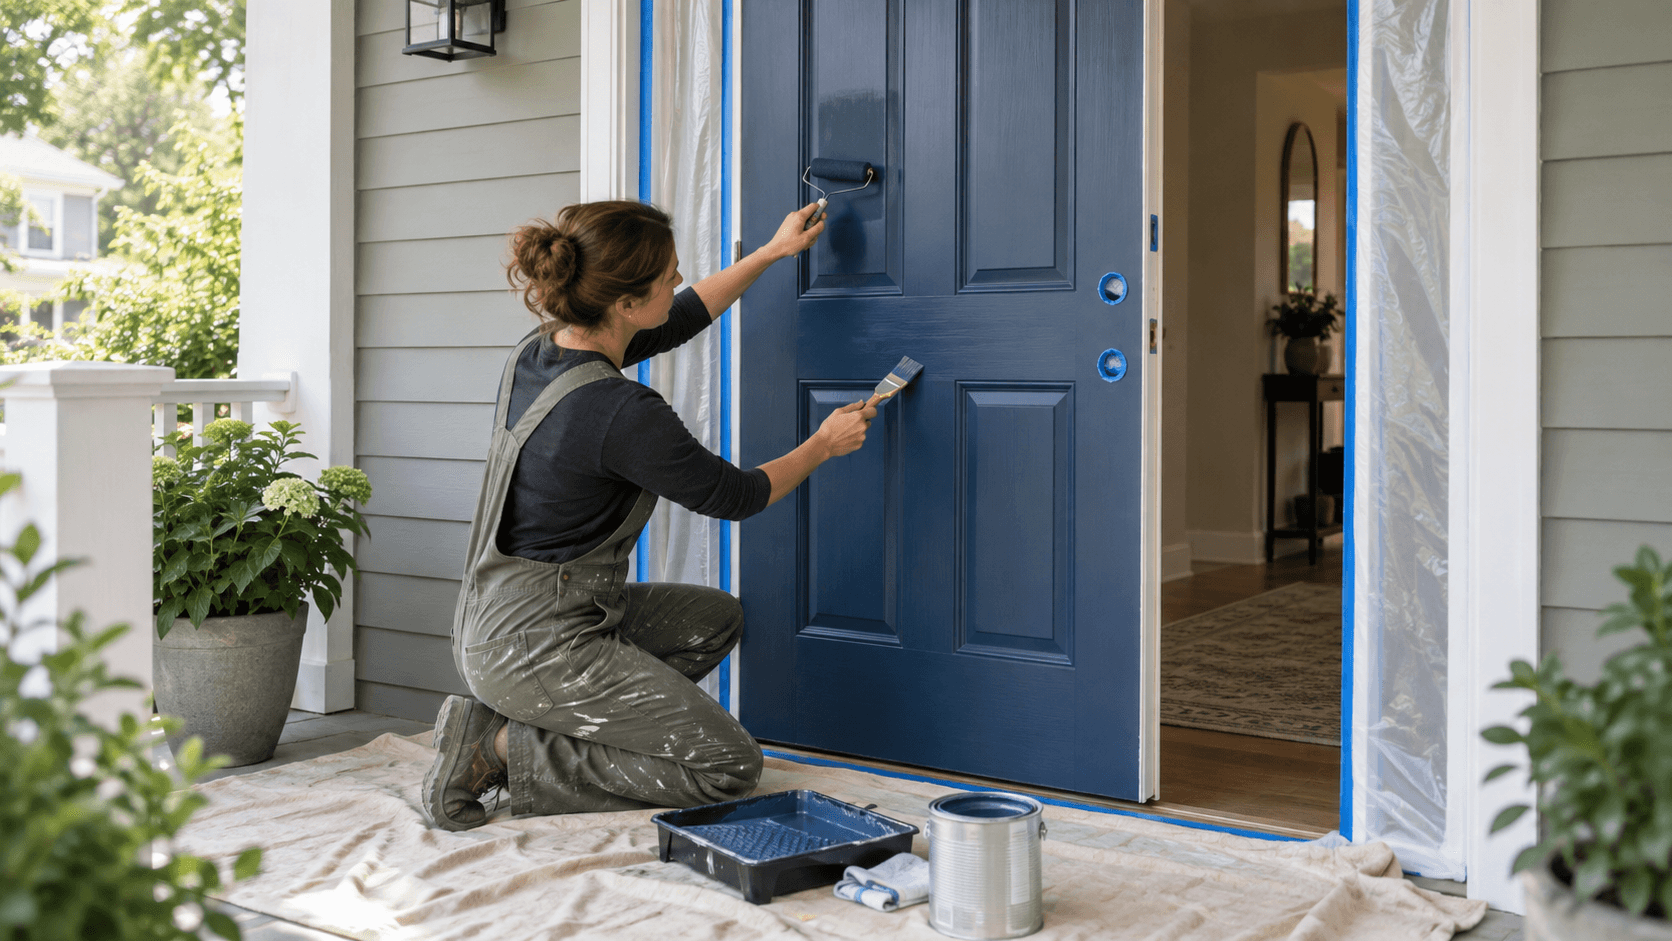
Photograph hardware position, then remove the lockset, knocker, kick plate, and weatherstripping when permitted. Keep fasteners organized. If a component cannot be removed, mask it without pushing tape into a moving joint.
Do not paint hinges, latch faces, labels, glass seals, or flexible weatherstripping. Keep paint from building up on edges that already have tight clearance.
Clean, repair, and sand
Wash the door with an approved cleaner to remove hand oils, dirt, chalking, and residue. Rinse if required and allow full drying. Scrape loose paint only after addressing lead hazards on pre-1978 or unknown-age coatings.
Repair defects with products intended for the door material and exterior exposure. Sand in the sequence specified by the coating system, feathering sound paint edges without cutting through protective metal coatings or fiberglass skins. Remove all dust.
Prime the correct surfaces
Use the specified primer for bare wood, exposed metal, stains, resin, factory finishes, or repaired areas. Some systems need full priming; others need only spot priming. Confirm compatibility rather than combining unrelated products.
Allow the primer to dry, then correct raised grain, runs, or debris before topcoat. Behr's front-door workflow includes cleaning, light sanding, primer, and fine scuff sanding, but exact abrasives and timing must follow the chosen system.
Paint panels, rails, and edges
Stir the paint. On a paneled door, coat recesses and profiles with an angled brush, then roll larger flat areas in a logical sequence while maintaining a wet edge. Apply thin, even coats and inspect lower edges for sags.
Finish brush strokes with the grain direction on a wood door. Do not overwork paint that has started to set. Coat required slab edges as the door manufacturer directs, avoiding drainage openings and excessive buildup.
Apply subsequent coats only within the specified recoat window. Light intercoat sanding is product-dependent, not universal.
Cure before normal service
Remove tape at the instructed stage. Reinstall hardware only when the coating can tolerate contact, and avoid tightening plates into soft paint. Keep weatherstripping from bonding to the finish.
Confirm the latch, deadbolt, clearances, and closing force before leaving the door in service. Do not solve paint buildup by forcing or slamming the slab.
Common mistakes
- Selecting color before checking the door warranty and sun exposure.
- Painting over oils and chalked old finish.
- Coating hinges, weatherstripping, labels, or drainage details.
- Applying one thick coat that sags in panel corners.
- Closing the door against seals before adequate cure.
- Sanding possible lead paint without a safe process.
Sources
Frequently Asked Questions
Can a front door be painted without removing it?
What paint should be used on a front door?
Should the top and bottom edges of a front door be painted?
About the author
Jane DIY
— Senior Reviews EditorJane DIY is the Senior Reviews Editor for DIY Tool Guide. Her byline identifies articles she reviews for clarity, sourcing, and practical usefulness.
More from Painting & Finishing
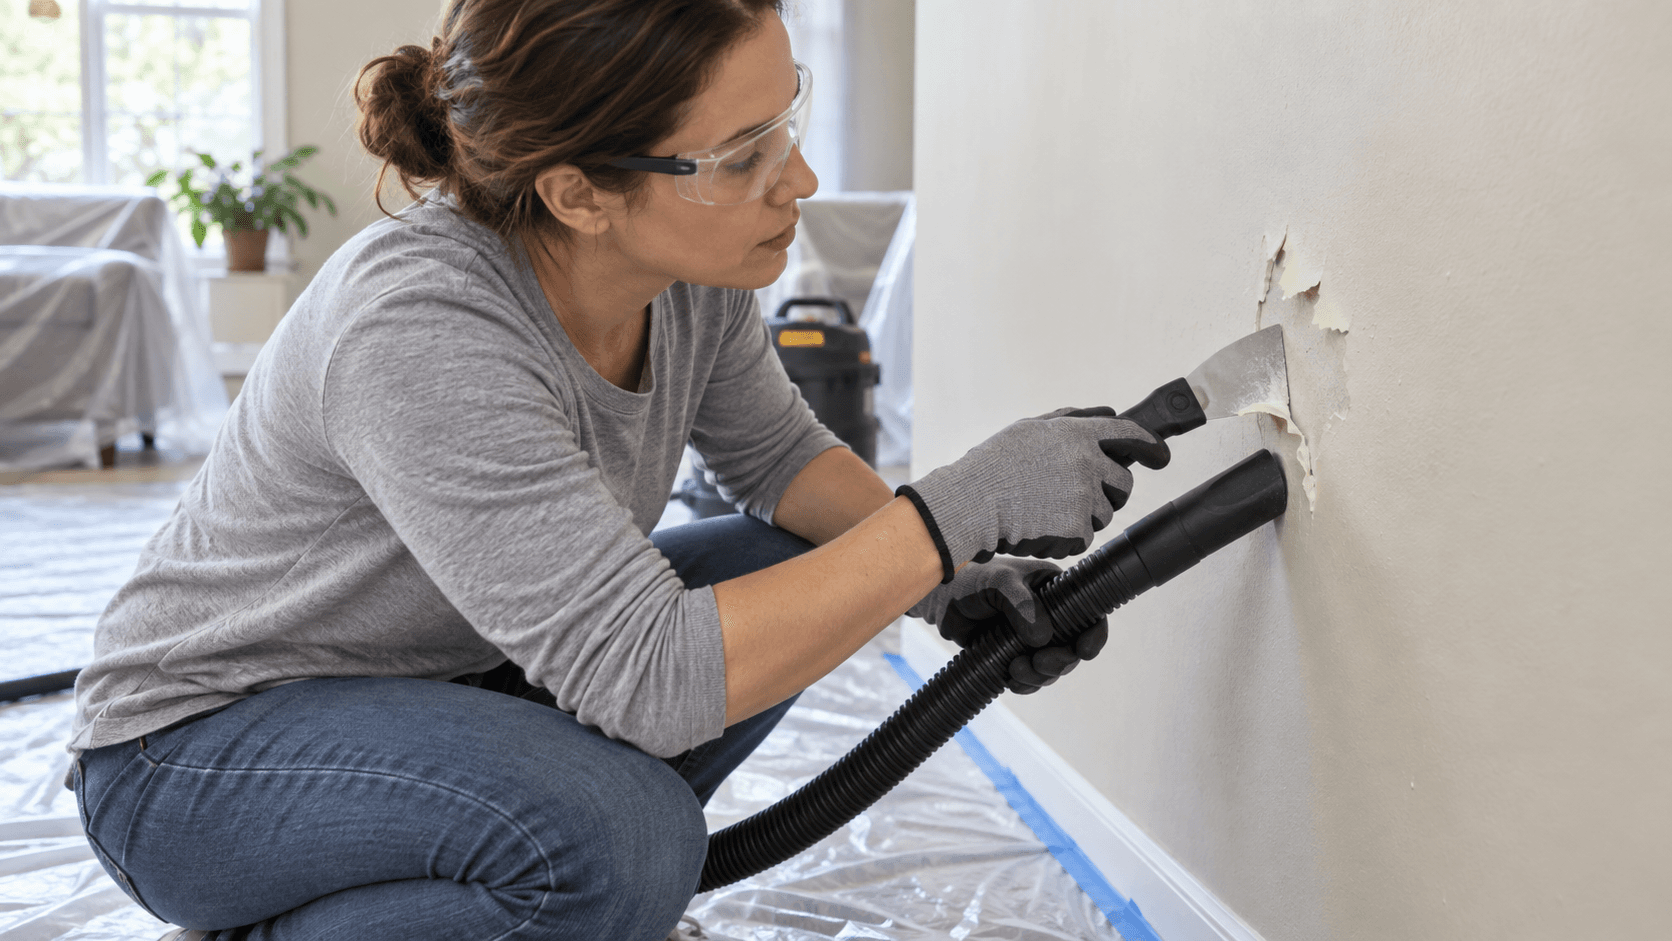
How to Fix Peeling Paint on Interior Walls in 2026
Fix peeling interior wall paint by identifying moisture or adhesion failure, addressing lead risk, removing only failed material, repairing edges, priming, and repainting.
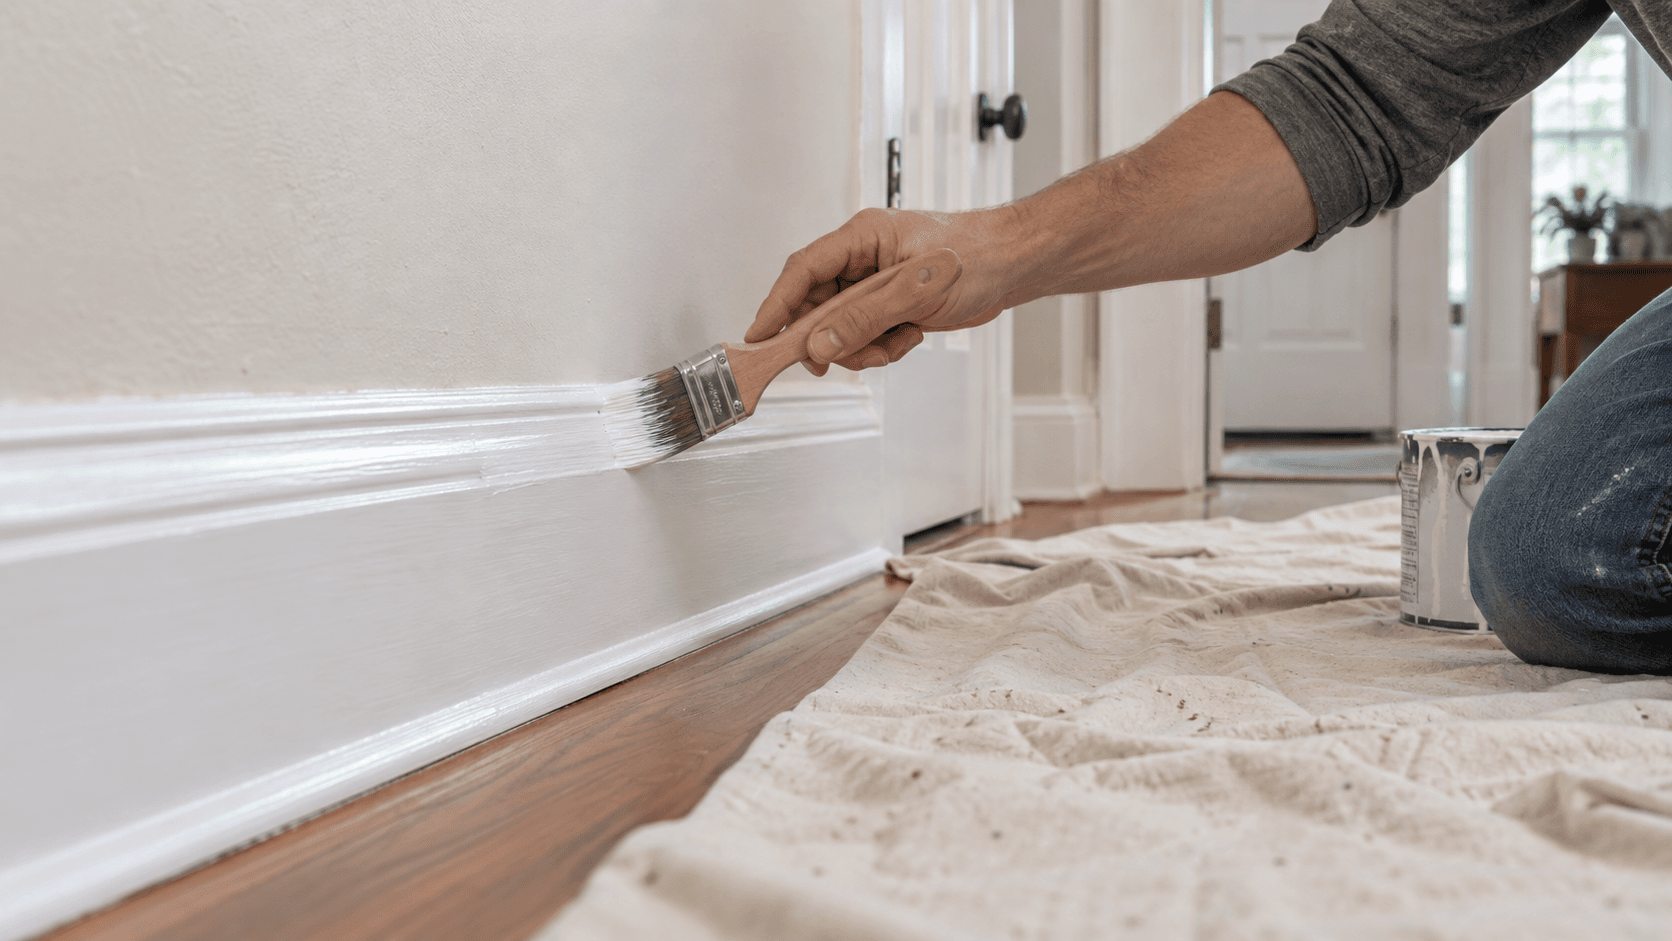
How to Paint Interior Trim and Baseboards in 2026
Paint interior trim and baseboards with careful cleaning, repairs, sanding, caulk decisions, compatible primer, controlled brushwork, and proper cure time.
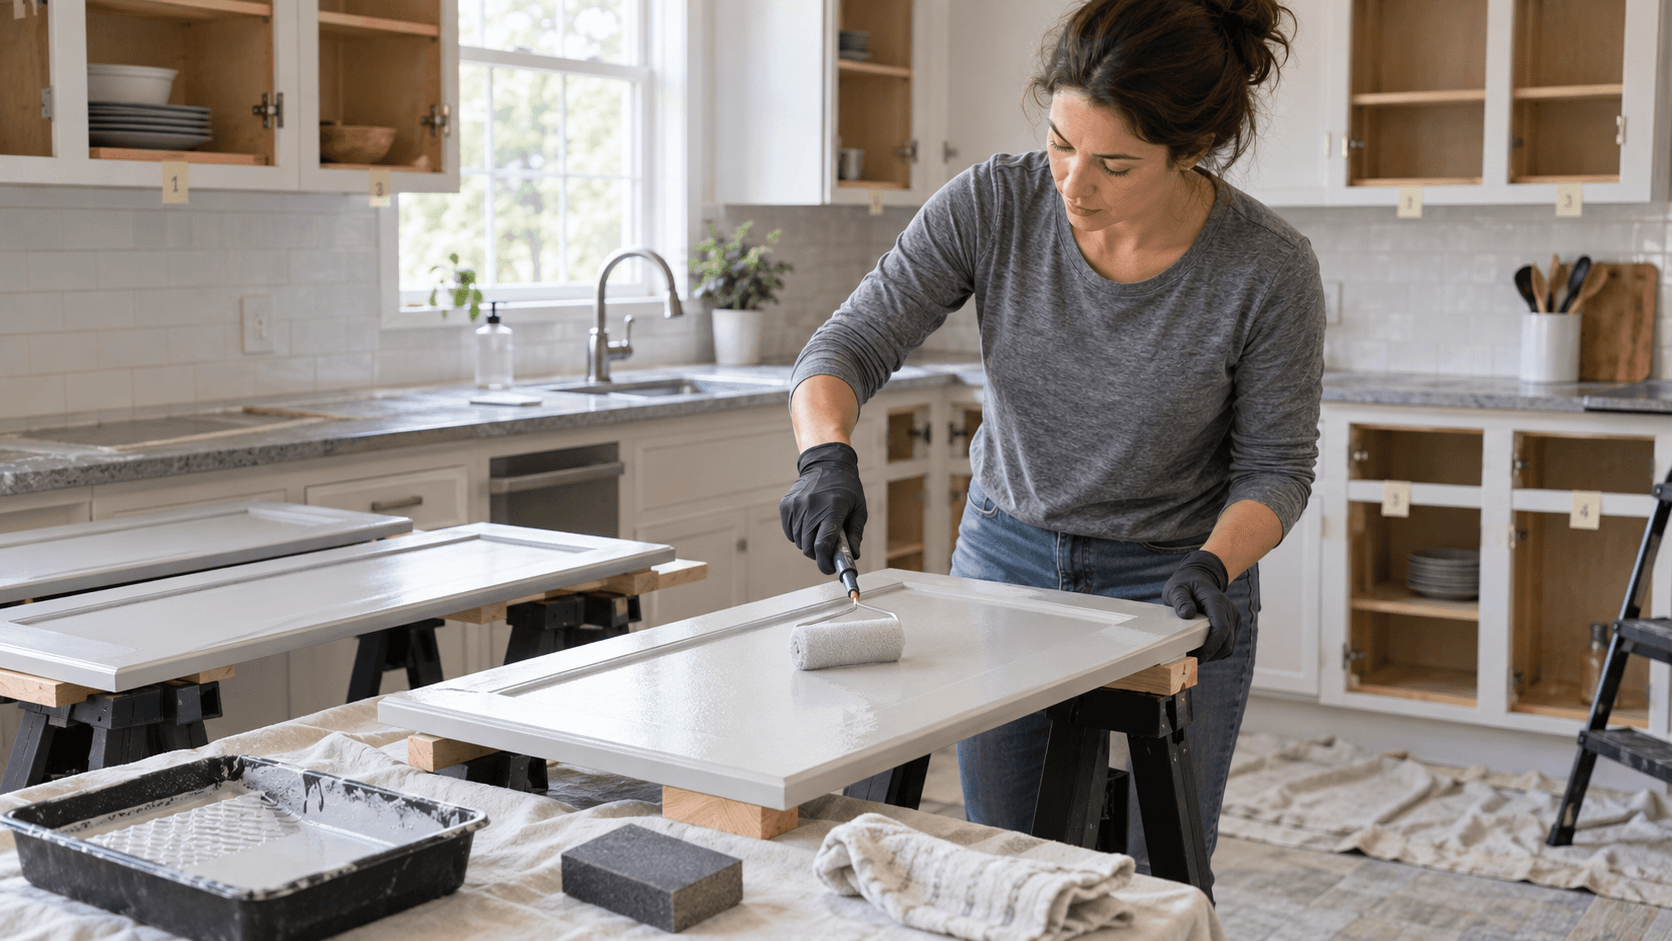
How to Paint Kitchen Cabinets in 2026
Paint kitchen cabinets with a controlled process for labeling, degreasing, repairs, sanding, compatible primer, durable enamel, curing, and reassembly.