
How to Paint Interior Trim and Baseboards in 2026
Paint interior trim and baseboards with careful cleaning, repairs, sanding, caulk decisions, compatible primer, controlled brushwork, and proper cure time.
Affiliate disclosure: We may earn a commission on purchases made through links in this article, at no extra cost to you. Learn more.
Trim highlights every ridge, brush mark, gap, and piece of embedded dust. A clean result comes from correcting the surface before opening the finish coat and from giving paint enough time to level and cure.
This guide covers installed interior wood or paint-grade composite trim in sound condition. It does not cover historic restoration, failing lead-based paint, flexible vinyl trim, or replacement of damaged moulding.
Inspect the existing trim
Look for loose boards, open miters, water staining, swollen MDF, rusting fasteners, peeling layers, and movement cracks. Fix moisture and attachment problems first. Paint and caulk cannot stabilize a loose joint.
In homes built before 1978—or when the age is unknown—assume disturbing painted trim may involve lead until handled through an appropriate lead-safe process. EPA warns that sanding, scraping, and cutting painted surfaces can create hazardous dust.
Protect the room and clean
Remove door hardware or mask it carefully. Vacuum ledges and profiles, then wash with a cleaner compatible with the existing surface and new coating. Pay extra attention to hand oils around doors and cleaning-product residue on baseboards.
Let the trim dry. Scrape only loose, failed coating and feather sound edges with the abrasive specified by the paint system. Use dust extraction and personal protection appropriate to the material.
Fill and caulk selectively
Fill nail holes and small surface defects with a paintable product suitable for the trim. Let it dry, sand flush, and spot-prime when required.
Use paintable caulk for small, stable trim-to-wall gaps when appropriate. Do not fill wide unsupported gaps, working joints, or the movement space above a floating floor. A crack that repeatedly reopens usually needs a movement or attachment diagnosis, not another heavy bead.
Prime where needed
Prime bare wood, exposed MDF, filler, stains, knots, or incompatible glossy finishes with the specified product. Some wood species can bleed tannins through ordinary primer. Some old oil-based finishes need a bonding system rather than direct latex application.
After drying, inspect primer with light across the surface. Smooth defects without sanding through moulding edges, then remove dust by the approved method.
Mask with cure times in mind
Use drop cloths to protect floors. Apply painter's tape to a clean, dry surface and press only the edge needed for a seal. Fresh wall paint may not be ready for tape even when it feels dry; follow both manufacturers' timing rules.
If painting freehand, keep a damp cleanup cloth suitable for the paint nearby, but do not smear partially dried paint along an edge.
Brush and roll controlled sections
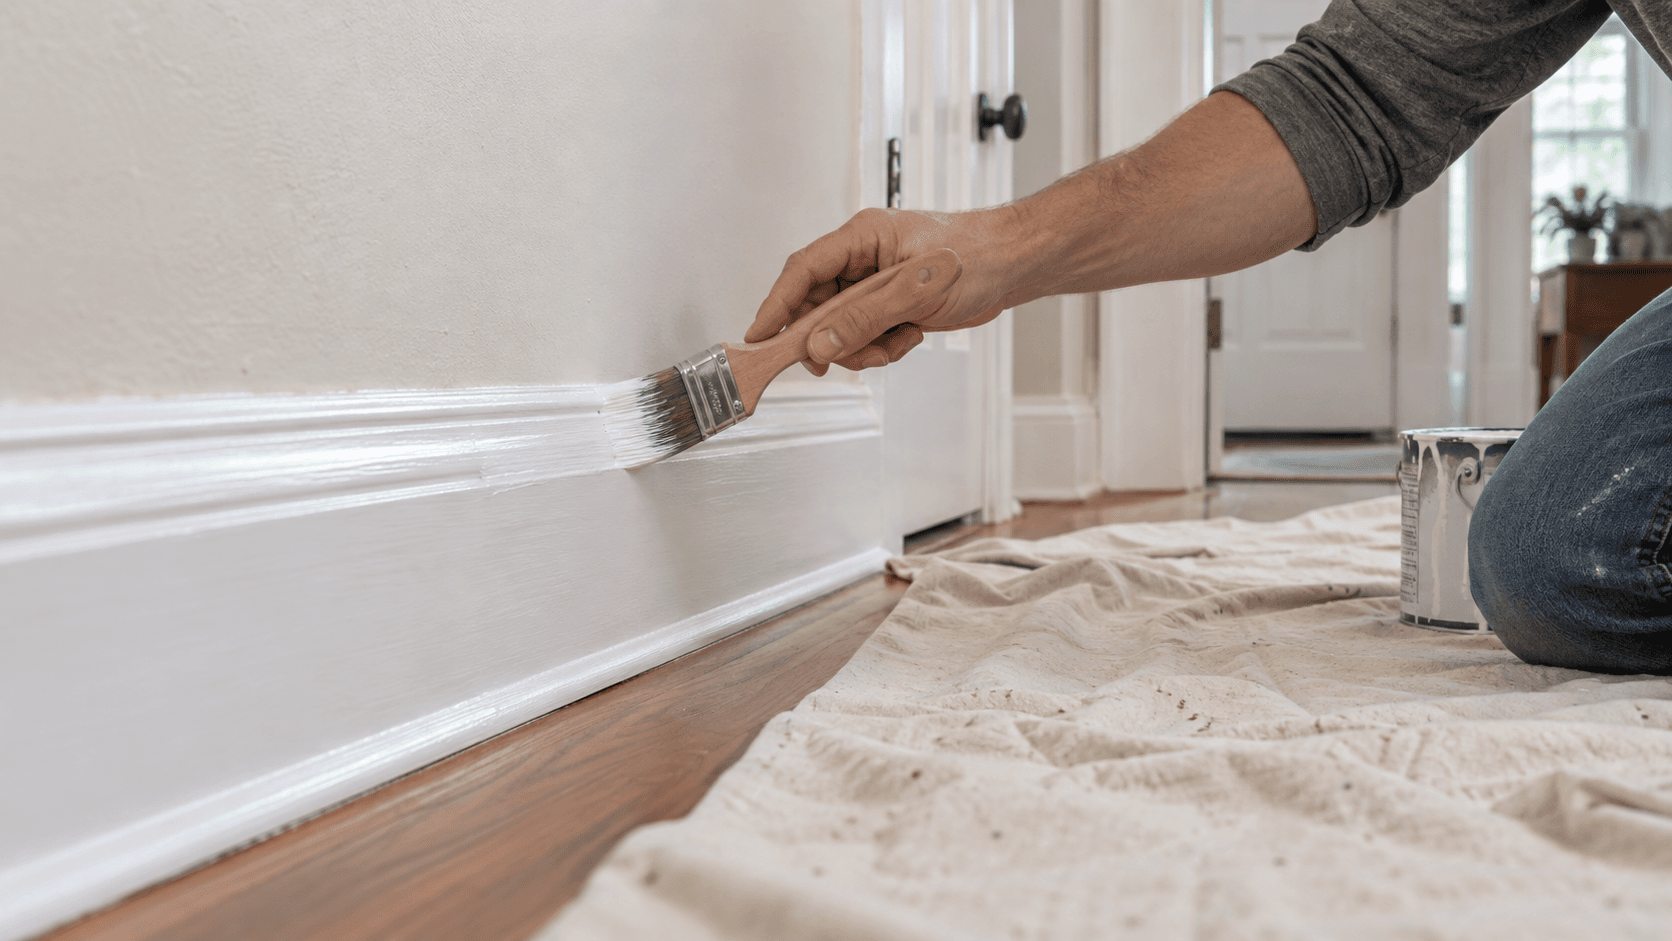
Load an angled sash brush without flooding the ferrule. Start away from a corner, distribute paint, then finish with long strokes following the trim length. Benjamin Moore's baseboard guidance likewise recommends strokes along the baseboard rather than up and down.
On broad flat trim, a small compatible roller can distribute coating before the final light brush pass. Maintain a wet edge and stop brushing when paint begins to tack. Watch lower profile edges for runs.
Apply another coat only after the stated recoat time. Light sanding between coats should follow the product instructions and should not expose corners.
Remove tape and allow cure
Remove tape at the stage specified by the tape and paint makers, pulling it back over itself. If a film bridges the tape, score carefully without cutting the wall or trim.
Keep doors, furniture, rugs, and cleaning tools from contacting the fresh finish until it has adequate handling strength. Reinstall hardware without twisting it through soft paint.
Common mistakes
- Sanding unknown old paint without evaluating lead risk.
- Painting over hand oils, polish, or floor-cleaner residue.
- Caulking a floating-floor expansion gap.
- Using a heavy coat to hide poor filling and sanding.
- Brushing back into paint after it starts setting.
- Applying tape to insufficiently cured wall paint.
Sources
Frequently Asked Questions
Should trim be painted before or after walls?
Does previously painted trim need primer?
What sheen works best for interior trim?
About the author
Jane DIY
— Senior Reviews EditorJane DIY is the Senior Reviews Editor for DIY Tool Guide. Her byline identifies articles she reviews for clarity, sourcing, and practical usefulness.
More from Painting & Finishing
How to Fix Peeling Paint on Interior Walls in 2026
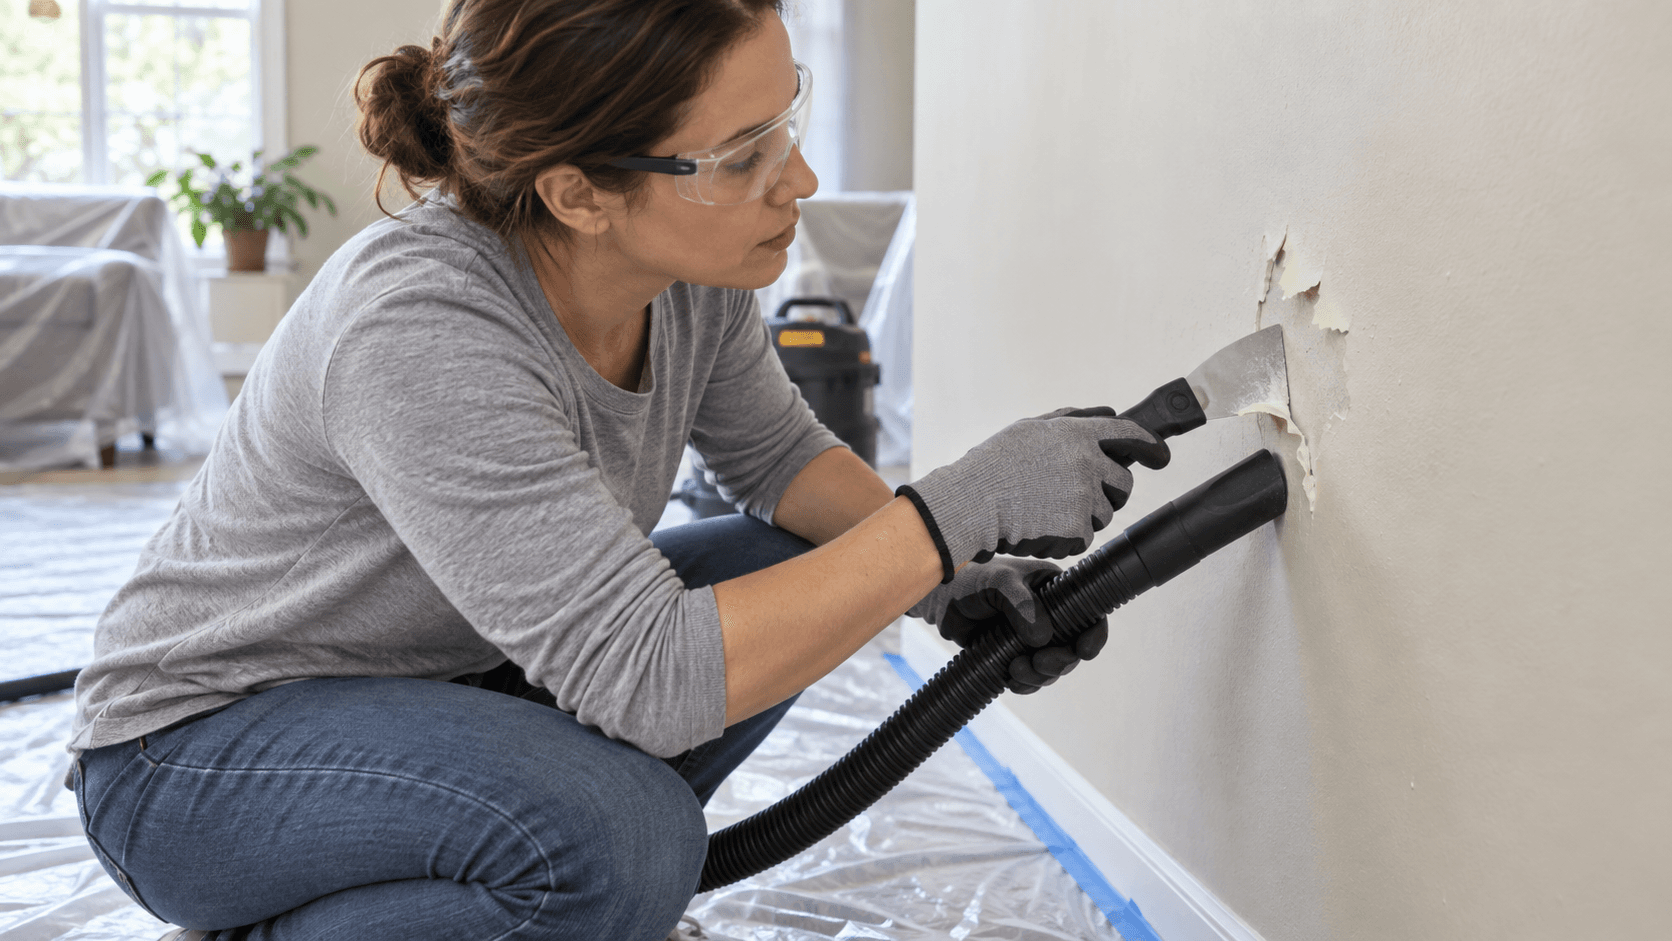
Fix peeling interior wall paint by identifying moisture or adhesion failure, addressing lead risk, removing only failed material, repairing edges, priming, and repainting.
How to Paint a Front Door in 2026
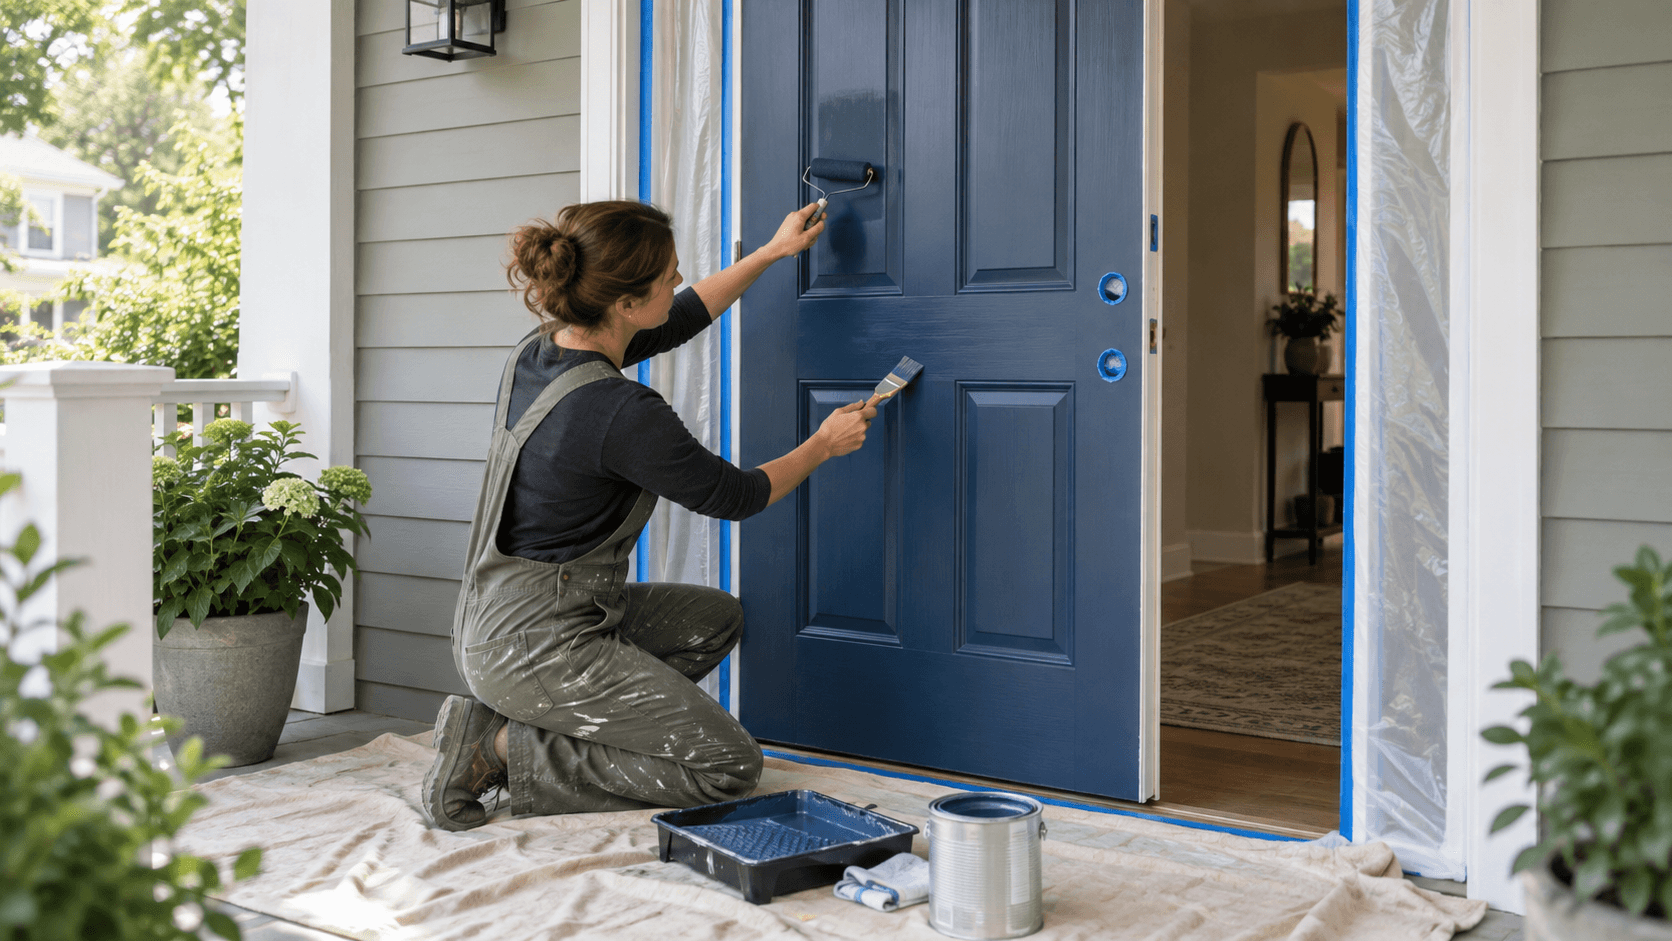
Paint a front door with a substrate-aware plan for weather, hardware removal, cleaning, repairs, sanding, primer, thin finish coats, edges, and curing.
How to Paint Kitchen Cabinets in 2026
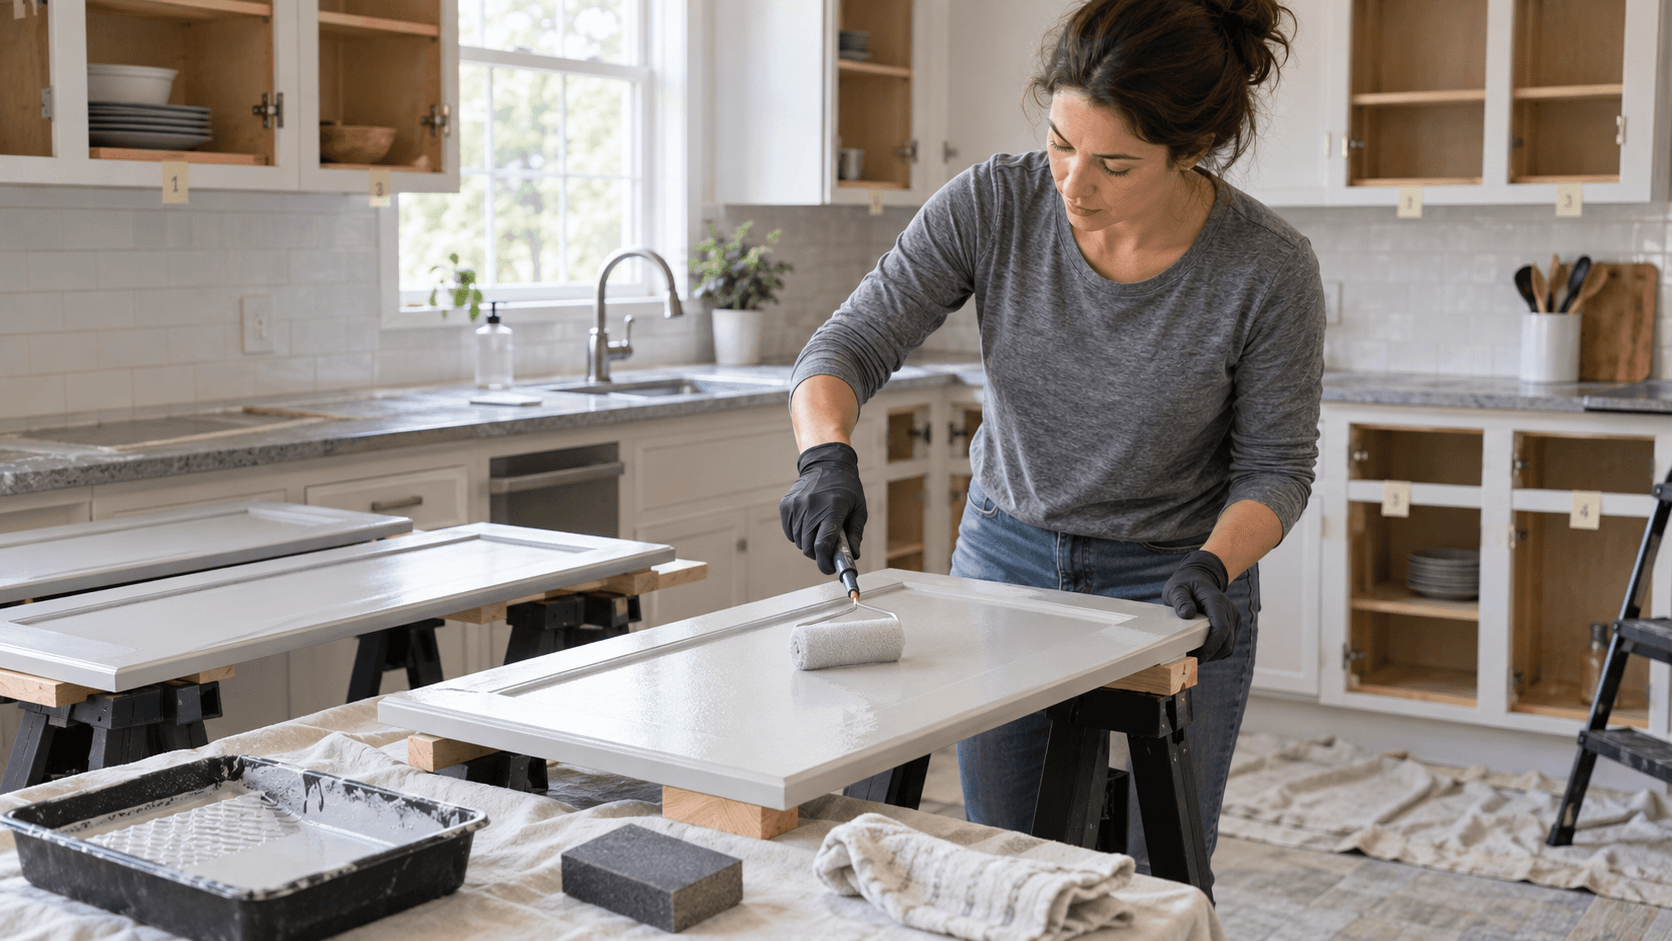
Paint kitchen cabinets with a controlled process for labeling, degreasing, repairs, sanding, compatible primer, durable enamel, curing, and reassembly.