
How to Paint Kitchen Cabinets in 2026
Paint kitchen cabinets with a controlled process for labeling, degreasing, repairs, sanding, compatible primer, durable enamel, curing, and reassembly.
Affiliate disclosure: We may earn a commission on purchases made through links in this article, at no extra cost to you. Learn more.
Painting kitchen cabinets is a coating project, not a shortcut around surface preparation. Cooking grease, furniture polish, silicone residue, glossy finishes, and unknown factory coatings can prevent adhesion even when the first coat looks smooth.
This guide covers sound cabinet boxes and removable doors. Swollen fiberboard, delaminating veneer, loose joints, failing thermofoil, water damage, and damaged hanging systems should be repaired or replaced before painting.
Identify the surface and finish
Determine whether the visible surface is solid wood, veneer, MDF, laminate, thermofoil, or previously painted material. Inspect an inconspicuous edge and check the cabinet manufacturer's information if available. Do not sand through thin veneer or assume a bonded plastic film accepts ordinary wall paint.
Choose a cleaner, repair material, primer, and cabinet or trim enamel designed to work together on that substrate. Test the complete system inside a door and allow it to cure before checking adhesion and appearance.
Build a labeling plan
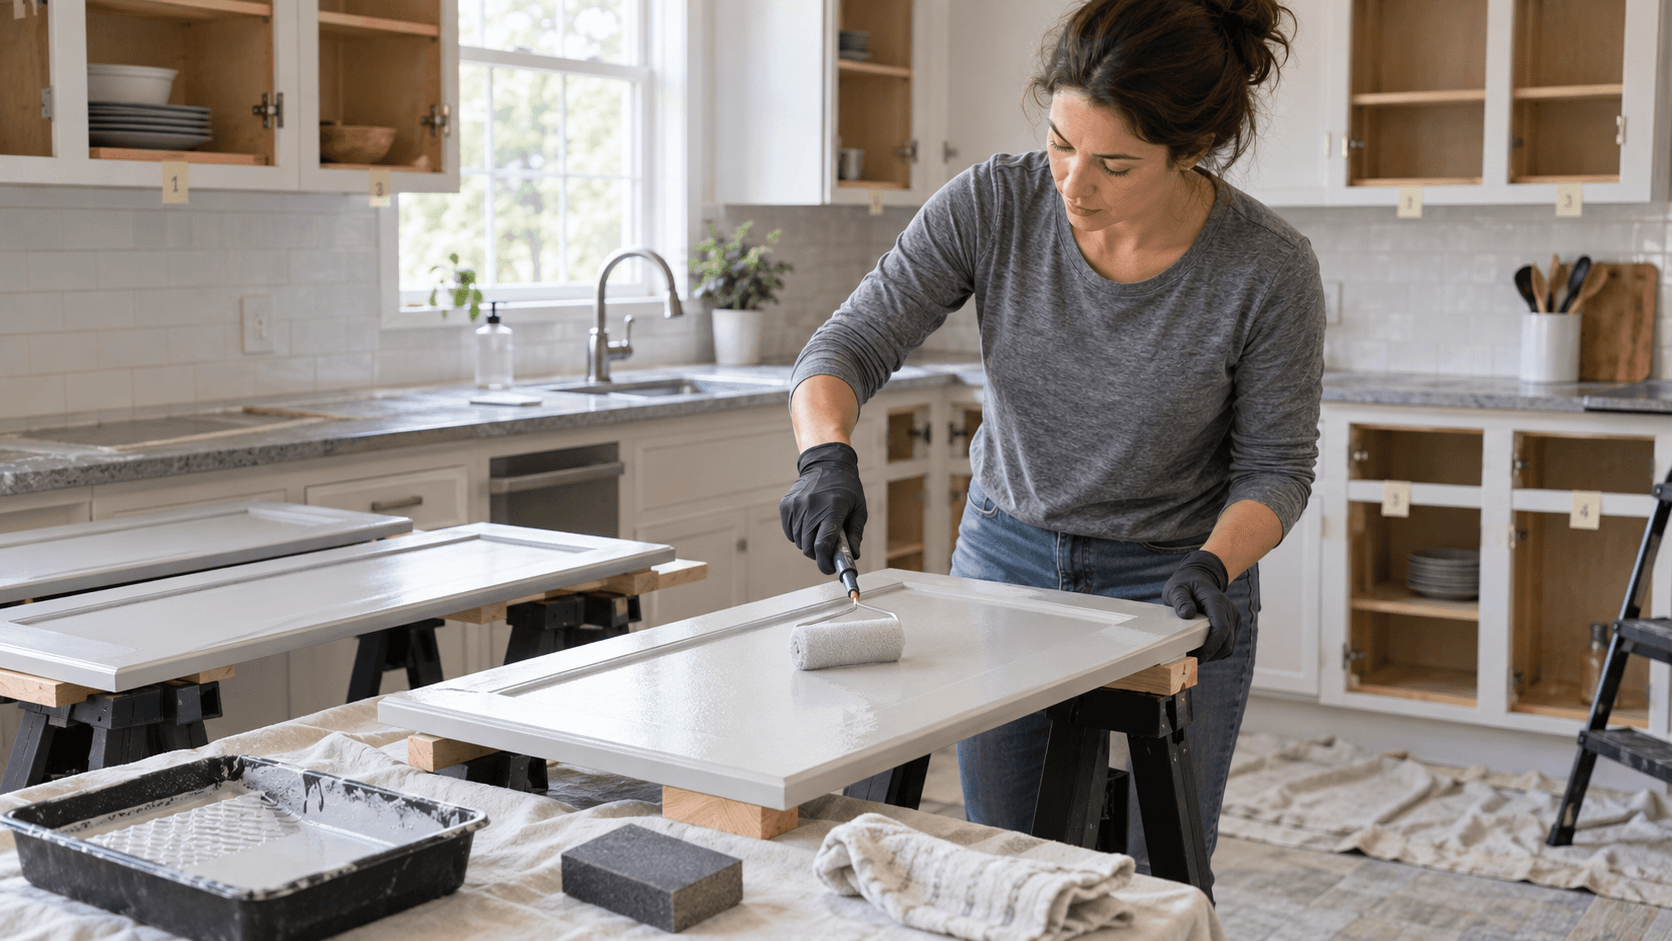
Photograph the kitchen, then give every door and drawer a location code. Put labels in hinge cups or other areas that will not be coated. Bag screws and hardware by opening; similar-looking hinges may carry different adjustments.
Remove pulls, hinges, bumpers, catches, shelves, and drawers as appropriate. Do not paint over moving hardware or rubber bumpers. Support doors flat on stable stands in a clean, ventilated work area that meets the coating's temperature requirements.
Degrease before sanding
Protect countertops, appliances, floors, and openings. Clean cabinet surfaces with the coating system's approved degreaser or detergent. Sherwin-Williams specifically emphasizes complete removal of grease, oil, polish, and wax before cabinet repainting.
Use clean cloths and change wash solution instead of redistributing contamination. Rinse when the cleaner requires it and let surfaces dry. Sanding first can drive grease or wax into scratches.
Repair and prepare
Tighten sound joints and repair defects with a filler compatible with the substrate and coating. Sand only as aggressively as the finish system requires, working evenly across broad areas and easing sharp defects without rounding profiles.
For pre-1978 housing or an unknown-age painted surface, stop before disturbing paint and follow current lead-safe requirements. Dry sanding old paint can create hazardous dust.
Remove sanding residue with the approved vacuum and wiping method. Avoid household tack cloths that can leave wax or resin unless the coating manufacturer approves them.
Prime the correct areas
Apply the specified bonding, stain-blocking, or wood primer in thin, even coats. Bare wood, tannin-prone species, unknown coatings, laminate, and repaired areas may need different primers. “Paint and primer in one” does not automatically replace a specialty primer.
Let primer dry as directed, then inspect under side lighting. Sand between coats only when instructed, remove dust, and correct runs before topcoating.
Apply cabinet enamel
Stir the coating and use the brush, roller, or sprayer specified on the label. Brush detailed profiles first, then roll broad flat areas while maintaining a wet edge. Do not keep working paint after it begins to set.
Coat doors in a repeatable sequence and avoid loading edges so heavily that paint wraps around and forms ridges. Complete one side and allow the stated handling time before turning the door with clean padded supports.
Apply the required number of coats within the recoat window. More thickness is not always better; excess coating can sag, bridge panel joints, or remain soft.
Cure and reassemble
Keep parts separated for the label-specified cure period. Reinstall hardware gently and use fresh bumpers only after the coating can tolerate them. Align hinges rather than forcing a door into position.
For the first weeks, avoid harsh cleaners, steam, standing water, and impacts even if the finish is usable. Full chemical and block resistance can develop later than touch-dry time.
Common mistakes
- Painting an unidentified laminate or peeling film without a test.
- Losing track of door and hinge positions.
- Sanding grease instead of cleaning it first.
- Using wall paint where a harder cabinet coating is needed.
- Turning doors before the first side can support contact.
- Reassembling at dry-to-touch time instead of adequate cure time.
Sources
Frequently Asked Questions
Do kitchen cabinets need to be sanded before painting?
Can cabinet doors be painted while still hanging?
How long should painted cabinets cure?
About the author
Jane DIY
— Senior Reviews EditorJane DIY is the Senior Reviews Editor for DIY Tool Guide. Her byline identifies articles she reviews for clarity, sourcing, and practical usefulness.
More from Painting & Finishing
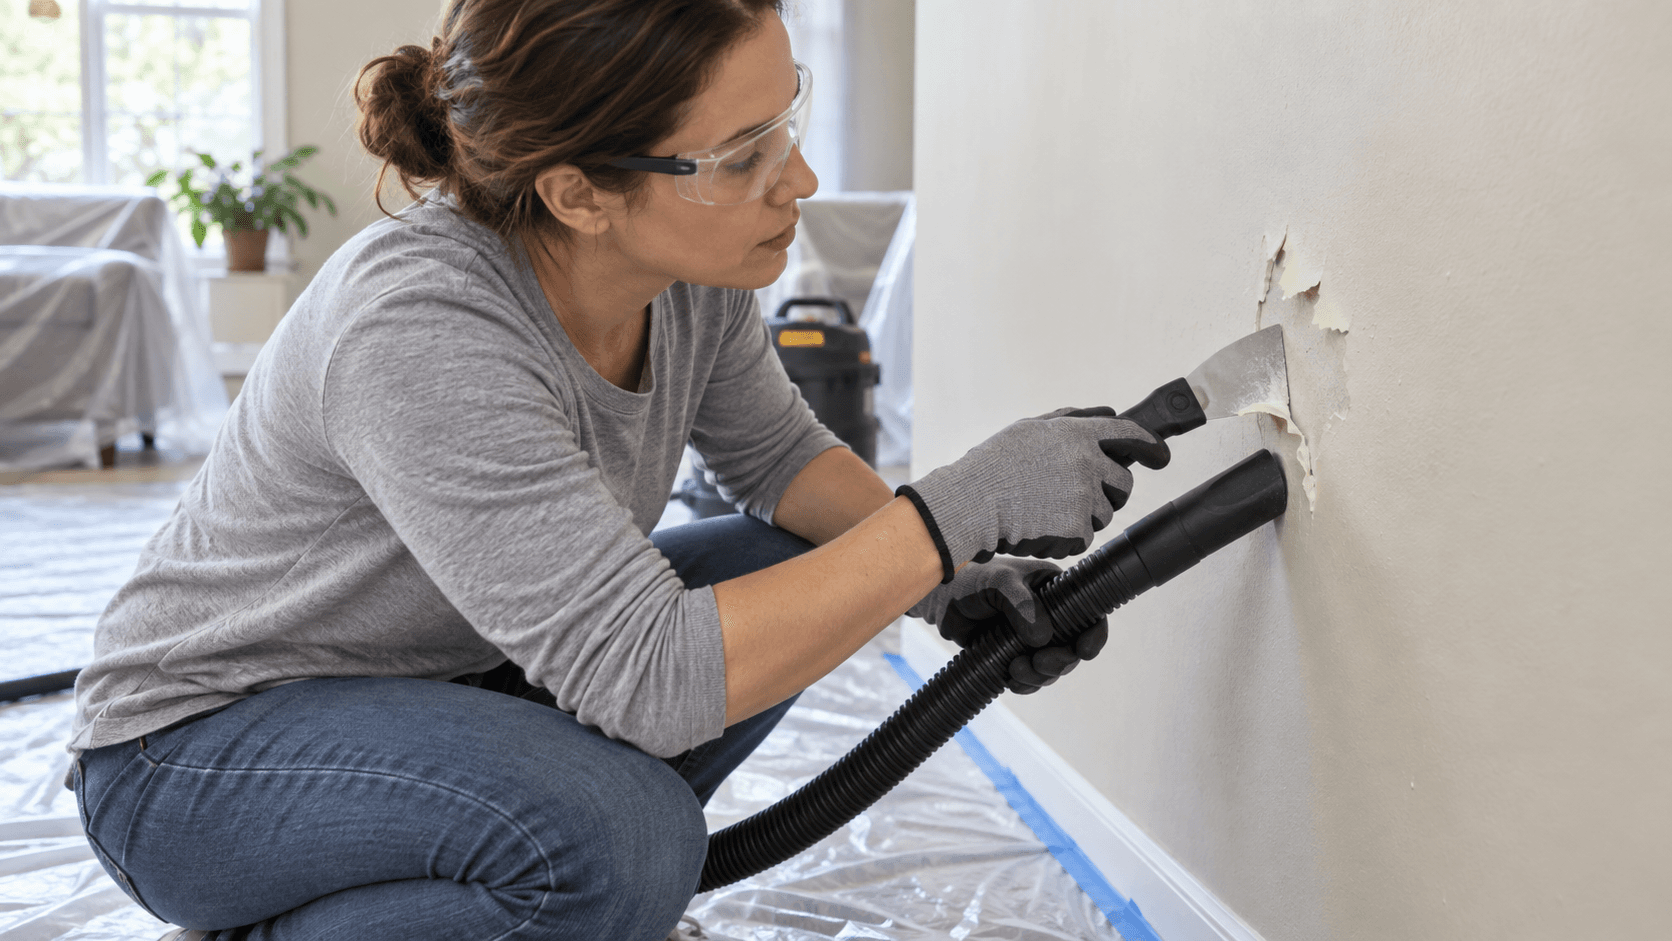
How to Fix Peeling Paint on Interior Walls in 2026
Fix peeling interior wall paint by identifying moisture or adhesion failure, addressing lead risk, removing only failed material, repairing edges, priming, and repainting.
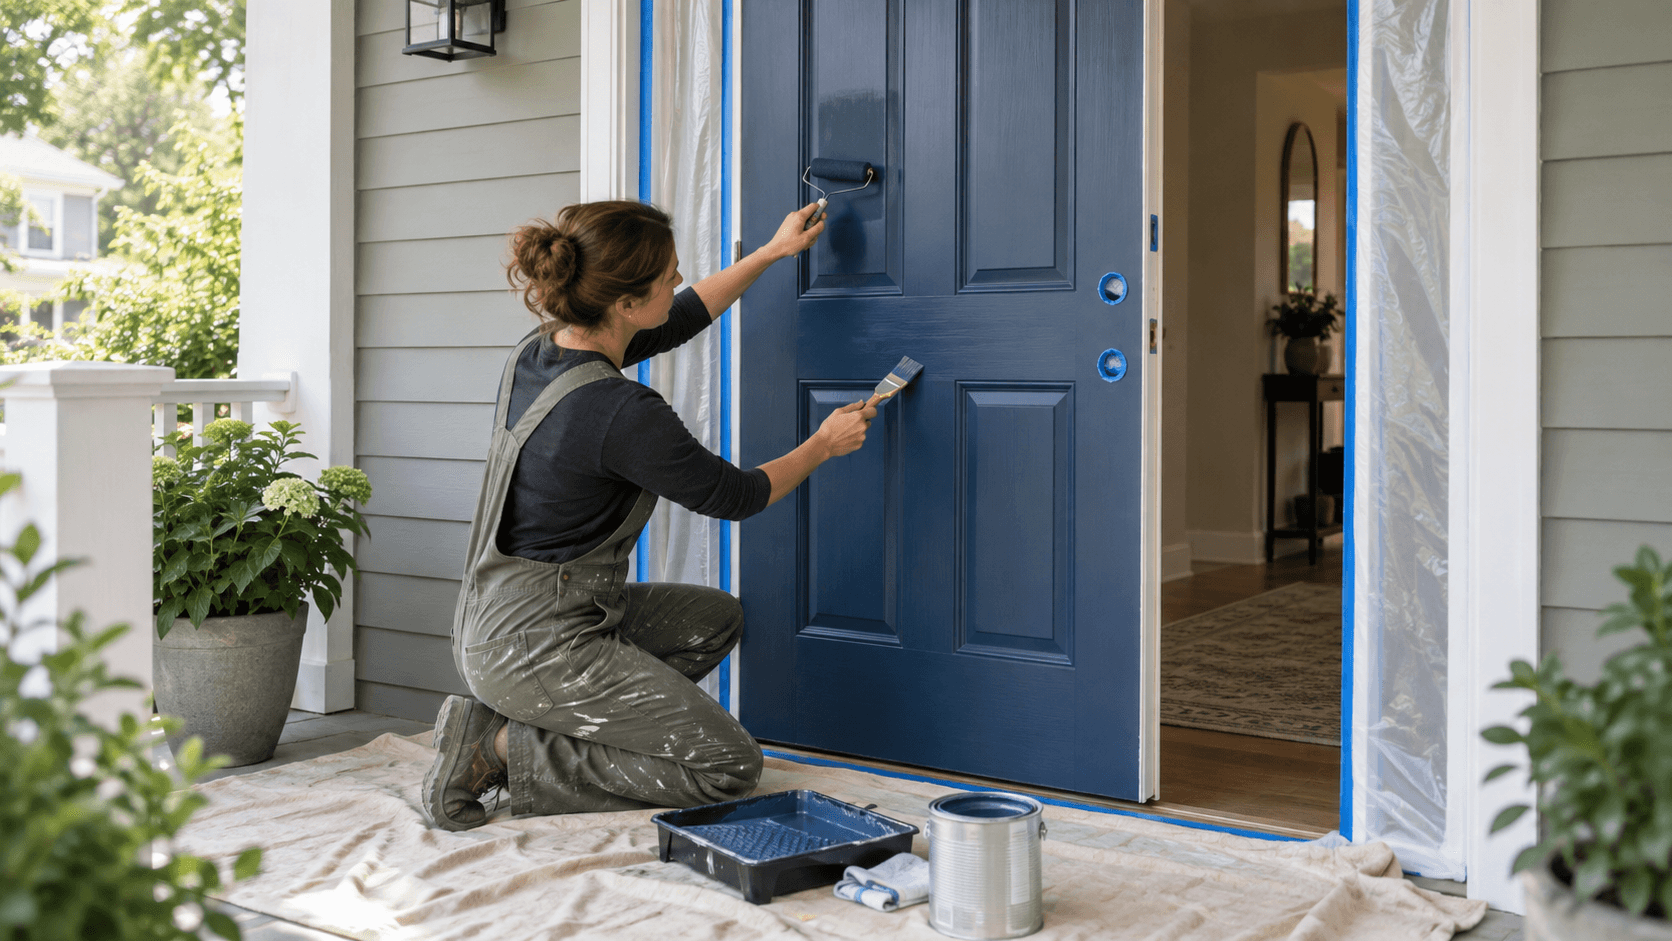
How to Paint a Front Door in 2026
Paint a front door with a substrate-aware plan for weather, hardware removal, cleaning, repairs, sanding, primer, thin finish coats, edges, and curing.
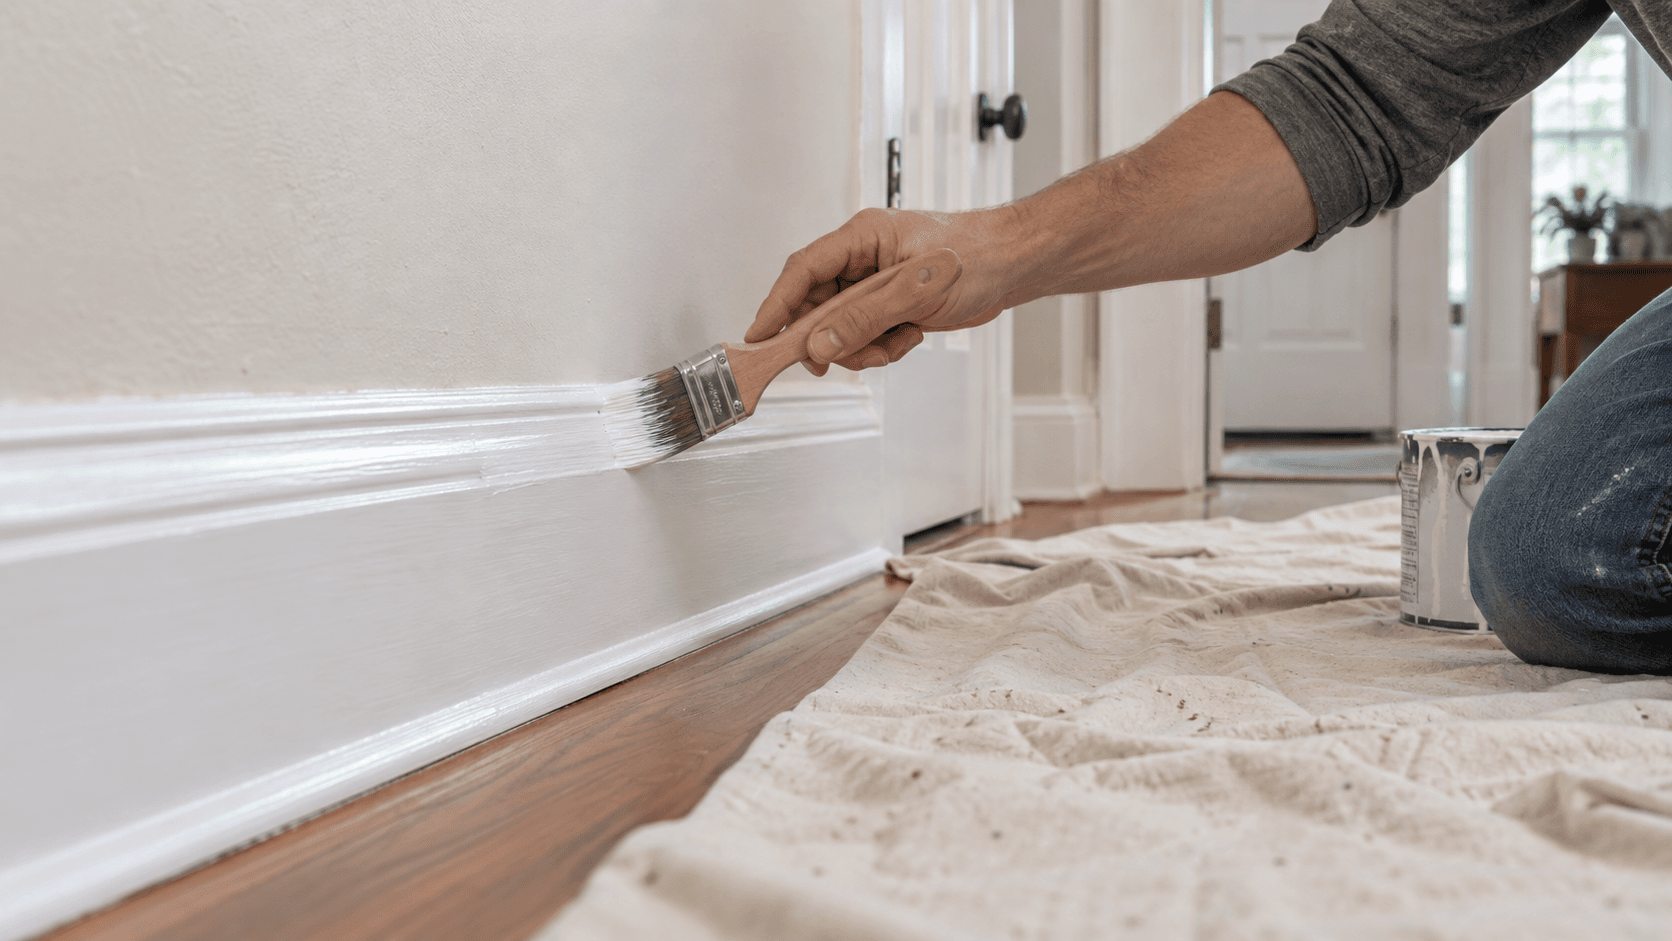
How to Paint Interior Trim and Baseboards in 2026
Paint interior trim and baseboards with careful cleaning, repairs, sanding, caulk decisions, compatible primer, controlled brushwork, and proper cure time.