
How to Unclog a Slow Bathroom Sink Safely
Clear a slow bathroom sink by checking the stopper and P-trap first, using mechanical methods safely, and recognizing a larger drain problem.
Affiliate disclosure: We may earn a commission on purchases made through links in this article, at no extra cost to you. Learn more.
A bathroom sink usually slows down before it stops completely. Hair, soap film, toothpaste, and grooming products collect around the pop-up stopper, pivot rod, and the first bends of the drain. That makes the visible stopper the best starting point—not a bottle of aggressive chemical cleaner.
The location of the symptom matters. One slow sink often has a local blockage. Several slow or gurgling fixtures, sewage odor, or water rising in another drain can point to a larger branch, vent, or sewer problem that needs professional diagnosis.
This guide covers an accessible residential bathroom sink with a conventional pop-up or removable stopper and exposed trap. It does not cover concealed wall traps, damaged drain piping, sewage backups, or shared-building drainage systems.
Decide whether this is a local clog
Run only enough water to observe the problem without filling the basin. Then check nearby fixtures.
| Symptom | What it suggests | |---|---| | One sink is slow; nearby fixtures are normal | Stopper, tailpiece, P-trap, or local branch | | Sink gurgles when another fixture drains | Venting or shared-drain issue | | Water rises in a tub or another sink | Downstream blockage | | Sewage odor continues after water runs | Dry/failed trap, leak, or vent/drain issue | | Cabinet is wet | Leaking drain, supply, faucet, or sink seal | | Drain repeatedly slows after cleaning | Deeper blockage, poor alignment, or recurring buildup |
Call a plumber or building manager when multiple fixtures are involved, wastewater backs up, concealed piping leaks, or the property shares drainage that you are not authorized to service.
Gather simple tools
For an accessible stopper and plastic slip-joint trap, you may need:
- nitrile or household cleaning gloves and eye protection;
- a bucket, shallow tray, and old towels;
- a flashlight;
- a small brush and disposable rags;
- adjustable pliers only if a slip nut cannot be loosened by hand;
- a plastic hair-removal tool or small hand drain auger;
- replacement slip-joint washers if the existing ones are damaged.
Do not use powered drain equipment in a small sink line unless you are trained for that machine and pipe system. Powered cables can injure hands and damage fittings.
Start at the stopper
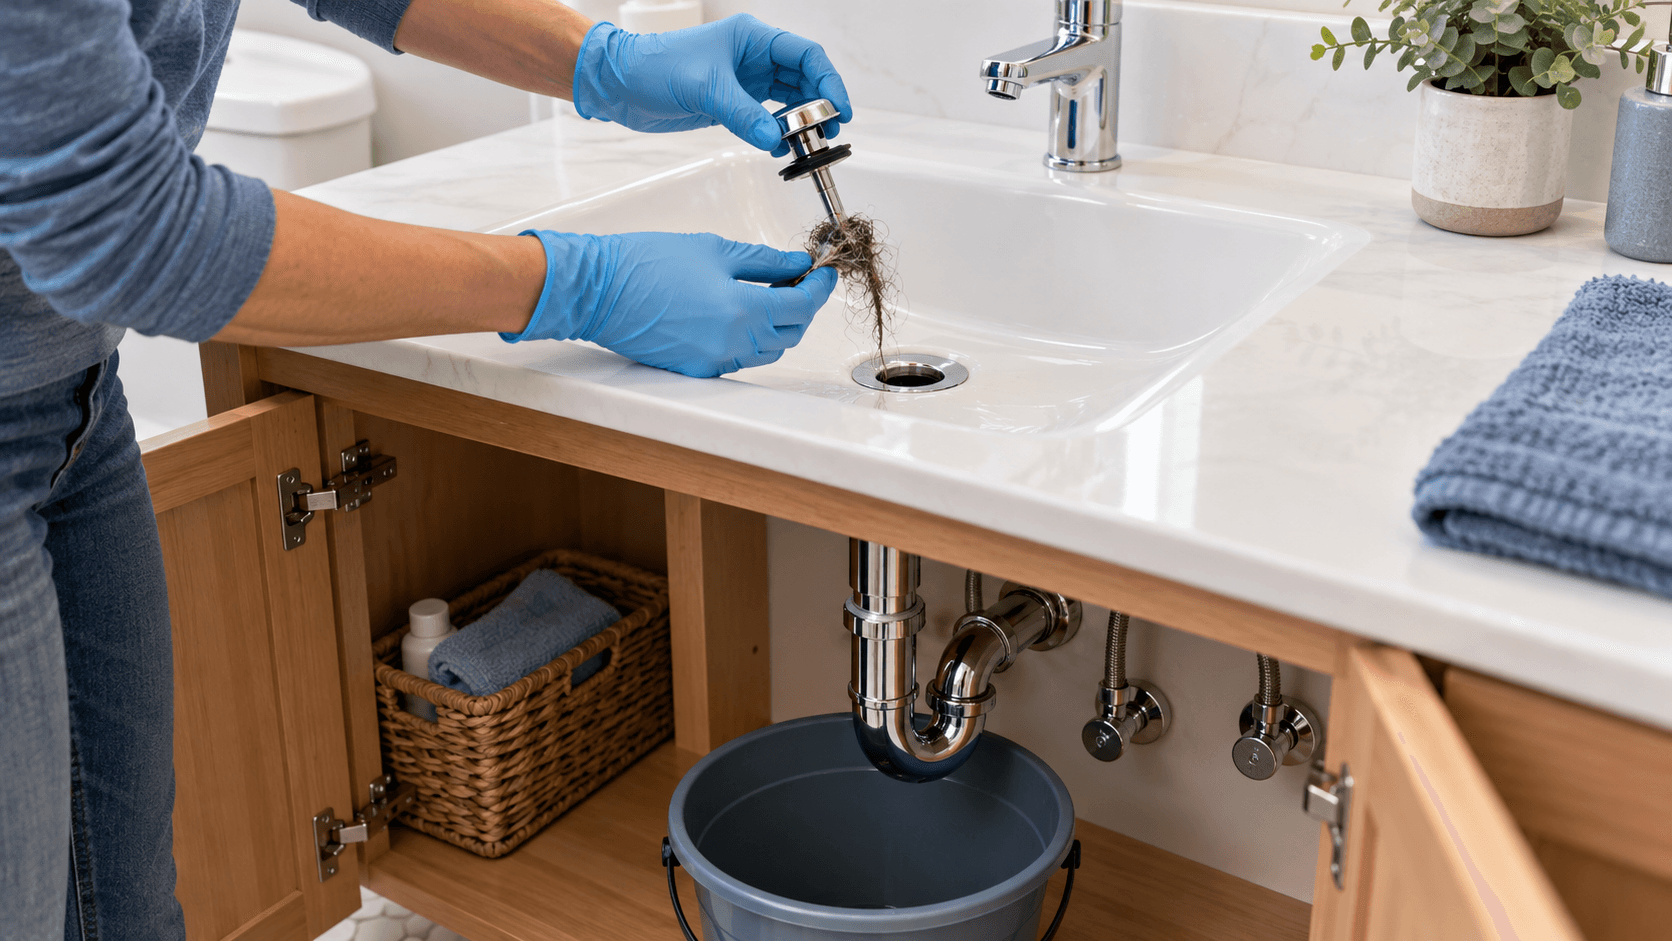
Many bathroom-sink clogs sit directly below the drain opening. For a lift-rod pop-up stopper:
- Empty the vanity and place a towel and bucket below the drain.
- Photograph the pivot rod, retaining nut, clip, and lift-rod connection.
- Disconnect the lift mechanism only as required by its design.
- Unscrew the pivot-rod retaining nut by hand where possible.
- Withdraw the pivot rod carefully and lift the stopper from the basin.
- Remove hair and buildup from the stopper and accessible drain opening.
- Inspect the pivot seal before reassembly.
Some stoppers lift out, twist out, or use a different cartridge. Do not force a stopper that does not match this description. Find the drain manufacturer's instructions instead.
Avoid pushing a dense hair mass deeper with a rigid object. A small plastic barbed tool can pull accessible hair upward, but it should not be left in the drain or used with enough force to scratch the fixture.
Try a sink plunger correctly
A small flat-bottom sink plunger can move a local blockage when the basin and drain assembly are sound.
- Reinstall or seal the stopper opening as needed.
- Cover the sink overflow opening with a damp cloth so the plunger can develop pressure.
- Add enough water to cover the plunger cup.
- Use several controlled strokes while maintaining the seal.
- Remove the plunger and test with a small volume of water.
Do not plunge after using a chemical cleaner; splashing can expose skin and eyes. Stop if drain fittings move or begin to leak.
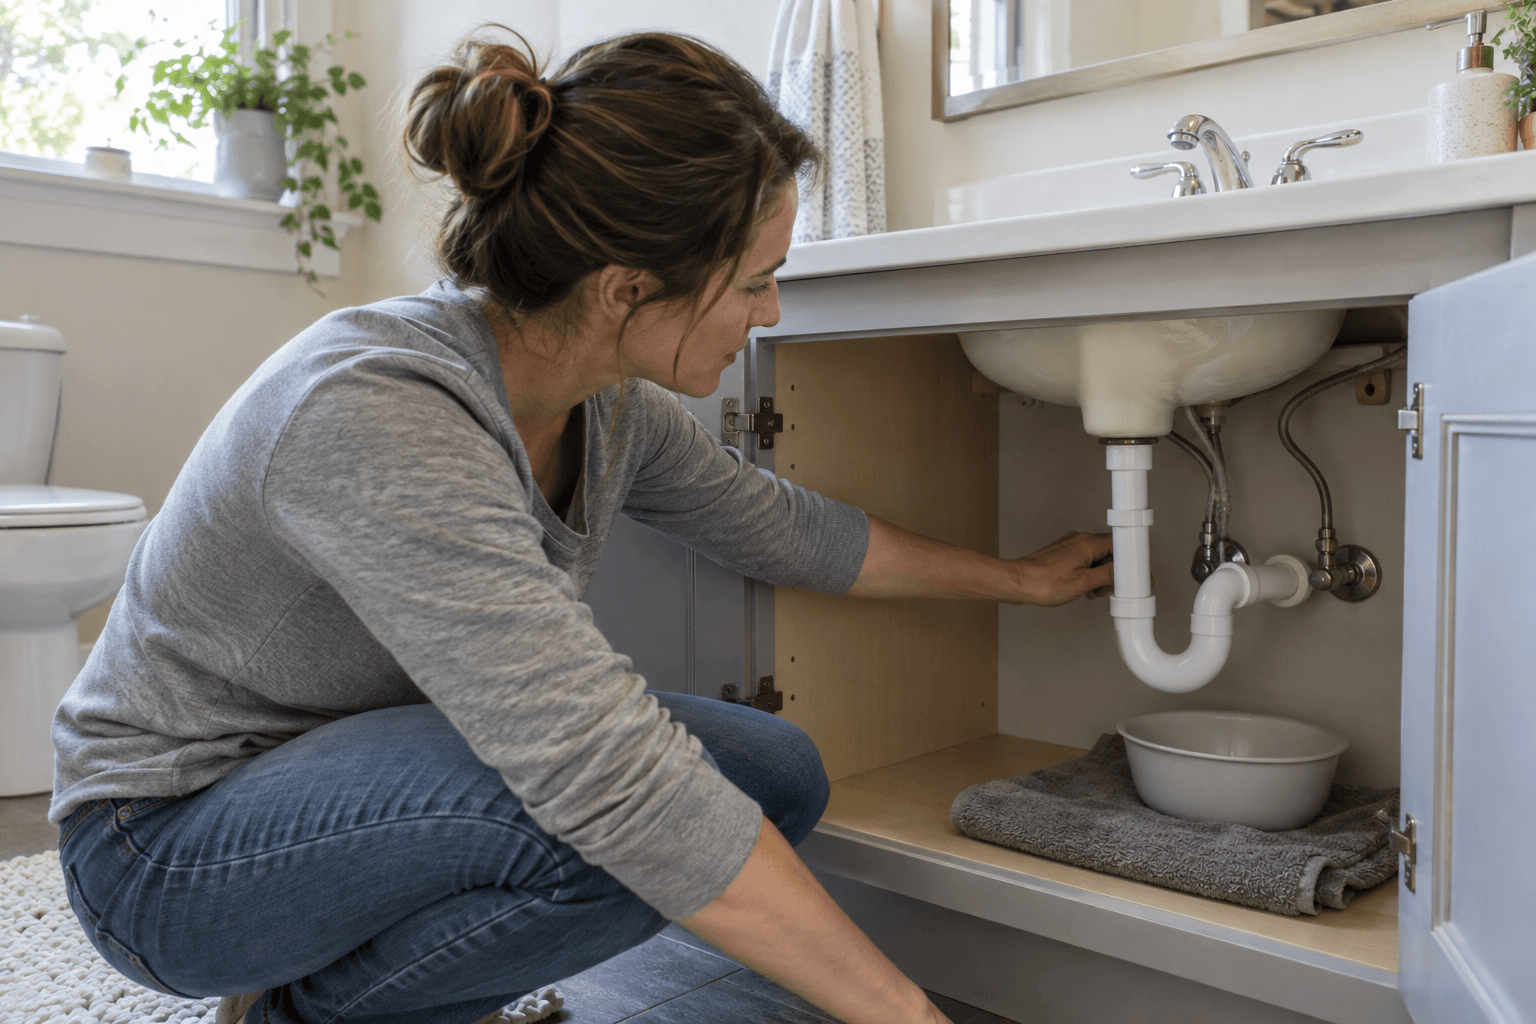
Clean an accessible P-trap
The P-trap is the curved section below the sink. It holds water that blocks sewer gas. Before removal, take a photo of its alignment and check whether it is plastic slip-joint tubing, glued pipe, or corroded metal.
Do not dismantle glued, badly corroded, cracked, or unsupported piping. Those conditions need a plumber.
For a sound slip-joint trap:
- Put the bucket directly under the trap.
- Loosen the slip nuts while supporting the trap and adjoining pipe.
- Lower the trap slowly; it will contain water and debris.
- Clean it into the bucket, not into another sink connected to the same drain.
- Inspect the trap, nuts, and tapered washers for cracks, distortion, or corrosion.
- Clean the mating surfaces without removing pipe material.
- Reassemble in the original orientation with each washer facing the correct direction.
- Align the piping naturally before tightening the nuts by hand.
Plastic slip joints normally seal at their washers, not with thread tape on the nut threads. Do not overtighten plastic nuts; excessive force can crack them or push the joint out of alignment.
If the trap will remain off briefly, keep the wall opening protected from falling objects and sewer gas using a temporary removable cover that cannot slip into the pipe. Remove it before reassembly.
Use a hand auger only after the easy checks
When the stopper and trap are clear but the drain remains slow, a small hand auger can reach the branch line beyond the trap.
With the trap removed and a bucket in place:
- Feed the cable gently into the wall pipe.
- Rotate the drum in the direction specified by the auger manufacturer.
- Advance without forcing the cable through a hard obstruction.
- Retract slowly and clean the cable as it emerges.
- Repeat only while the cable moves normally.
Stop if the cable binds, kinks, returns damaged, or meets a hard obstruction. It may be encountering a fitting, damaged pipe, or blockage that requires different equipment.
Never use an auger in the same drain with active chemical cleaner unless the product label and tool manufacturer explicitly allow it and you have the required protective equipment.
Reassemble and leak-test
Reinstall the stopper mechanism and trap using your reference photos. Confirm that the stopper moves freely and the trap is not under sideways tension.
Test in stages:
- Wipe every joint completely dry.
- Run a small stream and observe the stopper, tailpiece, pivot-rod seal, and trap joints.
- Fill the basin partway, then release the water to test a larger flow.
- Dry the joints again and press clean tissue around each connection.
- Recheck after several minutes with the vanity empty.
A joint that leaks should be reopened and inspected for alignment, a reversed washer, damaged parts, or dirt on the sealing surface. More force is not the first repair.
Methods to avoid
- Do not mix household chemicals or drain cleaners.
- Do not assume boiling water is safe for every sink, sealant, and pipe material.
- Do not use a coat hanger or sharp metal tool that can scratch the fixture or lodge in the drain.
- Do not run a powered auger through small piping without appropriate training.
- Do not leave a wall drain open or forget a temporary plug inside it.
- Do not ignore a drip after reassembling the trap.
- Do not keep treating a recurring clog without investigating its cause.
Keep the sink flowing
Clean hair from the stopper before the drain slows. Keep dental floss, cotton swabs, wipes, jewelry, and grooming debris out of the basin. Use only the amount of personal-care product needed, and periodically inspect the open vanity for moisture.
If the sink has an overflow, keep its opening clear but do not pour unapproved chemicals into it. An overflow is not a substitute for supervising a filling basin.
Final recommendation
Treat a slow bathroom sink as a location problem. Start with the stopper and pivot rod, then inspect a sound accessible P-trap, and use a suitable hand auger only if the blockage appears farther into the local branch.
Call a plumber when symptoms involve several fixtures, the blockage returns quickly, piping is corroded or concealed, sewage is present, or a mechanical tool does not move normally. A clear drain and a dry cabinet are both required for a successful repair.
Sources and methodology
This guide uses standard accessible-drain service sequences and current retailer technical guidance. It does not assume that every trap, stopper, or piping material can be serviced the same way.
Frequently Asked Questions
What usually causes a slow bathroom sink?
Should I pour boiling water into a bathroom sink?
Can I use chemical drain cleaner before removing the P-trap?
Why does my sink still drain slowly after I clean the stopper?
About the author
Jane DIY
— Senior Reviews EditorJane DIY is the Senior Reviews Editor for DIY Tool Guide. Her byline identifies articles she reviews for clarity, sourcing, and practical usefulness.
More from Plumbing & Electrical
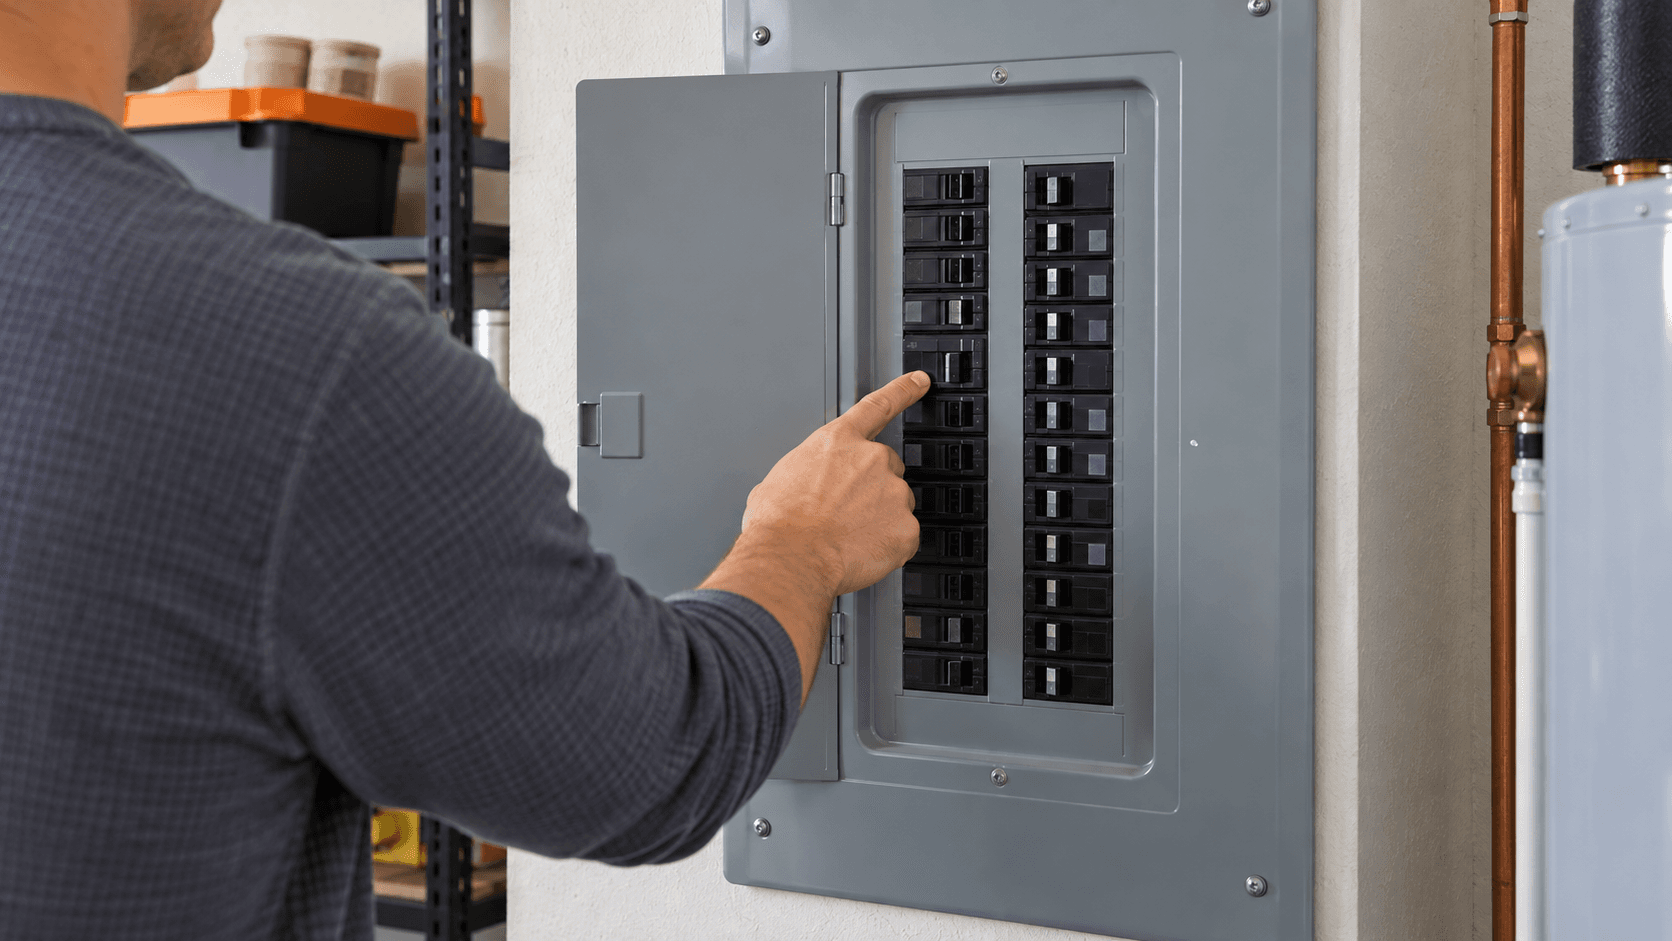
Why Your Circuit Breaker Keeps Tripping
Understand repeated breaker trips, perform safe load checks without opening the panel, and recognize overload, fault, moisture, and wiring warnings.
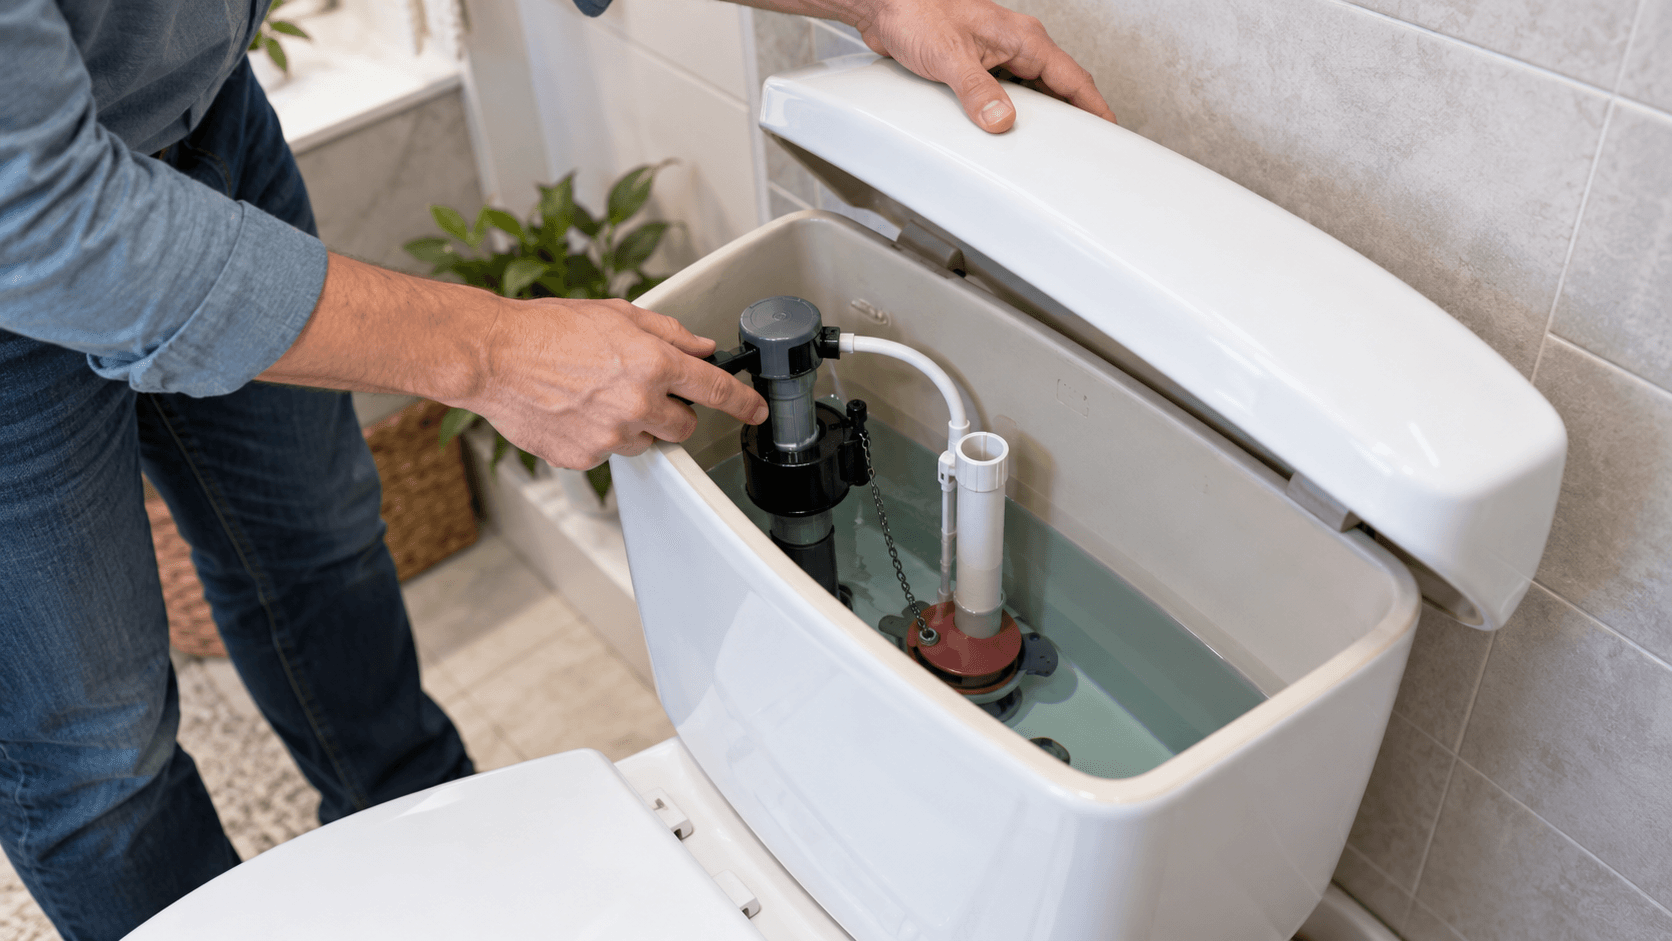
How to Fix a Running Toilet: Diagnose Before Buying Parts
Find why a toilet keeps running, test the flapper and fill valve, make safe adjustments, and know when the repair needs a plumber.
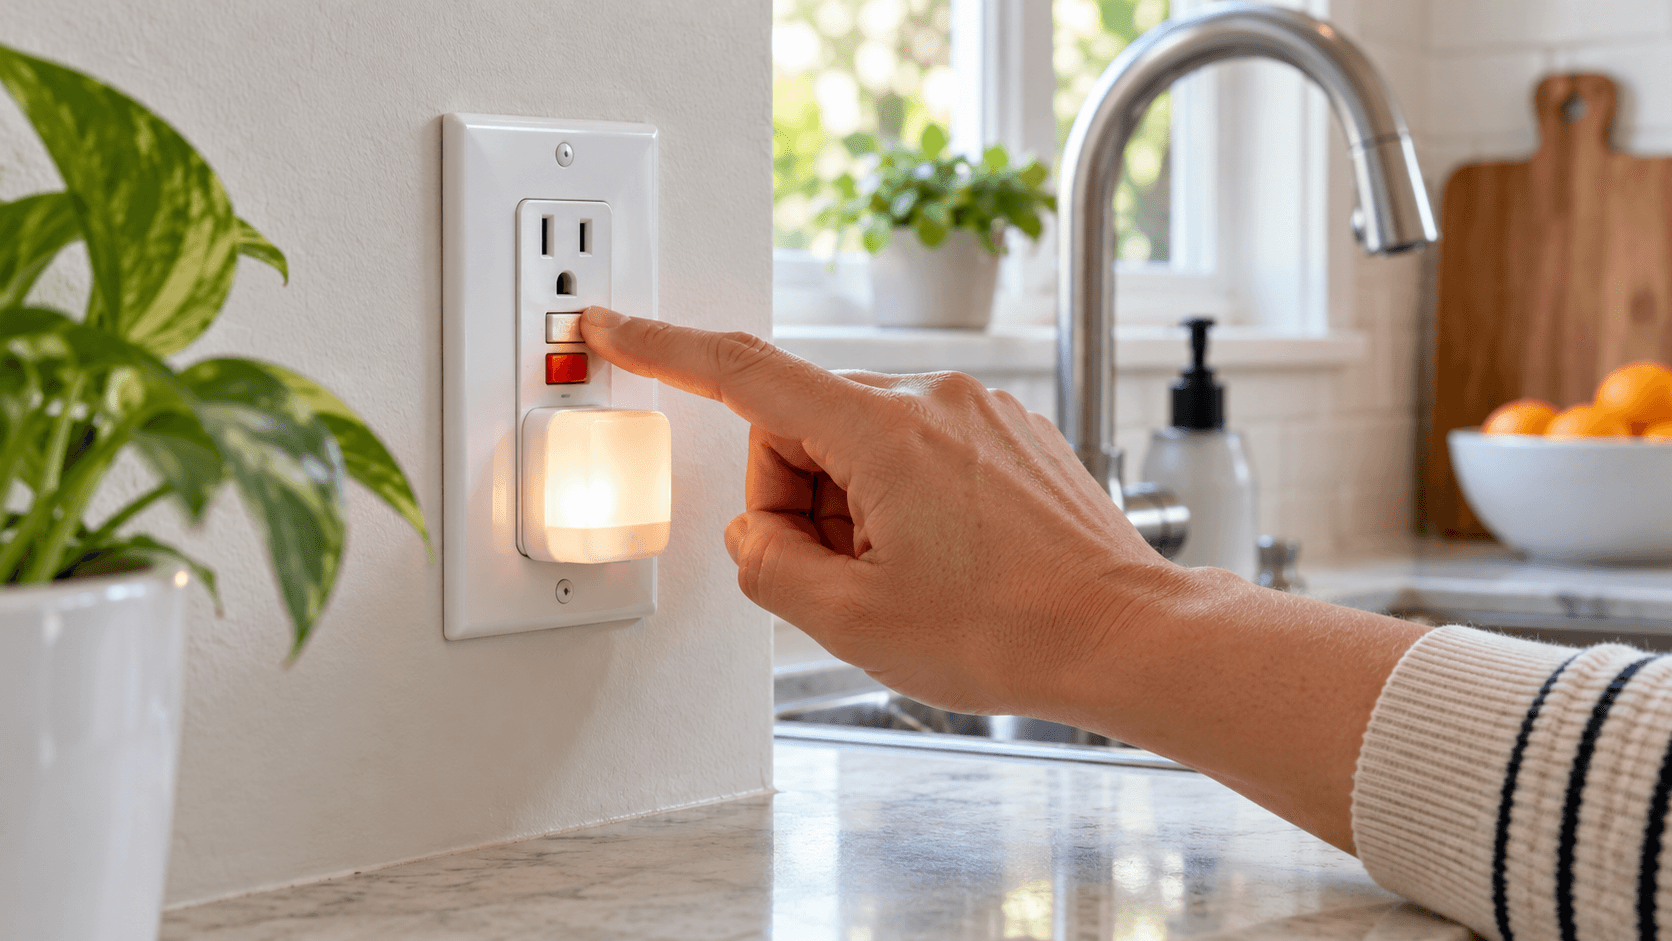
GFCI Outlet Won't Reset? Safe Checks Before You Call
Troubleshoot a GFCI receptacle that will not reset using safe external checks, and recognize moisture, wiring, and device failures for an electrician.
How to Fix a Leaky Faucet: Diagnose Before Buying Parts
Find where a faucet is leaking, identify the correct valve system and replacement part, repair it safely, and know when the problem needs a plumber.