
How to Paint a Room Like a Pro: Complete Guide
Painting a room well is 70% prep, 20% technique, 10% product choice. This guide covers all three — including the shortcuts that ruin the finish and the details that make a DIY paint job look professional.
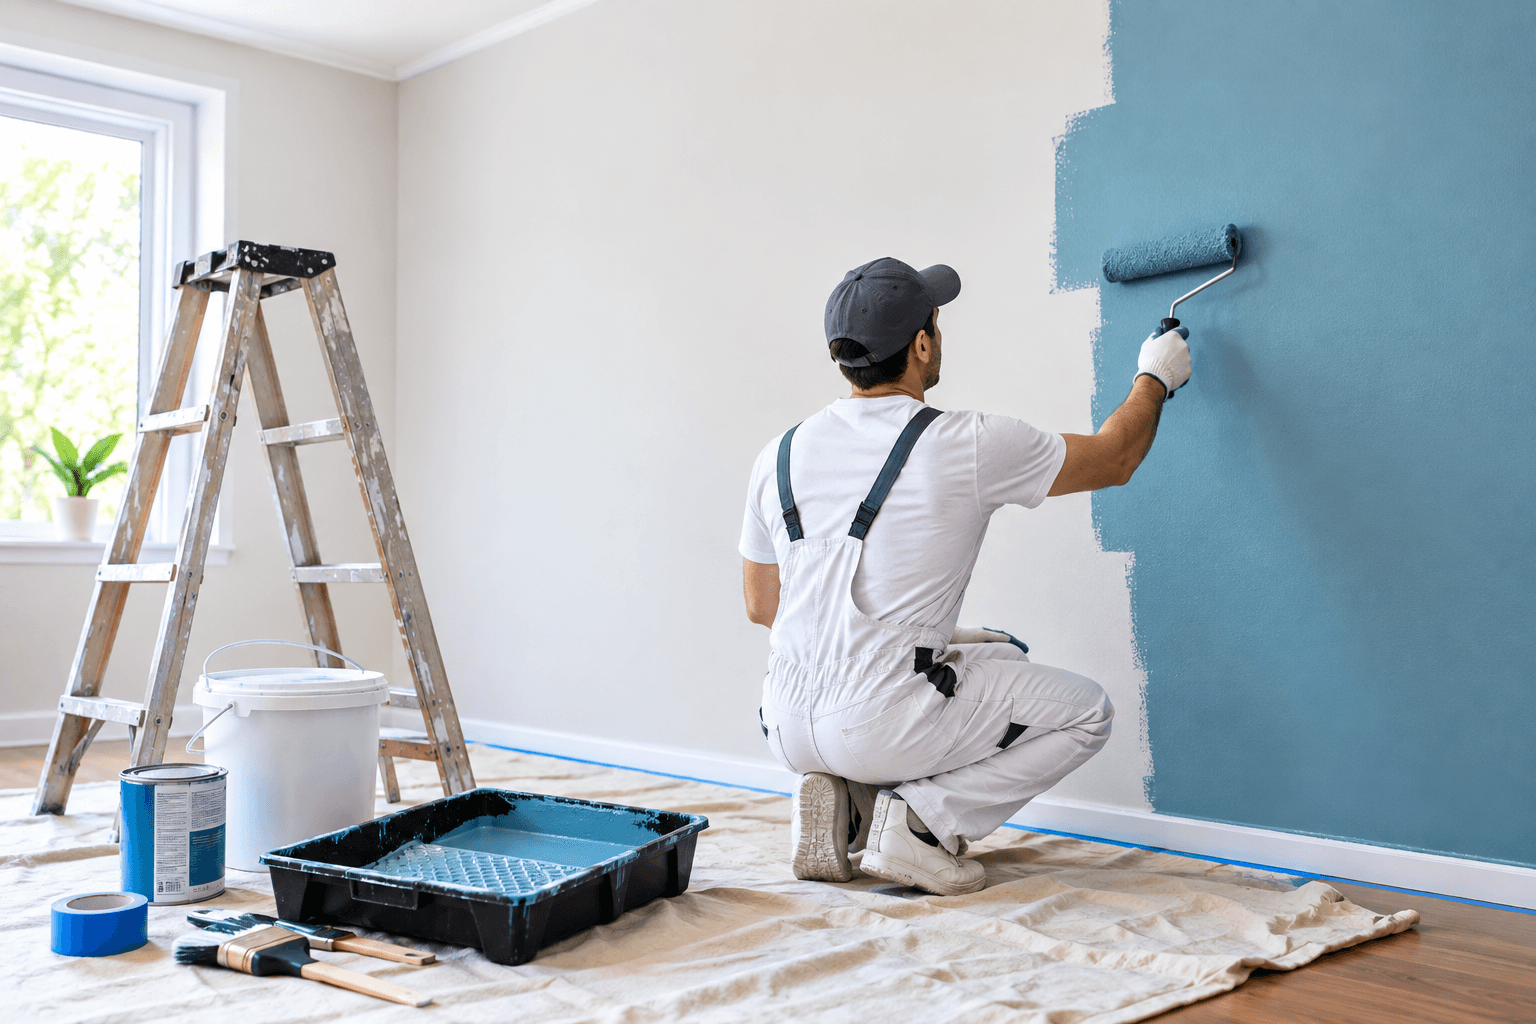
Affiliate disclosure: We may earn a commission on purchases made through links in this article, at no extra cost to you. Learn more.
Almost every homeowner will paint a room at some point. The difference between a DIY paint job that looks amateur and one that looks professional isn't a matter of natural talent — it's a matter of following the right steps in the right order and using the right tools. This guide covers all three.
Fair warning up front: this is going to feel like a lot of prep. That's because painting is genuinely 70% prep, 20% technique, and 10% product choice. The people who skip prep are the same people who end up repainting six months later.
Gather everything before you start
Painting is one of those projects where running to the store for a forgotten item costs you an hour. Get everything before you open a can.
Paint and primer:
- Interior latex paint in your chosen color and sheen (see FAQ for sheen guidance)
- Primer (if needed — see below)
Tools:
- 9-inch roller frame and 2-3 roller covers (3/8" nap for smooth walls, 1/2" for textured)
- Roller extension pole (a broom handle works in a pinch, but a proper 4-foot pole is far better)
- 2.5-inch angled sash brush (Purdy or Wooster — this is not a place to save money)
- Roller tray + tray liners (liners save cleanup time)
- 5-gallon bucket and a paint grid (better than a tray for larger jobs)
- Painter's tape (Frog Tape is the standard for clean lines)
- Drop cloths (canvas beats plastic — plastic gets slippery)
- Screwdriver (for removing outlet covers)
- Spackle or joint compound + putty knife
- 220-grit sandpaper or sanding sponge
- TSP substitute or degreaser
- Rags and a bucket of clean water
- Ladder or step stool
Prep the room (30-60 minutes)
Move furniture to the center. Everything except heavy pieces. Cover what's left with a drop cloth.
Remove or cover fixtures. Take down curtain rods. Remove outlet covers and switch plates (put the screws in a labeled zip-lock bag — you'll thank yourself later). Unscrew light fixtures if you can, or wrap them in plastic and painter's tape.
Cover the floor. Canvas drop cloths right up to the baseboards. Overlap them at seams. If you have carpet, tape the cloth edge to the carpet with painter's tape.
Tape the trim. Run painter's tape along baseboards, door frames, window frames, and the ceiling line — anywhere paint might drip onto a surface you don't want painted. Press the tape edge firmly with a putty knife or your fingernail for a clean line.
Prep the walls (30-90 minutes)
This is where most DIY paint jobs go wrong. Skip these steps and you'll see every skipped step through the finished paint.
Fill nail holes and repair damage. Any nail holes, ding marks, or cracks need to be filled with spackle now. See our drywall patching guide for detailed patch technique. Small holes with lightweight spackle dry in 30 minutes; larger patches need overnight cure time before painting.
Sand rough spots. Any patched areas, glossy trim you want to paint over, or rough drywall texture needs a light sanding with 220-grit until smooth to the touch.
Clean the walls. Dust, cooking grease, cobwebs, and fingerprints all prevent paint from adhering. A quick wipe-down with a TSP substitute (or diluted dish soap) and a wet rag makes a big difference. For kitchens especially, don't skip this. Let the walls fully dry before painting.
Prime where needed. Prime any patched drywall, bare drywall, stained areas, or walls where you're going from dark to light. Modern "paint + primer" products work fine for repainting similar colors on already-painted walls, but there's no substitute for real primer over problem areas.
The workflow: cut in, then roll
Professional painters follow the same sequence in every room, in every situation. Learn it once and use it forever.
Order per wall: cut in the edges with a brush first, then roll the middle. Not the other way around.
Order of walls: paint the ceiling first (if painting it), then all four walls, then trim/doors last.
Pros
- Cutting in with a brush at ceiling, baseboards, corners, and around windows/doors creates a clean 2-3 inch border of painted wall
- Rolling then covers the middle of the wall efficiently and blends into your cut-in border
- This sequence lets you work confidently at the edges without worrying about the roller getting close to the ceiling or trim
- Two coats using this method produces a truly professional finish
Cons
- Cutting in requires a decent brush and 10-15 minutes of practice — the first few feet won't look great
- You have to cut in each coat separately — don't skip cutting in on the second coat thinking one is enough
- The tape line can leak slightly if not pressed firmly; unpainted trim near the tape edge shows up under most lighting
Cutting in
Load your angled sash brush by dipping about 1/3 of the bristles in the paint. Tap (don't wipe) the brush on the side of your bucket or tray to knock off drips.
Hold the brush like a pencil, with the angled edge pointing toward the line you're painting. Start your stroke about 1/2 inch away from the ceiling or trim edge, then gently draw the brush toward the line. Once you touch the line, drag the brush parallel along the line for 12-18 inches, keeping steady pressure.
Cut in a 2-3 inch border around every edge — ceiling line, baseboards, corners, and around window/door frames. Work one wall at a time.
Rolling
Load the roller by dipping into paint and rolling on the tray/grid until the roller is evenly coated but not dripping. A properly loaded roller is heavy but doesn't sling paint when you lift it.
Roll the paint on in a "W" or "M" pattern — not straight lines. Cover about a 3x3-foot area with the W pattern, then roll over the whole area in straight vertical strokes to even out the finish. This is called "laying off" and it eliminates roller marks.
Overlap each pass by about 1/3 of the roller width. Keep a "wet edge" — never let one section fully dry before rolling into it, or you'll get lap marks.
Move systematically across the wall in 3x3-foot sections. Don't try to paint the whole wall in one go with a fully loaded roller — you'll run out of paint mid-wall and create a visible dry-edge line.
The second coat
Two coats is standard. One coat almost never fully covers, even with paints that claim "one-coat coverage." Areas that look fine wet often reveal the underlying color as they dry.
Wait the full recoat time listed on your paint can (usually 2-4 hours). Don't rush it. Painting over a not-fully-cured first coat will lift the paint and destroy your finish.
For the second coat, repeat the exact same process: cut in with the brush, then roll. Yes, you have to cut in twice. Yes, it's worth it.
Removing tape and cleanup
Remove tape while paint is still slightly wet — usually within an hour of the last coat. If you wait for the paint to fully cure, it will peel off with the tape and leave a jagged edge.
Pull tape at a 45-degree angle, slowly, back on itself. Don't yank straight up.
Cleanup:
- Latex paint cleans up with plain water while wet. Once dry, you need mineral spirits or paint remover.
- Brushes: rinse under warm water, working the bristles with your fingers until the water runs clear. Reshape and lay flat to dry.
- Rollers: for repeated use, roll excess paint off, wrap tightly in plastic wrap or a plastic bag, and refrigerate. This keeps them workable for 2-3 days. For long-term storage, wash thoroughly with warm soapy water until the runoff is clear.
- Trays: if you used a tray liner, just pull the liner and toss. If not, let the paint dry fully and peel it off the plastic tray.
Common DIY mistakes
- Skipping prep. Painting over dust, grease, or damaged drywall is the fastest way to a bad-looking room. Prep takes an hour; skipping it costs you the whole project.
- Cheap tools. A $5 roller cover leaves lint in your paint and shows every mark. A $6 brush leaves streaks. Spend $30 on a proper brush-and-roller kit — you'll use them for years.
- One coat instead of two. No paint truly covers in a single coat, especially in flat or eggshell sheens. Plan for two coats always.
- Painting over wet paint. The recoat time on the can is real. Rushing it lifts the underlying coat and creates a mess.
- Overworking the paint. Once paint starts to tack up on the wall, stop rolling that area. Rolling over drying paint creates streaks and texture problems.
- Loading the brush wrong. Only 1/3 of the bristles should be in the paint. Overloaded brushes drip and cause runs.
- Not removing tape at the right time. Removing tape from fully-cured paint peels the paint edge off with it. Take tape off within an hour.
Realistic timeline
For a standard 12x12 bedroom, a first-time painter should budget:
- Day 1: Prep the room (2-3 hours) + wall repairs (1-2 hours + drying time overnight)
- Day 2: Prime as needed (1-2 hours + drying time) + first coat (2-3 hours)
- Day 3: Second coat (2-3 hours) + cleanup and tape removal (1 hour)
Total: 8-14 hours of work spread across 2-3 days. Experienced DIYers can compress this to a single long day, but don't try to do that on your first project. Rushing produces bad results.
Done right, a well-painted room lasts 8-10 years before it needs a refresh, holds up to daily wear, and looks genuinely professional. It's one of the best return-on-effort projects a homeowner can take on.
Frequently Asked Questions
Do I need to prime before painting?
How much paint do I need for a 12x12 room?
What's the difference between eggshell, satin, and semi-gloss?
Can I paint over wallpaper?
How long do I have to wait between paint coats?
About the author
Jane DIY
— Senior Reviews EditorJane has been renovating houses for 12 years and writes tool reviews you can actually act on. She currently owns and uses every drill in our roundups and does not accept manufacturer samples she cannot return.