
How to Patch a Hole in Drywall: Step-by-Step Guide
Patching drywall is one of the most satisfying DIY skills you can learn. This guide covers three methods — for nail holes, mid-sized holes, and holes bigger than your fist — with the actual technique for a paint-ready finish.
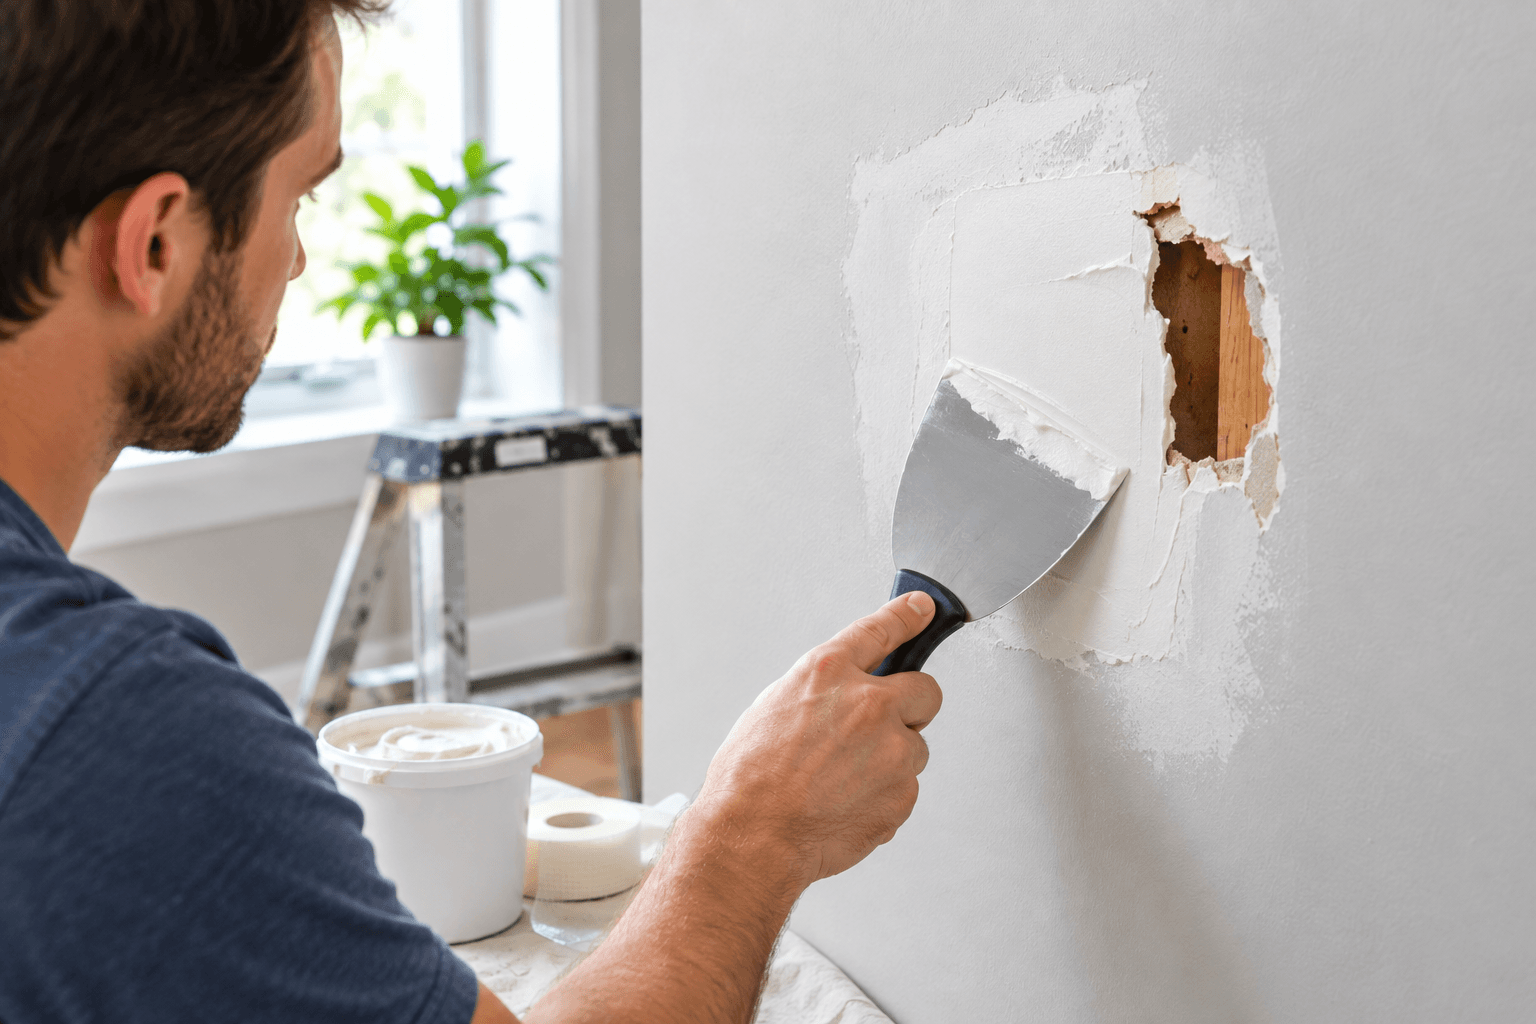
Patching drywall is one of the most-searched home repair topics for a reason: every homeowner needs to do it eventually, and the results are visible on your wall for years. The good news is that drywall repair is genuinely simple once you understand the three methods for the three hole sizes. The bad news is that most YouTube tutorials skip the two details — feathering and priming — that separate an invisible patch from an obvious blemish.
This guide covers all three methods, plus the technique that makes patches disappear under paint.
What size hole do you have?
Match your hole to one of these categories:
- Nail-size: anything from a picture hook or thumbtack, up to a small screw hole
- Mid-sized: doorknob-through-drywall damage, small punches, or holes up to about 6 inches across
- Large: anything bigger than your fist, or damage that spans a stud cavity
Each requires a different approach. Don't use the small-hole method on a big hole (it'll crack), and don't overbuild a nail hole (waste of time and mud).
Method 1: Small holes (nail hole to dime-sized)
This is a 60-second repair.
Tools:
- Lightweight spackle (DAP or 3M — the pink or purple "changes color when dry" versions are foolproof)
- Small putty knife or a fingertip
- 220-grit sandpaper
- Damp cloth
Steps:
- Wipe dust and loose material from around the hole.
- Scoop a small amount of spackle onto your putty knife (or fingertip).
- Press spackle firmly into the hole, then scrape flush with the wall using the edge of your putty knife.
- Wait for the spackle to change color (usually 15-30 minutes).
- Sand gently with 220-grit until smooth to the touch.
- Wipe away dust with a damp cloth.
That's it. Prime and paint when convenient. For a single nail hole, this is a five-minute job start-to-finish.
Method 2: Mid-sized holes (up to 6 inches)
For holes bigger than a dime but smaller than a grapefruit, use a self-adhesive mesh patch. These are sold in every hardware store for about $3 and make what could be a real project into a 20-minute repair.
Tools:
- Self-adhesive mesh drywall patch (buy one slightly larger than your hole)
- 6-inch drywall knife (also called a taping knife)
- All-purpose joint compound (a small tub is plenty)
- 220-grit and 150-grit sandpaper
- Primer
Steps:
-
Prep the hole. Trim any loose paper facing or crumbled edges with a utility knife so you have a clean opening. Push any ragged inward-flexing edges gently outward flat.
-
Apply the patch. Peel the backing from the mesh patch and press it firmly over the hole, centered so the mesh extends 1-2 inches past the hole in all directions.
-
First coat of mud. Using the 6-inch knife, spread a thin, smooth layer of joint compound over the entire patch, extending about 2 inches past the edges of the mesh. The mesh should still be faintly visible under the mud. Let dry 12-24 hours.
-
Sand. Knock down any ridges with 150-grit until smooth.
-
Second coat. Apply a wider, thinner coat of mud — this one extending 6-8 inches past the hole in all directions. This is where "feathering" begins: use the knife at a low angle to leave a very thin outer edge that fades into the wall. Let dry.
-
Sand and third coat (if needed). For a completely invisible repair, one more very thin coat feathered even wider. Sand smooth with 220-grit.
-
Prime. One coat of standard drywall primer over the patch and about 3 inches into the surrounding wall.
-
Paint. Matching sheen and color, one or two coats.
Pros
- Self-adhesive mesh patches are cheap, universally available, and stronger than paper tape for this size hole
- No cutting, measuring, or replacement drywall required
- Total project time under 24 hours (mostly drying)
- Result is invisible when done properly
Cons
- Requires patience through 2-3 mud coats — you can't rush the drying
- Improper feathering leaves a visible raised bump under paint
- Not appropriate for holes larger than about 6 inches or damage that spans a stud
Method 3: Large holes (bigger than your fist)
For holes larger than about 6 inches, or damage that spans a stud, you need to install a proper drywall patch — a piece of new drywall backed by structural support. This is a real project but still very doable.
Tools:
- Scrap piece of drywall matching your wall thickness (usually 1/2 inch)
- Drywall saw or utility knife
- 1x3 or 1x4 wood scraps for backing
- 1-1/4" drywall screws
- Drill/driver
- Paper drywall tape (or fiber mesh tape)
- All-purpose joint compound + 6-inch drywall knife (larger 10" or 12" knife optional for the final coat)
- Sandpaper (150 and 220 grit)
- Primer
Steps:
-
Square the hole. Using a drywall saw or utility knife, cut the hole into a clean rectangle. Extend the cut just past the damaged area — you want clean, square edges.
-
Install backing. Slip a 1x3 or 1x4 board into the hole behind the drywall so it spans the hole vertically. Hold it against the back of the drywall and drive drywall screws through the intact wall into the wood. Do this on both sides of the hole. The board becomes an anchor point for your patch.
-
Cut the patch. Measure the hole and cut a piece of new drywall to match, slightly smaller than the opening (about 1/8 inch gap on each side is fine — mud will fill it).
-
Screw the patch in. Position the patch in the hole and drive drywall screws through it into the backing boards. Sink the screws just below the surface without breaking through the paper facing.
-
Tape the seams. Apply paper drywall tape over each seam, embedded in a thin layer of joint compound. Smooth flat with your knife.
-
Mud in layers. Three progressively wider coats of joint compound, sanded between each. Feather each coat wider than the last — the final coat should extend 10-12 inches past the patch on all sides for a truly invisible repair.
-
Sand, prime, paint as before.
The two secrets to invisible patches
Two habits separate a professional-looking patch from an obvious blemish:
1. Feather your compound wider than feels necessary. The transition from patch to wall is where your eye catches the repair. If the compound ends abruptly 3 inches past the hole, you'll see a shadow line under most lighting. Extend the final coat 8-12 inches past the hole on all sides, tapering to zero thickness at the edges. Yes, this feels like overkill. It's not.
2. Always prime before painting. Bare joint compound absorbs paint differently than the surrounding painted drywall — the patch will show through as a subtle sheen change even after multiple coats of paint (this is called "flashing"). A single quick coat of drywall primer over the patched area solves it completely.
Cleanup and disposal
Joint compound and drywall dust are messy. Two tips:
- Wet-wipe as you go. Keep a damp rag handy and wipe the knife edge after every stroke. Dried compound on the knife causes streaks.
- Sand with a sanding sponge, not just paper. Fine sanding sponges are gentler on the surrounding wall paint and easier to control on curved transitions.
For dust, tape a plastic bag under your work area, or use a dust-collecting hand sander that connects to a shop-vac. Drywall dust gets everywhere and takes weeks to fully settle if you don't contain it.
When to hire it out
Small and mid-sized holes are firmly DIY territory. But if you're facing water damage, mold, or a hole that spans multiple studs, the underlying issues (leaks, framing damage) matter more than the patch itself. A professional drywall repair for a large hole runs $150-300 — often worth it if the surface finish matters (visible living-room wall in strong lighting) rather than a closet or garage.
For most household drywall dings — the doorknob-through-the-wall, the misplaced picture hanger, the kids-were-roughhousing surprise — the methods above will get you a genuinely invisible repair in an evening or two.
Frequently Asked Questions
What's the difference between spackle and joint compound?
How long does joint compound take to dry?
Do I need to prime a drywall patch before painting?
Why does my drywall patch keep showing through the paint?
Can I patch a hole where a wall anchor pulled out?
About the author
Jane DIY
— Senior Reviews EditorJane has been renovating houses for 12 years and writes tool reviews you can actually act on. She currently owns and uses every drill in our roundups and does not accept manufacturer samples she cannot return.